
Wrapping gifts with brown paper—often referred to as kraft paper—has become a highly favored technique for those seeking a minimalist, rustic, or classic aesthetic. While this material is incredibly versatile and budget-friendly, its physical properties differ significantly from standard, glossy wrapping paper. Brown paper is typically thicker, more porous, and less forgiving of improper folding techniques, which can easily lead to unsightly tears, bulky corners, or loose seams. Achieving a clean, professional finish requires a blend of precise measurement, sharp creasing, and the right securing methods.
By understanding how to manipulate the unique texture of brown paper, you can transform a simple utility material into an elegant presentation. This step-by-step guide covers everything from selecting the right paper thickness to executing crisp envelope folds and adding personalized finishing touches. Whether you are preparing gifts for a festive season, a birthday, or a corporate event, these techniques will ensure your packages look neat, structured, and intentionally designed.
Tools and Materials You Will Need
Before beginning, gathering the correct tools is essential to prevent paper damage and ensure a smooth wrapping process. You will need a roll of brown paper, sharp scissors or a utility knife, a metal ruler, double-sided tape or high-quality clear tape, and a bone folder or a clean plastic ruler for creasing.
Products mentioned in this guide
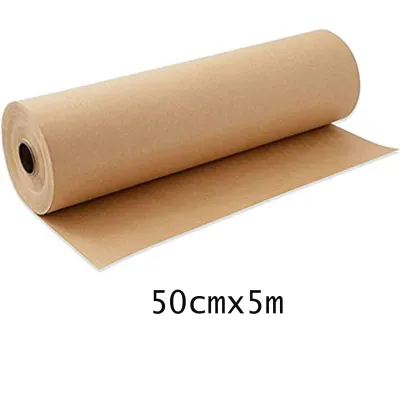
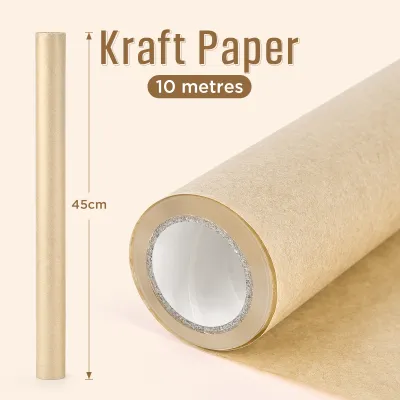
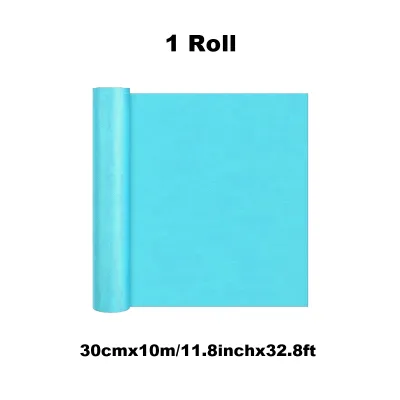
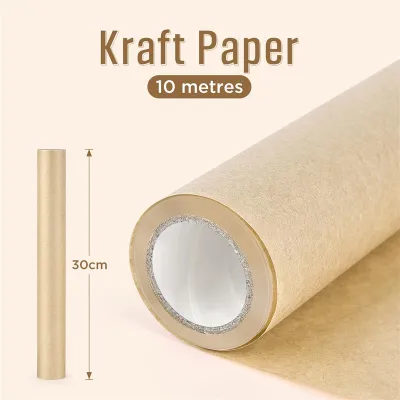
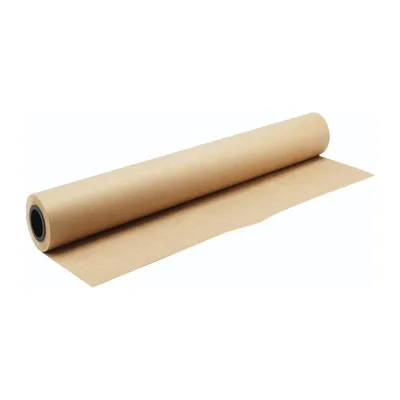
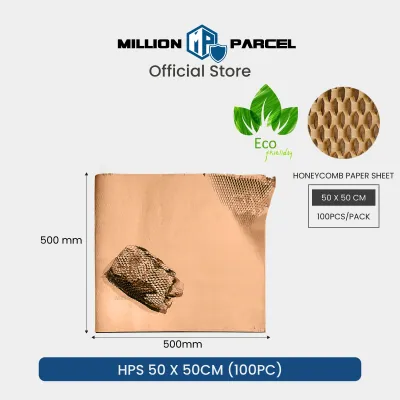
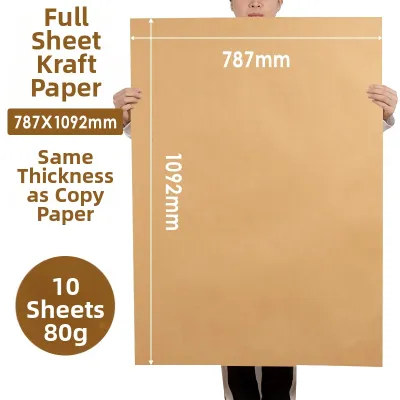
Prices are valid at publication and may change. Please refer to the product page for the latest price.
When selecting your brown paper, pay close attention to the paper thickness, which is typically measured in grams per square meter (gsm). For gift wrapping, a weight between 60 gsm and 80 gsm is ideal. Paper that is too thin (under 50 gsm) tears easily when pulled around sharp box corners, while paper that is too thick (over 100 gsm) is highly resistant to folding and creates bulky, unmanageable seams. A standard roll of utility brown paper often costs less than S$5 at local stationery shops, making it an incredibly cost-effective option.
Additionally, verify the adhesion level of your tape on porous surfaces. Because brown paper is uncoated and fibrous, some standard clear tapes may peel off or lift over time. It is highly recommended to test your tape on a small scrap of the paper beforehand to ensure it establishes a strong, permanent bond without leaving a greasy residue or lifting at the edges.
How to Measure and Cut Brown Paper Without Tearing
One of the most common mistakes in gift wrapping is using too much paper, which results in bulky, overlapping layers that ruin the clean lines of the package. To avoid this, use the “roll and overlap” method to measure your paper accurately before making any cuts. Place your gift box face-down on the unrolled paper, pull the paper up over the sides, and ensure it wraps completely around the box with an overlap of approximately 2 to 3 centimeters. This overlap is where your main seam will sit.

To measure the ends of the box, pull the paper up against the side. The paper on each side should extend to slightly more than half the depth of the box. If the paper is too long, it will bunch up when you fold the flaps; if it is too short, it will leave gaps that expose the gift inside. Mark these dimensions lightly with a pencil on the reverse side of the paper.
Cutting thick brown paper requires a clean, continuous motion to prevent frayed fibers and jagged edges. Dull scissors will snag on the tough wood fibers of kraft paper, causing micro-tears that can split further when tension is applied. For the straightest, cleanest edge, use a sharp utility knife paired with a metal ruler as a guide, or use heavy-duty shears designed for thick paper. Always perform a quick visual check by loosely wrapping the paper around the box one last time before committing to the cut.
Step-by-Step Guide to Wrapping a Standard Rectangular Box
To begin the wrapping process, place your rectangular box face-down in the exact center of your pre-cut sheet of brown paper. Placing the box face-down ensures that all seams, tape lines, and folds remain on the bottom or back of the gift, leaving the top face completely smooth and seamless. Pull the two long edges of the paper up over the center of the box, pulling them taut but not overly tight, and secure the main seam down the middle or slightly to one side.
Folding the Ends for Crisp Corners
Creating neat, envelope-style corners is where the structure of your wrapped gift is truly defined. Start on one open end of the box by pushing the top flap of paper straight down against the side of the box. This action will naturally create two diagonal side flaps. Crease the edges of these side flaps sharply against the corners of the box using a bone folder or the edge of a clean plastic ruler.
Next, fold the two side flaps inward, pressing them flat against the side of the box. Ensure that the diagonal folds are symmetrical and align perfectly with the edges of the box. Finally, fold the bottom flap upward to form a clean, crisp triangle or trapezoid that covers the previous folds.
Throughout this process, using a bone folder or a clean fingernail to press down every single crease is vital. Because brown paper has a natural stiffness, it wants to spring back into its flat shape; sharp creases break the paper fibers just enough to keep the folds flat and flush against the box. Be cautious not to pull the paper with excessive force during this step, as the sharp corners of cardboard boxes can easily puncture the paper if the tension is too high.
Securing the Seams Neatly
To achieve a truly professional finish, the method you use to secure your folds is just as important as the folds themselves. Double-sided tape is the preferred choice for a seamless look because it remains completely hidden between the overlapping layers of paper. Apply a strip of double-sided tape to the inside edge of the final overlapping flap, peel off the backing, and press it firmly down.
If you prefer to use standard clear tape, opt for a matte-finish or “magic” tape rather than a glossy one. Matte tape blends in beautifully with the flat, non-reflective surface of brown paper, making the tape lines almost invisible. Apply the tape sparingly, placing it precisely where the paper edges meet.
If you notice the paper shifting or twisting as you apply the tape, which can cause uneven tension and unsightly puckering across the face of the box, do not hesitate to stop. Carefully peel back the tape—or cut a new piece of paper if the fibers tear—and realign the seams. Taking the time to correct a misaligned fold at this stage prevents the entire package from looking skewed.
Adapting the Technique for Odd-Shaped Gifts
Not all gifts come in neat rectangular boxes, but you can easily adapt brown paper wrapping techniques for cylindrical, soft, or highly irregular items. For cylindrical objects like bottles or poster tubes, the twist or “cracker” method works exceptionally well. Roll the item in a sheet of brown paper, leaving several centimeters of excess paper at both ends. Gently gather and twist the excess paper at each end, securing them tightly with jute twine or ribbon to create a classic, elegant cracker shape.
For soft items like clothing or plush toys, or for flat, fragile items, you can construct a custom paper bag or envelope. Fold a rectangular piece of brown paper in half, secure the side seams with double-sided tape, and fold the bottom up to create a flat base or gusset. This custom pouch provides a structured container that protects the item while maintaining a neat, uniform appearance.
Before wrapping any odd-shaped or fragile item, always check its stability. Because brown paper is stiff, wrapping it directly around a soft or fragile object can cause the paper to collapse or crush the item. Adding internal cushioning, such as a layer of tissue paper or corrugated cardboard wrap, provides the necessary structural support and ensures the outer brown paper remains smooth and unblemished.
Finishing Touches and Customization Ideas
The neutral, earthy tone of brown paper serves as a blank canvas, allowing you to customize the presentation to suit any occasion. To enhance the rustic aesthetic, wrap natural jute twine, cotton baker’s twine, or a simple linen ribbon around the package. Tucking a small sprig of fresh rosemary, eucalyptus, or a dried flower stem under the twine adds a touch of organic elegance that contrasts beautifully with the paper.
For a more personalized or festive look, you can use stamps, stencils, or hand-drawn designs. Metallic markers in gold, silver, or bronze, as well as opaque white ink pens, stand out vividly against the brown background. You can draw simple geometric patterns, write personalized messages, or stamp festive motifs directly onto the paper.
When using inks, paints, or markers, it is crucial to verify their behavior on the specific paper you are using. Because brown paper is highly porous, some liquid inks may bleed or feather along the paper fibers, while slow-drying paints might smudge. Always test your writing instruments on a scrap piece of paper first to check the drying speed and bleed resistance. Ensure all decorative elements are completely dry before handling, stacking, or transporting the gifts.
Frequently Asked Questions (FAQ)
How do I prevent brown paper from wrinkling when wrapping?
Wrinkles and buckling typically occur when the paper is pulled unevenly or with too much tension across wide, flat surfaces. To prevent this, keep the paper taut but not stretched, and use the flat of your hand to smooth the paper outward from the center of the box before securing it. Thicker brown paper is particularly prone to buckling if it is folded without being properly creased first. Always pre-crease your folds gently with your fingers before applying firm pressure with a bone folder to lock the fold in place.
Can I use double-sided tape on thick brown paper?
Yes, double-sided tape is highly effective for wrapping with brown paper, but you must verify that the adhesive is strong enough for the paper’s weight. Heavy-duty or textured kraft paper has a fibrous, porous surface that can resist lightweight craft tapes, causing the seams to pop open over time. To ensure a secure hold, test a small strip of tape on a scrap piece of your paper first to check for peeling. When wrapping the actual gift, apply firm, even pressure along the entire tape line to activate the adhesive and create a lasting bond.
Community discussion
Share your experience or ask a question. Comments are reviewed before publication.