
Wrapping a gift with an eco bag using traditional Japanese furoshiki techniques is an elegant, zero-waste alternative to single-use paper and plastic. By adapting the folding and knotting principles of furoshiki—a traditional Japanese fabric-wrapping art—you can transform a standard reusable shopping bag into a beautiful, functional gift wrap. This method not only eliminates wrapping waste but also provides the recipient with a highly practical second gift: a durable, reusable bag.
The entire process relies on three simple phases: selecting a bag with the right fabric and dimensions, positioning the gift strategically to manage excess material, and securing the wrap with traditional knots that require no tape, glue, or scissors. With a few adjustments for handles and seams, any standard reusable bag can become a stunning, sustainable presentation.
Choosing the Right Eco Bag for Furoshiki Wrapping
Traditional furoshiki cloths are square, but modern eco bags are typically rectangular. To adapt them successfully, look for wide, flat-bottomed bags or simple flat totes. To calculate the required size, measure the diagonal length of your gift. As a general rule of thumb, the diagonal of the eco bag should be at least three times the longest dimension of the gift. This ratio ensures you have enough fabric to cover the item completely and still have long enough corners to tie secure knots.
Products mentioned in this guide
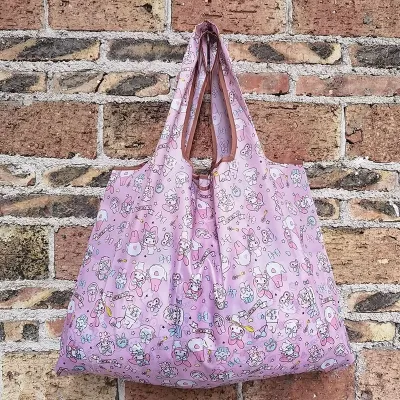
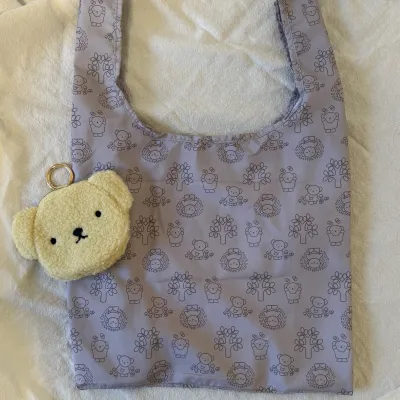
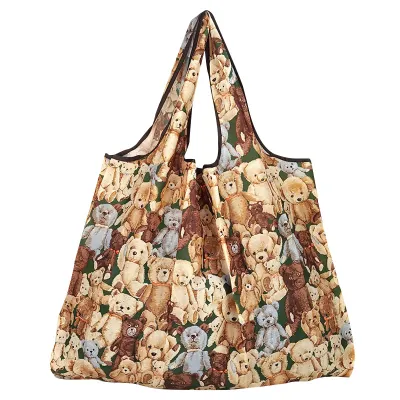
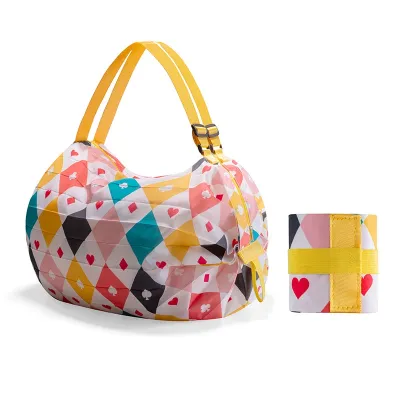
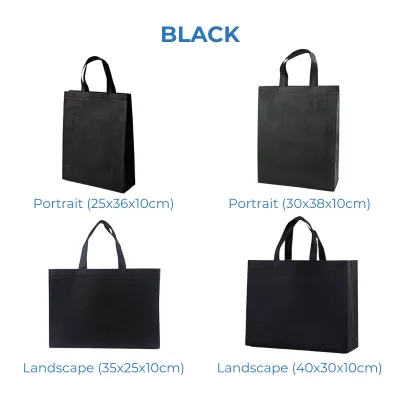
Prices are valid at publication and may change. Please refer to the product page for the latest price.
The fabric of your eco bag dictates how easily it can be folded and knotted. Lightweight cotton and linen bags are highly recommended because they drape elegantly and hold knots securely without slipping. Canvas bags are incredibly durable but can be stiff; if the canvas is too thick, tying tight, neat knots becomes difficult. Nylon or polyester eco bags are highly flexible and water-resistant, making them excellent for protecting gifts, but their slippery texture means you must pull knots exceptionally tight to prevent them from unraveling.
Built-in handles and shoulder straps present a unique challenge. Instead of letting them dangle awkwardly, you can tuck them inside the bag before placing the gift, or actively incorporate them into your knots. For bags with short handles, you can thread the opposite corners through the handles to create a self-locking mechanism that adds structural integrity to the wrap.
Preparing Your Gift and Workspace
Before you begin folding, verify that your eco bag is large enough by laying it flat and placing the gift diagonally in the center. Pull the opposite corners of the bag over the top of the item; they should meet and overlap by at least a few inches. If the corners barely touch, the bag is too small, and your knots will likely slip or put too much tension on the fabric.

Protecting the gift is also essential for a polished look. Sharp corners on toy boxes, books, or metal items can puncture thin cotton or nylon bags, while fragile items like glassware need structural support. Placing these items inside a simple cardboard inner box or wrapping them in a layer of recycled tissue paper creates smooth, rounded edges. This step prevents the fabric from snagging and ensures the outer wrap looks clean, uniform, and professional.
Finally, clear a spacious, flat workspace such as a clean dining table or a large desk. Smooth out the eco bag completely, ensuring there are no deep creases or folded-in corners. Working on a flat surface allows you to maintain consistent tension on the fabric as you fold, which is the key to achieving a neat, symmetrical finish.
Step-by-Step Furoshiki Wrapping Techniques
Adapting traditional furoshiki folds to modern eco bags requires a slight shift in perspective. Unlike a flat, seamless sheet of fabric, an eco bag has stitched seams, side panels, and handles that alter how the material behaves. By understanding how to fold these structural elements inward, you can treat the bag as a flat wrapping medium.
To achieve a polished look, we will focus on two primary techniques that accommodate different gift shapes. The first is the Basic Otsukai Wrap, which is ideal for flat, rectangular, or square boxes. The second is the Yotsu Musubi Wrap, a four-corner knotting method designed to secure tall, cylindrical, or awkwardly shaped items. Both methods rely on simple, reversible folds that preserve the bag’s integrity.
The Basic Otsukai Wrap for Standard Boxes
The Otsukai wrap is the most classic furoshiki technique, perfect for books, board games, or standard gift boxes. To begin, lay your eco bag completely flat on your workspace, oriented diagonally like a diamond. Place your gift box directly in the center of the bag, aligning its edges parallel to the diagonal corners of the fabric.
Take the corner closest to you and fold it tightly over the gift, tucking any excess fabric neatly underneath the box. Next, pull the opposite corner (the one furthest from you) over the top of the box. If your eco bag has handles, tuck them flat against the box as you fold this second corner over, ensuring they are completely hidden beneath the fabric layer.
Now, gather the remaining two side corners of the bag. Pull them firmly toward the center of the box, ensuring the fabric is taut across the sides of the gift. Tie these two corners together into a secure square knot (left over right, then right over left). If the bag has long shoulder straps, you can wrap them around the knot once before tightening to create a decorative, bow-like finish. Adjust the fabric folds on either side of the knot to ensure a clean, symmetrical presentation.
The Yotsu Musubi Wrap for Tall or Irregular Items
For gifts that do not fit standard rectangular boxes—such as potted plants, plush toys, or cylindrical bottles—the Yotsu Musubi (four-knot) wrap offers a secure, basket-like hold. Start by placing your eco bag flat on the table and positioning the irregular item upright in the exact center of the bag.
Gather two opposite corners of the bag and pull them straight up over the top of the item. Tie them together in a single, firm knot at the top, leaving some slack so the fabric conforms to the shape of the gift. Next, gather the remaining two opposite corners, pull them up over the first knot, and tie them together in a second knot.
Once both knots are tied, gently adjust the tension of each corner. You want the fabric to hug the gift securely without squeezing or distorting its shape. This technique naturally incorporates the bag’s handles, which can be gathered into the knots to create a convenient carrying loop. The resulting wrap looks like a beautifully structured fabric basket, making it both highly functional and visually striking.
Finishing Touches and Unwrapping Etiquette
To elevate your eco bag wrap, avoid plastic ribbons or adhesive tape, which can damage the fabric fibers or leave sticky residues. Instead, opt for natural, reusable embellishments. Slipping a sprig of dried lavender, a stem of eucalyptus, or a cinnamon stick under the central knot adds a touch of rustic elegance. You can also tie a simple piece of jute twine or cotton cord around the knot to attach a reusable wooden or seed-paper gift tag.
Take a moment to inspect the wrapped gift from all angles. Smooth out any accidental bunching along the sides and tuck in any stray fabric edges. A well-executed furoshiki wrap should look intentional and neat, with the knots sitting squarely in the center.
When presenting the gift, it is helpful to gently communicate the dual nature of the packaging. You might say, “The wrapping is part of the gift!” This lets the recipient know they should keep and reuse the eco bag. Because furoshiki relies on knots rather than tape, unwrapping is a graceful, quiet process. Show the recipient how pulling on one of the loose ends of the square knot easily releases the entire wrap, leaving the bag completely undamaged and ready for their next shopping trip.
Frequently Asked Questions (FAQ)
Can I use an eco bag with long shoulder straps for furoshiki wrapping?
Yes, you can successfully use an eco bag with long shoulder straps, though it requires a bit of creative tucking. Before you begin wrapping, fold the long straps neatly and tuck them inside the main compartment of the bag, or lay them flat along the bottom before placing your gift. Alternatively, you can use the long straps as decorative elements by wrapping them around the exterior of the gift and tying them into a large, elegant bow over your main knot. If the straps are exceptionally thick or bulky, however, they may create unsightly lumps under the fabric; in these cases, it is best to choose a bag with shorter handles or a simple drawstring design.
What if my eco bag is not a perfect square?
While traditional furoshiki uses square cloths, most modern eco bags are rectangular. To compensate for this, you can fold the excess length of the bag inward before placing your gift, effectively creating a square working surface. When wrapping, you may also find that one set of corners is significantly longer than the other. Simply use the longer corners to tie your main decorative knot, and tuck the shorter corners neatly underneath the folds. Adjusting your starting position slightly off-center can also help balance the fabric distribution.
How do I wash and maintain the eco bag after it has been used for wrapping?
Proper maintenance ensures the eco bag remains in pristine condition for future use. Always check the manufacturer’s care label inside the bag for specific washing instructions, as materials like cotton, canvas, and nylon require different care. For lightweight cotton or canvas bags, a gentle machine wash in cold water followed by air drying is usually best to prevent shrinkage. Nylon or polyester bags can be easily spot-cleaned with a damp cloth and mild soap, or hand-washed and hung to dry quickly. Ironing cotton bags on a low setting after washing will remove any deep creases from the knots, making them look brand new for the next recipient.

Community discussion
Share your experience or ask a question. Comments are reviewed before publication.