
Using a translucent pouch for gift wrapping is an elegant way to elevate your presentation, offering a sophisticated sneak peek of the item inside while maintaining an air of mystery. This wrapping style strikes a perfect balance between modern minimalism and classic charm, making it ideal for stationery, small books, cosmetics, and handmade crafts. Achieving a polished, professional finish requires careful preparation, the right materials, and a few simple techniques to ensure the pouch remains crisp, uncreased, and securely sealed.
To create a flawless presentation, you must focus on the interplay of light, texture, and structure. Because the pouch is semi-transparent, the inner lining, the gift’s shape, and the outer embellishments all work together to form a cohesive design. By mastering the art of layering and gathering, you can transform a simple translucent envelope or bag into a stunning, boutique-style gift package.
Gathering Materials and Preparing Your Gift
Before you begin wrapping, assembling the correct tools ensures a seamless process and prevents damage to your delicate wrapping materials. You will need a high-quality translucent pouch, which can be made of frosted plastic, vellum paper, or glassine. For the inner layers, gather acid-free tissue paper, colored cardstock, or shredded paper filler to provide structure and color contrast. For securing and decorating, keep double-sided tape, low-tack painter’s tape, sharp scissors, and an assortment of ribbons, twine, or decorative stickers nearby.
Products mentioned in this guide
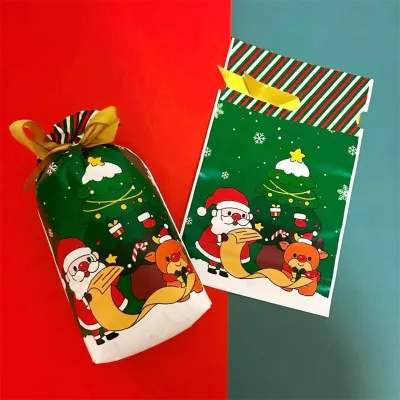
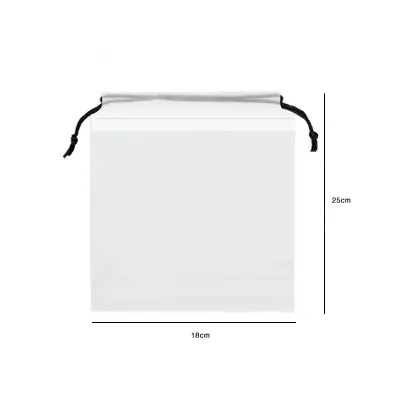
![mixshop Translucent Reusable Drawstring Bag Drawstring Pouch Travel Gift Storage Bag [7 Sizes]](https://img.lazcdn.com/g/p/88aac63a68a44464a4b65a7733ba959a.jpg_400x400q80.jpg_.webp)
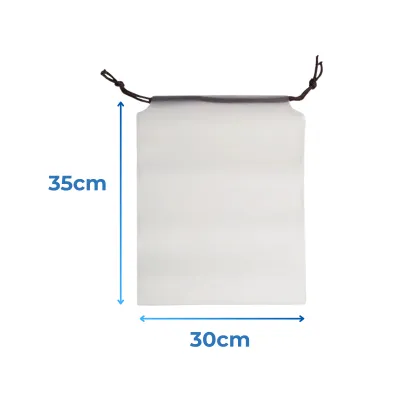
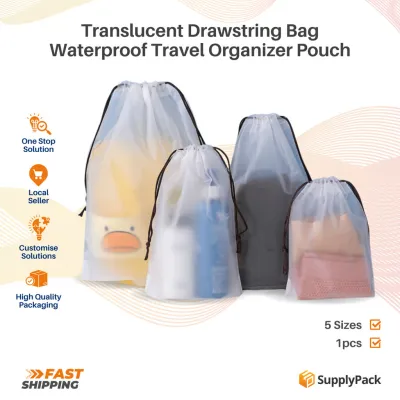
Prices are valid at publication and may change. Please refer to the product page for the latest price.
Selecting the right pouch dimensions and material thickness is critical to the success of your presentation. Measure your gift’s length, width, and depth, then choose a pouch that allows at least two to three centimeters of clearance on all sides. If your gift is relatively heavy or thick, opt for a higher-density frosted plastic or a heavyweight vellum (typically 100 GSM or higher) to prevent the pouch from sagging or tearing under the weight. Lightweight glassine or thin vellum pouches are best reserved for flat, lightweight items like letters, stickers, or small notebooks.
Preparing the gift itself is a crucial step that prevents unsightly punctures and maintains the pouch’s clean lines. If your item has sharp corners, such as a hardback book or a plastic toy box, wrap it in a protective layer of tissue paper first, or place it inside a simple cardboard gift box. For fragile items, ensure they are securely cushioned inside an inner box before sliding them into the pouch. This extra layer not only protects the gift but also provides a smooth, uniform shape that makes the translucent pouch look neat and structured.
If you plan to write directly on the translucent pouch or an attached tag, perform a quick ink compatibility test. Many frosted plastic and vellum surfaces are non-porous, meaning standard gel pens or water-based inks will smudge easily or take hours to dry. Opt for quick-drying permanent markers, pigment-based ink pads, or specialized calligraphy pens. Test your writing tool on a small, inconspicuous scrap of the pouch material first to verify the drying speed and ensure the ink does not bleed or smear when handled.
Step-by-Step Wrapping Technique for a Clean Finish
To begin the wrapping process, carefully slide your prepared gift into the center of the translucent pouch. If you are using tissue paper as an inner lining, wrap the tissue loosely around the gift before insertion, or slide a folded sheet of tissue into the pouch first to act as a backdrop. Position the gift so it sits flat and centered, leaving equal margins on the left and right sides. If the gift is small and tends to shift, place a small piece of double-sided tape on the back of the inner tissue wrap to anchor it to the bottom of the pouch.

Once the gift is positioned, you need to manage the excess material at the top of the pouch to create a clean, intentional closure. For a classic gathered neck, hold the pouch just above the top of the gift and gently pinch the sides inward toward the center. Use your fingers to guide the material into neat, accordion-style pleats rather than crushing it haphazardly. If you are working with vellum or heavy glassine, handle the material gently, as sharp, accidental creases can leave permanent white marks that detract from the polished look.
If you prefer a modern, flat envelope fold instead of a gathered neck, fold the top opening of the pouch backward to create a crisp, straight flap. Align the top edge parallel to the top of the gift, and press down gently with a bone folder or the side of a clean ruler to set the crease. For a secure and invisible seal, apply a strip of high-quality double-sided tape along the inside edge of the flap before pressing it firmly against the back of the pouch.
For the gathered neck style, securing the pleats temporarily makes the final decorating step much easier. Wrap a small, flexible wire twist-tie or a piece of low-tack painter’s tape around the gathered neck to hold the pleats in place. This temporary anchor frees up both of your hands, allowing you to measure, cut, and tie your decorative ribbons without worrying about the pouch slipping or unfolding. Once your permanent ribbon is tied securely, you can easily slide out the temporary wire or tape.
Adding Professional Embellishments and Finishing Touches
The embellishments you choose serve a dual purpose: they secure the pouch closure and elevate the overall aesthetic of your gift. Select a ribbon that complements the texture of your translucent pouch, such as a soft silk ribbon, a rustic cotton twine, or a structured grosgrain ribbon. Wrap the ribbon tightly over the temporary tie at the gathered neck, knotting it securely before tying a neat bow. Trim the ribbon ends at an angle or in a classic V-shape to prevent fraying and ensure a clean, professional appearance.
Adding a gift tag or a botanical accent provides a personalized touch that makes the presentation feel truly special. Thread a custom gift tag onto the ribbon before tying the final bow, ensuring the tag hangs flat against the front of the pouch. For a natural, organic look, tuck a small sprig of dried lavender, eucalyptus, or a pressed flower behind the ribbon knot. Avoid using heavy liquid glues directly on the translucent surface, as they can warp paper-based pouches or leave visible, messy residue through the semi-transparent material.
Color coordination is the key to achieving visual cohesion with a translucent presentation. Because the pouch softens the colors beneath it, choose an inner lining that contrasts beautifully with your outer ribbon. For example, wrapping a gift in deep forest green tissue paper inside a frosted white pouch creates a soft, muted sage effect, which pairs wonderfully with a rich gold or cream ribbon on the outside. Experiment with different color combinations to match the occasion, keeping the palette limited to two or three coordinating tones for a sophisticated look.
Troubleshooting Common Wrapping Challenges
Even with careful preparation, working with specialty wrapping materials can present a few unique challenges. If you notice that the gathered neck of your pouch looks wrinkled, uneven, or messy, do not panic. Gently loosen the temporary tie and use a wooden skewer or a clean finger to reach inside the neck, smoothing out the bunched material from the inside. Re-pleat the sides slowly, ensuring each fold is symmetrical before retightening the ribbon.
If your pouch is slightly too large and the gift slides around inside, creating an unstable presentation, you can easily create an internal anchor. Cut a piece of heavy cardstock to match the exact dimensions of the pouch’s bottom gusset or base, and slide it inside to act as a rigid platform. Place your gift on top of this platform, and fill any remaining empty space with color-coordinated shredded paper or tissue puffs. This not only keeps the gift centered but also adds a professional, filled-out look to the entire package.
Static cling is another common issue, particularly when using plastic-based translucent pouches in dry climates. Static can cause the pouch to stick tightly to the gift, making insertion difficult and attracting dust particles to the exterior. To eliminate static, gently wipe the inside and outside of the pouch with a clean, dry microfiber cloth or a dryer sheet before wrapping. This simple step neutralizes the static charge, allowing your gift to slide in smoothly and keeping the outer surface pristine and dust-free.
Frequently Asked Questions (FAQ)
Can I use a translucent pouch for heavy or sharp-edged gifts?
Yes, you can use a translucent pouch for these items, but you must take extra precautions to prevent tearing. For heavy gifts, select a thick, high-density frosted plastic pouch rather than a delicate paper vellum, and support the bottom of the pouch with a custom-cut piece of thick cardboard. To protect against sharp edges, wrap the item in several layers of tissue paper or place it inside a sturdy inner gift box before sliding it into the pouch. This distributes the weight evenly and prevents sharp corners from puncturing the semi-transparent material.
How do I seal a translucent pouch without a heat sealer?
You can easily achieve a secure, professional seal without a heat sealer by using alternative stationery adhesives. High-quality double-sided tape is an excellent option for a completely invisible hold on folded flaps. Alternatively, you can use decorative washi tape, custom wax seals, or self-adhesive stickers to secure the opening while adding a decorative element. When choosing adhesives, opt for acid-free stationery tapes, as standard packing tapes can yellow over time or leave a sticky, unsightly residue on the translucent surface if the recipient tries to open the gift carefully.
Community discussion
Share your experience or ask a question. Comments are reviewed before publication.