
Wrapping a gift in a drawstring pouch is an elegant, sustainable, and highly efficient alternative to traditional paper wrapping. Unlike paper, which requires precise cutting, folding, and tape, a fabric pouch conforms naturally to the shape of your item while offering a built-in closure system. This approach saves time during busy festive seasons and provides the recipient with a beautiful, reusable container. To achieve a polished, professional finish, you must select the right materials, prepare the contents carefully, and master a few simple arranging and tying techniques.
Preparing Your Gift and Pouch
Before placing your gift inside, ensure the pouch and the item are matched in size. Measure the gift’s height, width, and depth, and compare them to the flat dimensions of the pouch. The pouch should be at least two inches wider than the gift and three to four inches taller than its highest point. This extra height is crucial because the gathering action of the drawstring naturally reduces the usable vertical space inside the bag. If the pouch is too small, the fabric will stretch tightly, exposing the shape of the item and straining the seams.
Next, inspect the fabric of your chosen pouch for cleanliness and structural integrity. Common options include sturdy cotton canvas, luxurious velvet, sheer organza, and rustic linen. Check the exterior and interior for loose threads, lint, or dust, especially if you are using dark velvet which easily attracts debris. Test the drawstrings by pulling them back and forth through the channel. The strings should glide smoothly without snagging or catching on the inner stitching. If you notice any resistance, inspect the channel for trapped threads that might cause the fabric to bunch unevenly.
Products mentioned in this guide
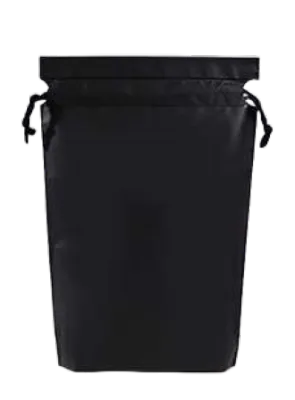
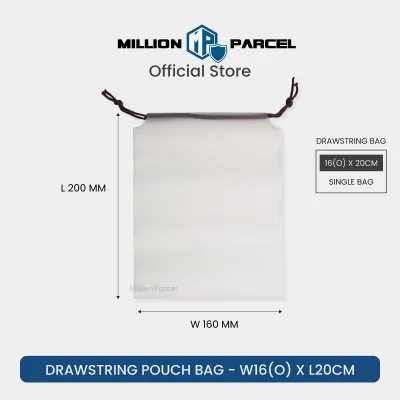
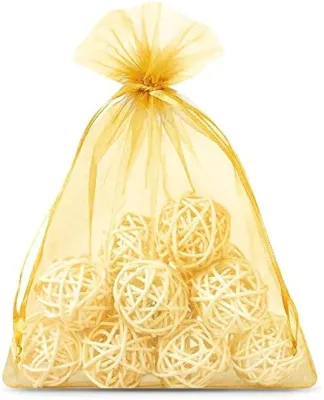
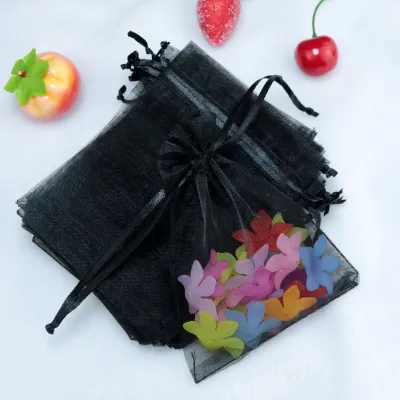
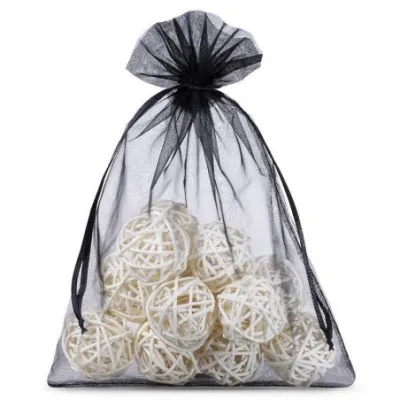
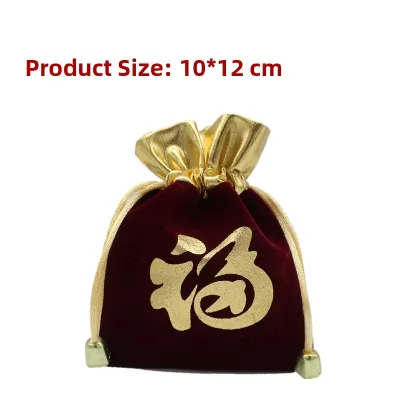
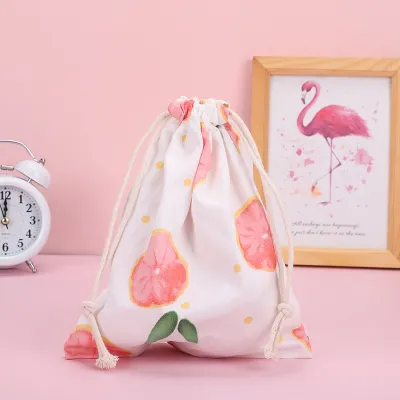
Prices are valid at publication and may change. Please refer to the product page for the latest price.
Finally, prepare the gift itself before placing it into the pouch. If your item has sharp corners, delicate edges, or fragile components, do not place it directly into a soft fabric bag. Sharp edges can easily puncture thin materials like organza or snag the weave of linen and cotton. Wrap these items in a few sheets of acid-free tissue paper or place them inside a small, plain cardboard box first. This step provides a protective barrier, creates a clean, structured silhouette, and prevents the recipient from immediately guessing the contents through the fabric.
Step-by-Step Guide to Placing and Arranging the Gift
Begin the wrapping process by establishing a solid foundation at the bottom of the pouch. If you are wrapping multiple items or a single item with an uneven weight distribution, place the heaviest or flattest object at the very bottom. This ensures the pouch can sit upright on a flat surface without tipping over, which is particularly important for display purposes. For instance, if you are gifting a combination of stationery items, place a heavy notebook or journal flat at the base before layering lighter items like pens or decorative clips on top.

When placing multiple items inside a single pouch, arrange them in a logical, layered sequence. Position the tallest items toward the back and the shorter items toward the front, facing outward. To prevent delicate surfaces from rubbing against each other and causing scratches during transit, insert small sheets of tissue paper or decorative crinkle paper between the items. This filler acts as a protective cushion while keeping each component securely in its designated position, ensuring a beautiful presentation when the recipient opens the bag.
Once the items are positioned, use your hands to smooth out the fabric around the gift. Gently pull the sides of the pouch upward and outward to eliminate any awkward bulges, folds, or trapped air pockets. Ensure the gift is centered within the pouch so that the fabric drapes evenly on all sides. If the item is sitting off-center, the pouch will lean to one side when gathered, resulting in an asymmetrical and untidy appearance. Taking a moment to align the contents now will make the final gathering process much smoother.
Securing and Finishing the Drawstring Closure
To close the pouch, locate the drawstring ends on either side of the channel. Pull both strings outward simultaneously with equal tension. This dual-pull action ensures the fabric gathers evenly around the neck of the pouch, creating a neat, symmetrical collar of ruffled fabric at the top. Avoid pulling only one side, as this will distort the channel and cause the pouch to close unevenly. Pull until the opening is completely closed, but do not force it if you feel resistance, as this indicates the pouch may be too full.
Secure the gathered opening with a clean, decorative knot. For a classic, balanced look, tie a standard square knot followed by a neat bow. If the drawstrings are made of a slippery material like satin ribbon, a standard bow may slip and untie easily; in this case, use a secure slip knot or a double-knot variation that holds its tension. For thicker cords, such as cotton twine or jute, a simple, tight half-knot followed by a crisp bow works best, as bulky knots can look clumsy on smaller pouches.
Inspect the remaining length of the drawstrings after tying the bow. If the loops or tails of the bow are excessively long and drape past the bottom of the pouch, they can look untidy and catch on other objects. You can trim the excess length with sharp fabric scissors, making sure to cut at a clean angle or seal the ends if using synthetic ribbon to prevent fraying. Alternatively, tuck the long ends neatly behind the bow or wrap them around the neck of the pouch a second time before tying to create a more compact, tailored finish.
Adding Professional Touches and Personalization
Elevate the presentation by adding a physical gift tag or a handwritten note. Instead of using adhesive labels that ruin the fabric, thread a short piece of complementary twine, thin ribbon, or metallic thread through the eyelet of your tag. Tie this thread directly around the drawstring knot or loop it through one of the drawstring cords before tying the final bow. This keeps the tag securely attached and positioned prominently at the front of the gift, allowing the recipient to read your message immediately.
Incorporate natural, seasonal elements to add texture and visual interest to the pouch. Slip a small sprig of fresh rosemary, a dried lavender stem, or a small eucalyptus leaf behind the knot of the drawstring. For a more formal or vintage aesthetic, you can attach a pre-made wax seal tag to the ribbon. These organic touches contrast beautifully with fabric textures like linen or velvet, transforming a simple pouch into a curated, artisanal gift presentation.
Keep all adhesive tapes, stickers, and liquid glues away from the fabric of the drawstring pouch. Adhesives can leave permanent sticky residues, discolor delicate fibers, or tear the surface of materials like organza and silk when removed. If you wish to secure a decorative element to the body of the pouch, use safety pins, small wooden pegs, or sew a few temporary stitches that can be easily snipped away by the recipient without damaging the reusable bag.
Common Mistakes to Avoid When Using Drawstring Pouches
One of the most common errors is attempting to fit too much into a single pouch. Overfilling prevents the drawstrings from closing completely, leaving the contents exposed and vulnerable to falling out. It also places immense pressure on the stitching of the drawstring channel and the side seams, which can lead to ripping or fraying. If you must force the strings to close, the pouch is too small; opt for a larger size or split the gifts into multiple smaller pouches.
Placing sharp, pointed, or highly textured items directly into a fabric pouch without protection is a recipe for damage. Metal corners, wire jewelry, or sharp plastic packaging can easily snag the delicate threads of velvet, silk, or organza, ruining the pouch before it is even opened. Always cushion these items with tissue paper or place them in a rigid inner box to maintain the integrity of both the gift and the wrapping material.
Tying the drawstrings with excessive force can permanently damage the pouch, particularly those made from delicate materials. Pulling too hard can rip the drawstring channel or cause the cord to tear through the fabric. Always apply gentle, steady pressure when closing the pouch, and ensure the knot is secure but not so tight that it becomes impossible for the recipient to untie without resorting to scissors.
Frequently Asked Questions (FAQ)
Can I wash and reuse a drawstring gift pouch?
Yes, most drawstring pouches are designed for long-term reuse, but the cleaning method depends entirely on the fabric. Sturdy cotton, canvas, and linen pouches can typically be hand-washed or machine-washed on a gentle cycle with mild detergent. However, delicate materials like velvet, silk, or organza should only be spot-cleaned with a damp cloth or hand-washed gently in cold water to prevent shrinking, color bleeding, or loss of texture. Always air-dry these pouches flat to maintain their shape and prevent the drawstring channel from warping.
What is the best way to wrap liquid or perishable gifts in a pouch?
When gifting liquids, cosmetics, or perishable items, safety and containment must be your primary focus. Ensure all liquid containers are tightly sealed and leak-proof, then place them inside a secondary, waterproof bag before inserting them into the fabric pouch. This precaution protects the fabric from permanent stains and prevents leaks from seeping through to other surfaces. For highly temperature-sensitive perishables, avoid fabric pouches entirely, as they do not provide the necessary insulation or climate control required to keep the items fresh.
How do I keep the gift from sliding around inside a large pouch?
To stabilize a small or lightweight gift inside an oversized pouch, use eco-friendly void fill to pack the empty space. Crinkle paper, shredded tissue, or clean fabric scraps work exceptionally well to cushion the item and hold it securely in the center of the bag. Alternatively, you can place the small gift inside a rigid cardboard box first, then slide the box into the pouch. This dual-layer approach provides a solid structure that keeps the pouch upright while preventing the gift from shifting or sliding during transit.

Community discussion
Share your experience or ask a question. Comments are reviewed before publication.