
A beautifully wrapped gift sets the tone before it is even opened, and kraft paper has become a favorite choice for its minimalist, rustic, and highly customizable aesthetic. However, because kraft paper is thicker and more resilient than standard glossy wrapping paper, achieving crisp folds and clean lines requires a specific set of techniques. The secret to a professional finish lies in precise measurements, maintaining firm tension, using a bone folder for sharp creases, and hiding your adhesive with double-sided tape. By mastering these foundational steps, you can transform a simple roll of utility paper into an elegant, high-end presentation.
What You Need: Tools and Materials for Kraft Paper Wrapping
Working with kraft paper requires tools that can handle its unique weight and texture. Unlike thin, plastic-coated wrapping papers, kraft paper is made from wood pulp using the kraft chemical process, which leaves it stronger and more fibrous. Selecting the right thickness is the first step toward a successful wrap.
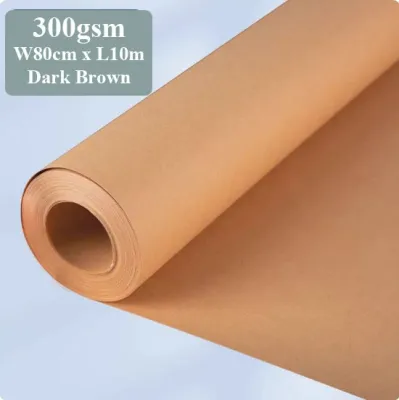
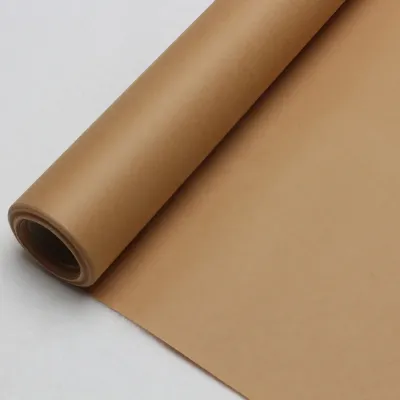
Kraft paper typically ranges from lightweight (around 50 GSM) to heavy-duty industrial rolls (over 120 GSM). For gift wrapping, beginners should look for a medium weight, ideally between 70 GSM and 90 GSM. This range provides enough structural integrity to hold sharp creases without tearing easily, while remaining pliable enough to fold around corners without creating excessive bulk. If the paper is too thin, it will puncture at the sharp corners of your gift box; if it is too thick, the folds will spring open and resist tape.
Products mentioned in this guide
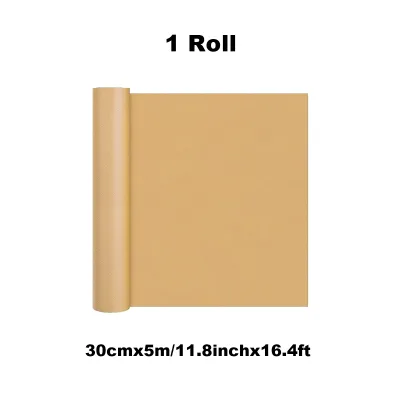
Prices are valid at publication and may change. Please refer to the product page for the latest price.
Sharp scissors are essential to prevent jagged edges along your cuts. For the ultimate professional finish, a bone folder—a smooth, hand-held tool traditionally made of bone or plastic—is invaluable for flattening folds. If you do not have a bone folder, a smooth, hard alternative like the edge of a clean metal ruler or even the back of a sturdy spoon will work. These tools allow you to apply concentrated, even pressure to form crisp creases without scuffing the paper’s surface. Always handle scissors and craft knives with care, keeping fingers clear of the cutting path.
Standard clear plastic tape often struggles to stick to the textured, organic fibers of kraft paper, and its shiny finish ruins the rustic look. Instead, double-sided tape is the gold standard for a seamless presentation because it remains completely hidden between overlapping layers. For a highly cohesive aesthetic, water-activated kraft paper tape or self-adhesive paper tape blends perfectly with the wrapping paper. If you are wrapping lightweight items and need to secure small paper flaps, a high-quality acid-free glue stick can also work, provided you allow it a few seconds of contact time to dry and bond.
How to Measure and Cut Kraft Paper Cleanly
To avoid the common mistake of using too much paper—which results in bulky, messy folds—you must measure your gift box accurately. To determine the width of the paper needed, wrap the roll loosely around the circumference of the box; the paper should overlap by about 5 to 7 centimeters. To find the correct length for the end flaps, measure the height (thickness) of the box. The paper extending past each open end of the box should be slightly more than half of the box’s height. This ensures the flaps will meet or overlap slightly without bunching up.

Once you have marked your measurements, place the kraft paper flat on a clean, hard surface. Use a long, straight edge or a metal ruler to draw a light pencil line as a guide. When cutting, keep your scissors open at a consistent angle and glide them smoothly through the paper in long, continuous strokes rather than short, choppy snips. This gliding technique minimizes jagged edges and ensures a perfectly straight line.
Kraft paper possesses a natural grain direction resulting from the alignment of its wood fibers during manufacturing. You can utilize this grain to create a clean, rustic torn edge instead of a cut line. To do this, place a metal ruler firmly along the desired line, fold the paper back against the ruler’s edge, crease it firmly with your bone folder, and then gently tear the paper upward along the crease. This produces a textured, deckled edge that looks beautiful on organic-themed gifts.
Before applying any adhesive, always perform a dry run. Roll the gift box loosely in the cut paper to verify that the edges overlap correctly and that the end flaps are the appropriate length. Adjusting your cuts at this stage is simple, whereas correcting a mistake after the tape has been applied can tear the kraft paper and force you to start over.
Step-by-Step Guide to Wrapping a Standard Rectangular Box
Wrapping and Securing the Main Body
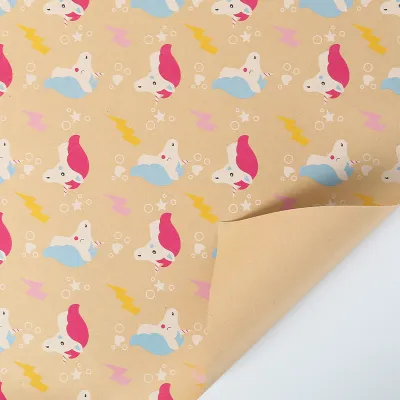
Begin by placing your cut piece of kraft paper on your work surface with the textured or patterned side facing down. Place your rectangular gift box face-down in the center of the paper. Centering the box ensures that the seams and folds will align symmetrically on the finished package. If your gift has a specific top and bottom, wrapping it face-down guarantees that the smooth, seamless side of the paper will cover the top of the gift.
Pull one side of the paper up and over the bottom of the box, aligning it so that it covers slightly more than half of the box’s width. Hold this side firmly in place. Next, take the opposite side of the paper, fold the raw edge under by about one centimeter to create a clean, finished hem, and pull it tightly over the first layer. Kraft paper requires firm, even tension to look smooth. Pull the paper snugly against the corners of the box, but do not pull so violently that the corners puncture the paper.
To secure this main seam invisibly, apply a strip of double-sided tape along the underside of the folded hem you just created. Press the hem down firmly onto the underlying paper layer, smoothing it from the center outward to prevent air bubbles from trapping underneath. This creates a clean, straight seam down the middle or edge of your box with no tape visible on the exterior.
Creating Crisp Corners at the Ends
With the main body secured, turn your attention to the open ends of the box. The classic “Envelope Fold,” often referred to as a hospital corner, is the most reliable method for a neat finish. Start by pushing the top flap of the paper straight down against the side of the box. As you push down, use your fingers to crease the resulting diagonal side flaps outward, creating two neat, triangular wings on either side.
Next, run your bone folder or fingernail firmly along the top edge of the box to sharpen the crease of this downward fold. This step is critical when working with stiff kraft paper, as it trains the fibers to lay flat rather than bowing outward. Once the top crease is sharp, fold the two side triangles inward, one at a time, pressing them flat against the side of the box. Run your creasing tool along these diagonal edges to make them razor-sharp.
You will now have a single triangular flap remaining at the bottom. Fold the raw tip of this bottom triangle inward by about one centimeter to create a clean, straight horizontal hem. Pull this bottom flap tightly upward over the folded side triangles.
To secure the end flap, apply a small piece of double-sided tape to the inside of the folded bottom hem. Press it firmly against the side of the box. Because you have creased every fold thoroughly, the paper should lay completely flat without any bulky pockets or unsightly bumps. Repeat this entire process on the opposite end of the box, ensuring that you maintain consistent tension throughout.
Troubleshooting Common Kraft Paper Wrapping Mistakes
If you find the kraft paper tearing at the corners of your box, the paper may be too thin or the corners of the box too sharp. To prevent this, ease your tension slightly when pulling the paper around the corners. For stiffer, heavier kraft paper, you can lightly score the inside of the fold line with the dull edge of your bone folder before making the fold. This pre-creasing relaxes the fibers and guides them along the fold line without splitting.
If your tape is failing to stick, the culprit is often the natural oils, texture, or recycled fibers of the kraft paper, which can resist standard adhesives. In humid climates like Singapore, moisture in the air can also weaken tape adhesive over time. Switch to a high-strength, heavy-duty double-sided tape, or use a liquid glue stick. If using liquid glue, apply a thin, even layer and hold the paper in place for 10 to 15 seconds to ensure a secure bond.
Wrinkles and bunching usually occur when the paper is not pulled tightly enough or when it is folded unevenly. To eliminate air pockets, always smooth the paper outward from the center of the box toward the edges as you secure each section. If a wrinkle forms, gently peel back the tape, smooth the paper, and re-apply it under steady tension.
Bulky corners happen when there is too much excess paper overlapping inside the folds. If your end flaps are too long, they will bunch up and resist laying flat. To fix this, use your scissors to trim a small triangle of excess paper from the inner side flaps before folding them down. Removing this hidden bulk allows the visible outer flaps to lie perfectly flush against the box.
Adapting Techniques for Cylindrical and Odd-Shaped Gifts
Wrapping cylinders, such as bottles, poster tubes, or candles, requires a departure from standard box folds. One highly effective method is the “candy wrapper” twist. Cut a piece of kraft paper that is wide enough to wrap around the cylinder and long enough to extend several centimeters past both ends. Secure the main body seam with double-sided tape. Then, gently gather the excess paper at each end, twist it tightly close to the item, and secure the twists with jute twine or ribbon, leaving the ends flared open like a classic sweet wrapper.
Alternatively, for a flat finish on a cylinder’s ends, you can use a pleating method. Fold the paper around the cylinder’s body and tape it. At the ends, make a series of small, overlapping triangular pleats, folding them inward toward the center of the circle. Work your way around the circumference, creasing each pleat firmly as you go, and secure the final pleat in the center with a small piece of double-sided tape or a decorative sticker.
Kraft paper’s natural rigidity can be an asset when wrapping semi-regular shapes, such as soft clothing or books. You can use this stiffness to fold the paper into clean, geometric envelopes or origami-style pouches that maintain their shape and protect the item inside without requiring a rigid inner box.
However, some items are too irregular, fragile, or heavy for direct wrapping. If an item has sharp, protruding edges or lacks any flat surfaces, attempting to wrap it directly in kraft paper will likely result in unsightly tears and awkward bulk. In these scenarios, it is best to place the item inside a sturdy cardboard box first, or use a pre-made kraft paper gift bag. This preserves the clean, minimalist aesthetic while ensuring the gift remains secure and presentable.
Adding Finishing Touches for a Polished Look
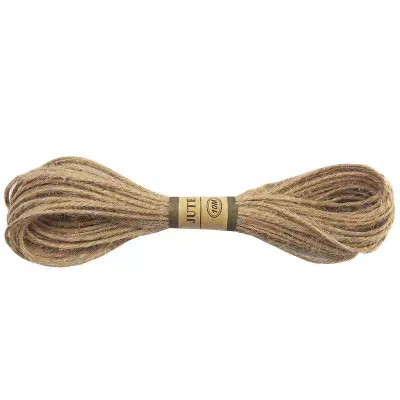
The neutral, earthy tone of kraft paper makes it the perfect canvas for natural embellishments. Pair your wrapped gift with organic textures like jute twine, cotton baker’s twine, or thick linen ribbon. Tucking a small sprig of dried lavender, eucalyptus, or a pine branch under the ribbon adds a beautiful touch of color and texture that complements the rustic aesthetic.
Because kraft paper is uncoated and highly absorbent, it is incredibly easy to write on or customize. Use custom rubber stamps with black ink, stencils, or white paint pens to draw minimalist patterns, write personalized holiday messages, or create elegant hand-lettered gift tags directly on the paper. The contrast of white ink or dark black stamps against the warm brown paper creates a striking, high-contrast look.
Before presenting your gift, conduct a quick final inspection. Check all seams to ensure the double-sided tape is holding securely and that no raw edges are peeling back. Wipe away any stray pencil marks from your measurements, and run your fingers along the corners one last time to ensure they are sharp, symmetrical, and completely free of visible tape residue.

Community discussion
Share your experience or ask a question. Comments are reviewed before publication.