
Wrapping a gift beautifully does not always require traditional paper. A happy birthday plastic bag offers a vibrant, moisture-resistant, and highly durable alternative, provided you use the correct techniques. Unlike paper, plastic behaves differently under tension; it stretches, clings due to static electricity, and can show unsightly tape lines if not handled with care. To achieve a neat, professional finish, you must focus on precise folding, strategic adhesive placement, and proper sizing. By mastering these adjustments, you can transform a standard plastic bag into a crisp, elegant presentation that protects the gift and looks incredibly polished.
What You Need Before You Start
To ensure a seamless wrapping process, gathering the correct tools beforehand is essential. The primary item is the happy birthday plastic bag. When selecting your bag, pay close attention to its material properties. Look for a medium-to-heavy gauge plastic, such as polypropylene, which offers better structural integrity and opacity, ensuring the gift remains a surprise. Flimsy, ultra-thin bags tend to wrinkle easily and tear at the corners.
Next, select your adhesives carefully. Standard clear tape works well for structural reinforcement on the underside, but double-sided tape is highly effective for securing visible seams. Double-sided tape creates an invisible bond, hiding the adhesive points entirely and maintaining a clean exterior. Because adhesive strength varies depending on the specific plastic material and print coating, perform a quick trial by pressing a small piece of tape onto an inconspicuous area of the bag to verify it holds securely without peeling.
Products mentioned in this guide
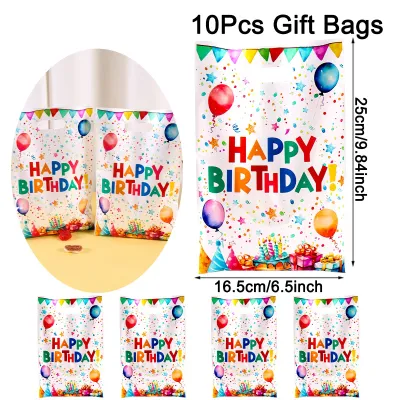
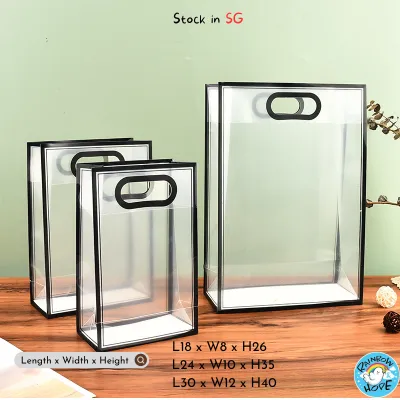
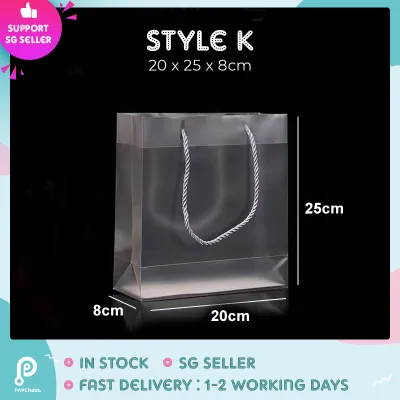
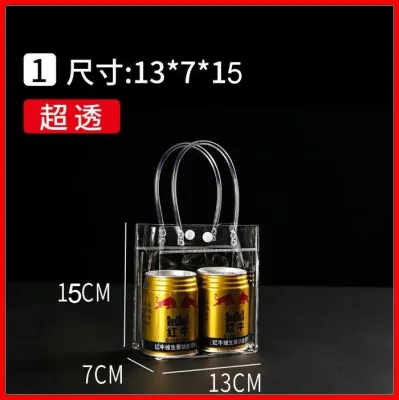
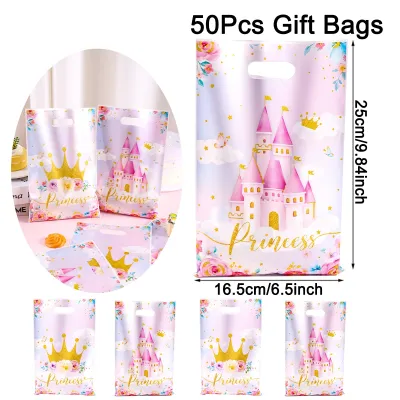
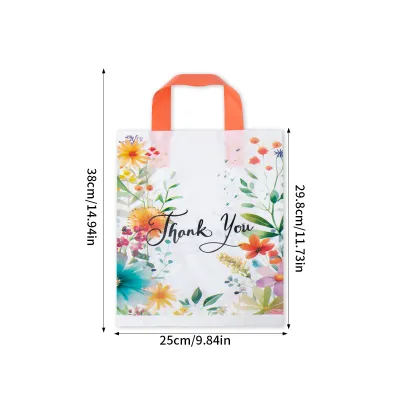
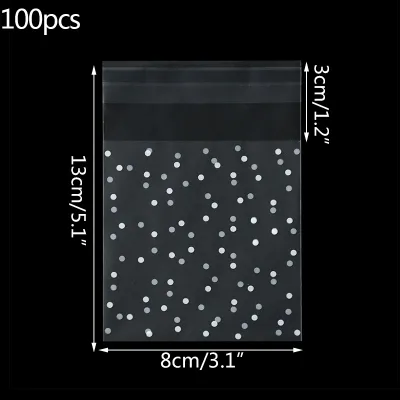
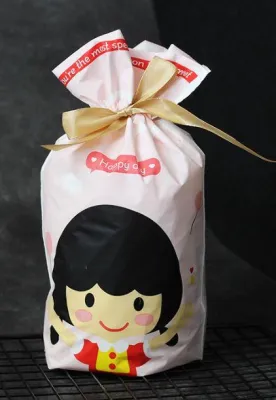
Prices are valid at publication and may change. Please refer to the product page for the latest price.
You will also need sharp scissors to trim excess material cleanly without leaving jagged edges. For decorative elements, prepare coordinating ribbons, curling ribbons, pre-made bows, or personalized gift tags. If you are wrapping a soft or highly irregular item, consider using a thin piece of cardboard as a stabilizer. Placing a cardboard base inside the bag helps the plastic maintain a flat, crisp shape, preventing the gift from sagging or bunching awkwardly.
Since this process involves sharp cutting tools and adhesives, ensure you work on a flat, stable surface. Keep scissors and small decorative pieces like plastic clips or tiny bows out of reach of young children to prevent accidental injury.
How to Choose the Right Size Happy Birthday Plastic Bag
Selecting the correct bag dimensions is a critical step in preventing excessive wrinkling or accidental tearing. If the bag is too large, you will end up with bulky, overlapping folds that look messy. If it is too small, the plastic will stretch tightly over the gift, risking a blowout at the seams.

To find the perfect fit, start by measuring your gift box’s length, width, and height using a standard ruler or measuring tape.
To calculate the required bag width, add the width of the gift to its height, and then add a small allowance of about 2 to 3 centimeters for the side folds. This ensures the bag can wrap entirely around the sides of the box with a slight overlap.
To calculate the required bag height, add the height of the gift to its width (which covers the bottom fold), and then add an extra 10 to 15 centimeters of length. This extra length is crucial; it gives you enough material to either fold the top down neatly or gather it into a decorative flare.
If you are wrapping a thicker, bulkier item, check if the plastic bag features a gusset. A gusset is an extra fold of material along the sides or bottom that expands when filled. Gusseted bags are highly recommended for deep boxes or plush items, as they naturally conform to three-dimensional shapes without pulling or distorting the printed birthday design.
Step-by-Step Guide to Wrapping a Gift Box in a Plastic Bag
Wrapping a gift box with a plastic bag requires a gentle touch and a systematic approach. Because plastic does not hold a crease naturally the way paper does, you must guide the material carefully to avoid permanent, unsightly stretch marks. The following steps will guide you through preparing the bag, executing precise folds, and securing the final package for a polished look.
Preparing the Bag and Positioning the Gift
Begin by laying your happy birthday plastic bag flat on a clean, dust-free work surface. Gently open the bag completely, running your hand inside to smooth out any factory creases or static cling. Static electricity can cause the plastic to stick to itself or attract dust particles, so smoothing it out beforehand is vital.
Place your gift box face down inside the bag, or center it at the bottom if you are using a flat-bottomed bag. Placing the box face down ensures that the cleanest, smoothest side of the plastic will cover the front of the gift, while all the seams and tape points remain hidden on the back. Ensure there are equal margins of plastic extending on both the left and right sides of the box.
To keep the box from sliding around while you fold, apply a small piece of double-sided tape to the bottom of the gift box before positioning it. Press the box gently against the plastic to anchor it in place. This simple trick prevents the gift from shifting, allowing you to pull the plastic taut and achieve much crisper folds.
Folding the Sides for Clean Edges
Once the gift is anchored, it is time to fold the sides. Unlike paper, which creases sharply with a fingernail, plastic must be folded using the flat of your hand or fingers to avoid puncturing or stretching the material.
Start on one side of the box. Push the excess plastic on the left and right sides inward toward the center of the box’s edge. This action will naturally form two triangular flaps—one at the top and one at the bottom of the side panel.
Fold the top triangular flap down flat against the side of the box, followed by the bottom triangular flap folding upward. Keep the tension firm but gentle; pulling too hard will cause the plastic to warp or create permanent white stress marks on colored designs.
Secure these overlapping flaps in place using a small strip of double-sided tape placed between the layers. Press down firmly with the flat side of your hand to seal the bond. Repeat this exact process on the opposite side of the box, ensuring both sides look symmetrical and tight.
Securing the Top and Adding Finishing Touches
With the sides neatly folded and secured, you are left with the open top of the bag. Depending on the style of your happy birthday plastic bag, you can either fold this excess material down flat or gather it for a festive look.
If you prefer a clean, boxy appearance, fold the top excess plastic down against the back of the gift box, just like the flap of an envelope. Secure it with a strip of double-sided tape along the edge to keep the seam completely invisible.
If you prefer a more traditional gift-bag look, gather the excess plastic at the top evenly, pinching it together just above the gift box. Tie a coordinating ribbon or curling ribbon tightly around this gathered neck to secure it. You can use scissors to curl the ribbon ends for an extra touch of flair.
To complete the presentation, attach a pre-made bow directly over the folded seam or the gathered knot. This not only adds a beautiful decorative element but also cleverly conceals any visible tape or minor imperfections. Finally, slide a personalized gift tag under the ribbon, ensuring all raw plastic edges are neatly tucked away.
Pro Tips for Preventing Tears and Awkward Wrinkles
Working with plastic wrapping materials can sometimes present unique challenges, but a few professional techniques can help you achieve a flawless finish every time.
One common issue is static electricity, which makes the plastic cling awkwardly to your hands or the gift box. To combat this, you can lightly wipe the plastic bag with a dryer sheet before wrapping, or work on a wooden or cotton surface rather than synthetic materials that generate static.
If you notice minor wrinkles or fold lines in the plastic after wrapping, you can use a hairdryer to smooth them out. Set the hairdryer to its cool or lowest warm setting and hold it at least 30 centimeters away from the package. Gently sweep the airflow over the wrinkled areas. The mild warmth will cause the plastic to contract slightly and smooth out. Warning: Never use high heat or hold the hairdryer too close, as this will instantly melt the plastic, ruin the design, and potentially damage your gift.
If you are wrapping a heavy item or using a thin plastic bag, reinforce the base. Cut a piece of thin cardboard to match the dimensions of the bottom of your gift box and place it inside the bag first. This distributes the weight evenly and prevents the corners of the box from tearing through the plastic.
Additionally, sharp corners on gift boxes are notorious for puncturing plastic. To prevent this, apply a small piece of clear tape directly over each sharp corner of the box before placing it inside the bag. This acts as a protective buffer, ensuring the plastic slides smoothly over the corners without catching or tearing.
Frequently Asked Questions (FAQ)
Can I wrap odd-shaped items in a plastic bag?
Yes, odd-shaped items like plush toys, bottles, or spherical gifts can be wrapped beautifully in a plastic bag. Instead of attempting flat, geometric folds, use the gathering and cinching method. Place the item in the center of the bag, gather all the excess plastic at the top, and tie it securely with a ribbon. To help the package maintain a full, rounded shape and hide the item’s contours, pack crumpled tissue paper around the gift inside the bag. Always check the item for any sharp protrusions first, and wrap those specific areas in tissue paper or bubble wrap to prevent them from piercing the plastic.
How do I stop the plastic bag from slipping off the gift?
To prevent the plastic bag from slipping or sliding off the gift, use double-sided tape strategically on the inside seams, side folds, and bottom. Anchoring the plastic directly to the gift box ensures it stays taut and in place. Additionally, make sure you choose a bag size that fits snugly; an oversized bag creates loose, shifting folds that easily slip. If you are gathering the top of the bag, tie a tight, secure knot with a sturdy string or ribbon first before adding decorative bows, as this structural knot will bear the weight of the gift if it is carried.
Community discussion
Share your experience or ask a question. Comments are reviewed before publication.