
Wrapping a gift beautifully does not require expensive, glossy paper covered in busy patterns. Plain packing paper, often referred to as kraft paper, offers a clean, minimalist, and highly customizable canvas that elevates any present. The secret to achieving a neat, professional finish lies in precise measurements, sharp creases, and hidden adhesive seams. By mastering a few fundamental folding techniques, you can transform a simple roll of utility paper into an elegant, tailored presentation.
Using packing paper is also a highly practical choice. It is sturdy, resistant to accidental tears during the wrapping process, and incredibly versatile. Whether you are preparing a gift for a formal occasion or a casual gathering, this step-by-step guide will walk you through selecting the right materials, measuring accurately, folding flawless corners, and adding sophisticated finishing touches.
Choosing the Right Packing Paper and Tools
Not all packing papers are created equal, and selecting the right variety is the first step toward a polished result. Standard kraft wrapping paper is typically smoother, slightly heavier, and sold in rolls specifically finished for presentation. In contrast, plain protective packing paper—the type often used for shipping or moving—is softer, more absorbent, and has a slightly textured, rustic finish. While both can be used for gift wrapping, finished kraft paper is generally easier to fold cleanly, whereas protective shipping paper offers a highly textured, organic aesthetic.
Products mentioned in this guide
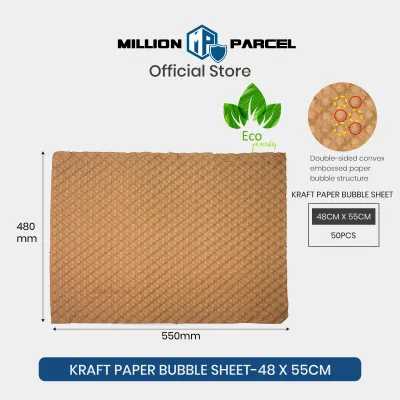
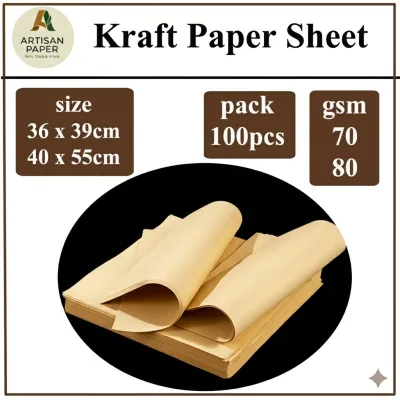
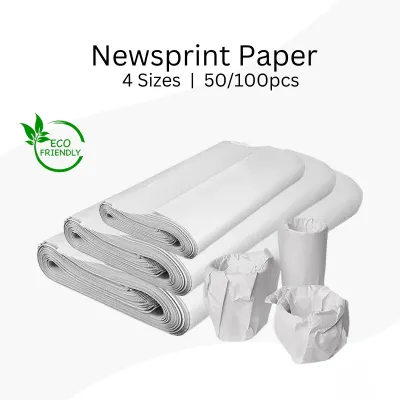
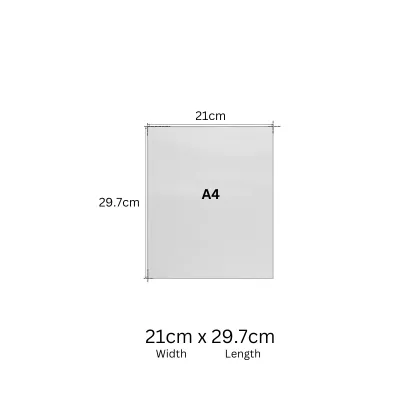
Prices are valid at publication and may change. Please refer to the product page for the latest price.
When selecting your paper, pay close attention to the paper thickness, which is measured in grams per square meter (gsm). Paper with a weight of 70 gsm to 80 gsm is ideal for most gift-wrapping tasks. This thickness is sturdy enough to resist tearing on sharp box corners, yet pliable enough to hold sharp, crisp creases. Paper that is too thin (under 50 gsm) tends to tear easily and may allow the design of the inner box to show through. Conversely, paper that is too thick (over 100 gsm) is difficult to fold tightly around small boxes and often springs open, putting excess tension on your tape.
To achieve a clean finish, gather the following essential tools before you begin:
- Sharp scissors or a rotary paper cutter: Dull blades will snag and fray the edges of raw packing paper.
- Double-sided tape: This is the ultimate secret to professional wrapping, as it hides all adhesive seams completely.
- A bone folder or a plastic ruler: This tool is used to press down and sharpen every fold, ensuring the paper hugs the box tightly.
- A flat, clean cutting surface: A large self-healing cutting mat or a clean table protects your paper from dust and scratches.
For safety, always cut away from your body when using utility knives or scissors, and keep your cutting tools flat against your work surface to prevent slips.
Measuring and Cutting the Paper to Size
One of the most common mistakes in gift wrapping is using too much paper. Excess paper creates bulky, uneven folds that ruin the clean lines of your package. Conversely, using too little paper leaves gaps that expose the gift box underneath. Taking a moment to measure your box against the paper before cutting ensures a perfect fit every time.

To calculate the correct width, place your gift box face down on the unrolled paper. Pull the paper up and over the top, bottom, and sides of the box. The paper should wrap completely around the box with an overlap of approximately 3 to 5 centimeters. This overlap provides a clean margin to fold a finished edge and secure it with double-sided tape.
To calculate the correct length for the ends of the box, look at the paper extending past the open sides. The paper on each side should extend outward by roughly two-thirds of the box’s depth. For example, if your box is 6 centimeters deep, the paper extending from each open end should be about 4 centimeters long. If the paper is longer than this, trim the excess; otherwise, the paper will bunch up and create unsightly bulk when you fold the end flaps.
If your packing paper does not have a printed grid on the reverse side, cutting a straight line can be challenging. To solve this, use a long metal ruler and a pencil to draw a light guideline on the back of the paper before cutting. Alternatively, you can fold the paper over itself at the desired measurement point, press to create a sharp crease, and then carefully slide your scissors along the inside of the crease to achieve a perfectly straight edge.
Step-by-Step Wrapping Technique
Once your paper is cut to the correct dimensions, you are ready to wrap. Place your gift box face down in the exact center of the cut paper. Placing the box face down ensures that all main seams and tape lines remain hidden on the bottom of the finished package.
Pull one long side of the paper over the bottom of the box, aligning it so it covers slightly more than half of the box’s width. Secure this side temporarily to the box with a small piece of tape. Next, take the opposite long edge of the paper and fold it inward by 1 centimeter to create a clean, straight, folded seam. Pull this folded edge tightly over the box, overlapping the first side, and secure it using a strip of double-sided tape placed along the underside of the fold. Press firmly to seal the seam.
Now, turn the box so one of the open ends faces you. Push the top flap of the paper straight down against the side of the box. As you push down, use your fingers to smooth the paper flat against the box, which will naturally create two neat, diagonal creases on the left and right sides. Run your bone folder along the top edge of the box to make this fold incredibly sharp.
Next, fold the left and right side flaps inward against the box. Press them firmly against the sides, ensuring the paper hugs the corners tightly. This action will leave you with a single triangular or trapezoidal flap at the bottom. Use your bone folder to sharpen the diagonal creases on this remaining bottom flap.
Before securing the bottom flap, fold its raw edge inward by about 1 centimeter to hide the cut line. Apply a strip of double-sided tape to this folded edge. Pull the flap tightly upward against the side of the box, press it firmly to secure the tape, and smooth it out. Repeat this entire process on the opposite end of the box.
To finish, run your fingers or a bone folder along all twelve edges of the wrapped box. Sharpening these creases is the final touch that transforms a slightly loose wrap into a crisp, professional, and tailored package.
Adapting the Technique for Oddly Shaped Gifts
Not all gifts come in neat rectangular boxes. When wrapping cylindrical, irregular, or fragile items with packing paper, you must adapt your folding technique to accommodate the shape without tearing the paper.
For cylindrical items, such as bottles, jars, or poster tubes, roll the item tightly in the packing paper, leaving enough excess paper at both ends equal to the radius of the cylinder. Secure the long seam with double-sided tape. At each open end, make small, neat, overlapping pleats by folding the paper inward toward the center, rotating the cylinder slowly as you work. Once all the pleats meet in the center, secure them with a decorative sticker, a wax seal, or a small dab of adhesive.
For irregular or fragile items, wrapping the object directly can lead to awkward creases and accidental punctures. Instead, create a simple paper pouch. Fold a piece of packing paper in half, and seal the two side edges using double-sided tape to create an open envelope. Slide your gift inside, fold the top open edge down twice by 1 centimeter to seal it, and secure it with tape or a decorative clip. This method protects the item while maintaining a clean, intentional presentation.
If an item is highly complex, sharp, or fragile, the most reliable approach is to place it inside a sturdy cardboard box first. Fill any empty space inside the box with crumpled tissue paper or shredded packing paper to prevent the item from shifting. Once the item is secure inside the box, you can wrap the box easily using the standard rectangular technique.
If you find that the packing paper repeatedly tears or creases awkwardly despite your best efforts, do not force it. Packing paper is sturdy but has limits to its flexibility. In these cases, it is best to switch to a high-quality paper gift bag or use a fabric wrapping technique, which naturally conforms to unusual shapes without tearing.
Adding Finishing Touches and Decorations
Because plain packing paper is neutral and understated, it serves as the perfect backdrop for creative embellishments. You can easily elevate the rustic or minimalist aesthetic of the paper by selecting complementary ribbons, natural elements, or personalized designs.
When choosing ribbons, natural materials pair beautifully with the earthy tone of brown kraft paper. Cotton twine, jute string, or rustic hemp cord offer a classic, understated look. If you prefer a more sophisticated contrast, opt for wide satin, velvet, or grosgrain ribbons in deep jewel tones such as forest green, burgundy, or navy blue. These rich textures and colors stand out beautifully against the matte finish of the paper.
Incorporating natural elements is another excellent way to decorate your gift. You can tuck a small sprig of dried lavender, a preserved eucalyptus leaf, or a cinnamon stick under the twine. Because Singapore’s humid climate can cause fresh botanical elements to wilt or lose their color quickly, opting for dried or preserved botanicals ensures that your decorations remain pristine and beautiful until the gift is opened.
Finally, take advantage of the plain surface of the packing paper to add custom personalization. You can use ink stamps with geometric patterns, write a personalized message directly on the paper using a white gel pen or a metallic marker, or use stencils to create custom borders. Because packing paper is often uncoated and porous, water-based inks may feather or bleed. Before writing or stamping directly on your wrapped gift, always perform a quick trial on a scrap piece of the same paper to verify the drying speed, check for smudging, and ensure the ink does not bleed through.
Community discussion
Share your experience or ask a question. Comments are reviewed before publication.