
Wrapping a gift neatly using a gift wrapper roll is an art of precision, tension, and clean lines. Achieving a professional, store-bought finish does not require specialized training; instead, it relies on accurate measurements, sharp creases, and the strategic concealment of adhesives. By mastering a few fundamental techniques, you can transform a standard roll of wrapping paper into a tailored, elegant presentation that honors the recipient and elevates the gift-giving experience.
Essential Tools and Materials for Clean Wrapping
Selecting the right materials is the first step toward achieving a flawless finish. Gift wrapping paper rolls typically range in weight from 60 to 90 grams per square meter (GSM). Thinner papers tear easily under tension, while papers over 100 GSM can be bulky and difficult to fold cleanly. Matte and kraft finishes are highly forgiving for beginners, whereas high-gloss and metallic papers tend to show every fingerprint, scratch, and accidental crease.
Your choice of cutting tool directly impacts the neatness of your edges. Standard household scissors often leave jagged, uneven lines, so using a dedicated wrapping paper cutter or a sharp utility knife paired with a metal ruler is highly recommended. For adhesives, standard clear tape remains highly visible on the surface, whereas double-sided tape allows you to create hidden seams by hiding the adhesive beneath the paper overlap. Finally, a bone folder or the smooth edge of a plastic ruler is invaluable for pressing folds flat without tearing the delicate paper fibers. Because this process involves sharp blades, always work on a stable, flat surface and keep cutting tools safely out of reach of children.
Products mentioned in this guide
![[5 Meter Roll] [WRP 14] Christmas Wrapping Paper | Gift Wrapper | Xmas Wrapping Paper | Xmas Wrapper](https://img.lazcdn.com/g/p/e772ccaaf746e19b06e20b1d732bb0c0.jpg_400x400q80.jpg_.webp)
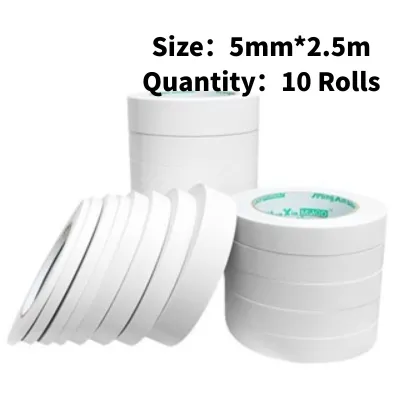
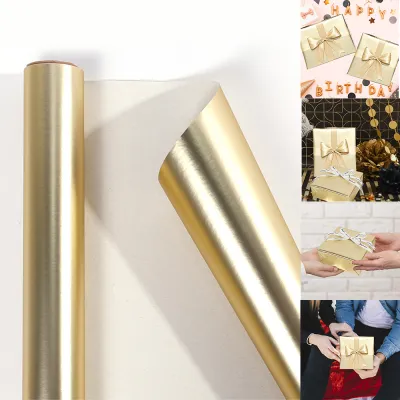
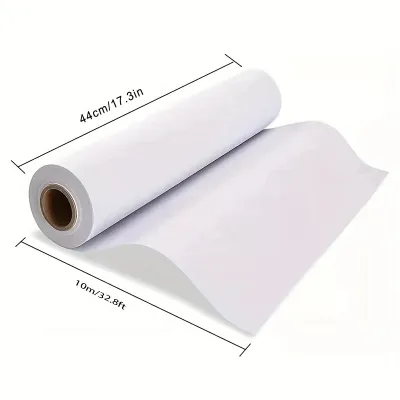
Prices are valid at publication and may change. Please refer to the product page for the latest price.
Step 1: Measuring and Cutting the Paper to Size
The most common cause of messy wrapping is using too much paper, which creates bulky, uneven folds. To begin, unroll your gift wrapper roll on a clean, flat surface. Place your gift box face-down on the unrolled paper so that all seams and tape lines will eventually be hidden on the bottom of the package.

To calculate the required length of paper, pull the paper up and over the far side of the box, then pull the roll over the near side. The paper should wrap completely around the box with an overlap of approximately 3 to 5 centimeters. Mark this point lightly with a pencil.
To calculate the required width for the end flaps, measure the height of the box. The paper extending from each open end of the box should equal roughly three-quarters of the box’s height. If the paper is too long, it will bunch up when folded; if it is too short, it will not cover the sides of the box.
Once your dimensions are marked, use a long ruler to draw a straight cutting line, or follow the grid lines printed on the reverse side of many high-quality gift wrapper rolls. Slide your scissors or paper cutter smoothly along the line in a single, continuous motion to prevent jagged edges.
Step 2: Wrapping the Main Body and Securing the Seam
With your paper cut to the exact dimensions, center the face-down box on the sheet. If your paper has a directional pattern, stripes, or a grid, align the edges of the box precisely with these lines to ensure the final presentation looks symmetrical and balanced.
Pull one long edge of the paper over the bottom of the box, aligning it slightly past the center line. Secure this edge to the box with a small piece of double-sided tape to keep the paper from shifting as you work.
Next, fold the opposite long edge of the paper over the box. Before securing it, fold the raw edge of this top sheet under by about 1 centimeter to create a clean, finished hem. Pull the paper taut—but not so tight that it tears—to eliminate any slack or air pockets.
Apply a strip of double-sided tape along the inside of the folded hem, then press it firmly down onto the bottom sheet. This creates a clean, hidden seam. Run your fingers along the longitudinal edges of the box, pinching the paper gently against the corners to establish sharp, crisp folds.
Step 3: Folding the Ends for a Crisp, Tailored Look
Now turn your attention to the open ends of the box. Start on one side by pushing the top flap of paper downward against the side of the box. As you push it down, use your fingers to crease the paper sharply along the top edge of the box, creating two diagonal side flaps.
Next, fold the left and right side flaps inward. Press them flat against the side of the box, creasing the diagonal edges firmly. This step should create a clean, symmetrical triangle pointing downward at the bottom.
Fold the raw edge of the remaining bottom triangle upward by about 1 centimeter to create a clean hem, just as you did with the main seam. Pull this bottom flap upward tightly against the side of the box, ensuring there is no loose paper or bulging at the corners.
Secure the bottom flap in place using a small piece of double-sided tape hidden underneath the fold. Repeat this entire process on the opposite end of the box, maintaining consistent tension throughout to prevent the paper from shifting or warping.
Step 4: Adding Ribbons and Final Touches
A beautifully wrapped package is elevated by the addition of a complementary ribbon. Select a ribbon width that matches the scale of your gift; a wide satin ribbon works well on large boxes, while a delicate twine or narrow grosgrain ribbon is ideal for smaller packages.
To tie a classic cross-knot, measure a length of ribbon roughly five times the length of the box. Place the center of the ribbon across the top of the box, wrap it around to the bottom, cross the ends over each other at a 90-degree angle, and bring them back up to the top.
Thread the ends under the original center loop, pull them taut, and tie a secure double knot. Fashion the remaining ends into a neat bow, trimming the tails at a 45-degree angle or cutting a decorative \”V\” shape into the tips to prevent fraying.
Attach a handwritten gift tag by threading it through the ribbon before tying the final bow, or secure it flat to the surface using a tiny piece of double-sided tape. Perform a final inspection of the package, smoothing out any minor wrinkles and ensuring all seams are flat and secure.
Troubleshooting Common Wrapping Challenges
If you notice wrinkled surfaces after securing the main seam, the paper may have been pulled unevenly. To fix this, carefully peel back the tape, realign the paper, and pull it smoothly from the center outward before re-taping.
Thick, textured, or heavy-gauge papers often resist folding and can spring open or tear at the corners. To manage heavy papers, use a bone folder to score the fold lines lightly before making the actual fold, and use a stronger adhesive tape to hold the stubborn seams in place.
If you cut the paper too short and find a gap at the seam, do not discard the sheet. You can cover the gap by wrapping a contrasting band of paper around the center of the box, creating a stylish \”belly band\” effect that looks intentional.
Awkwardly shaped items or soft goods like clothing can be difficult to wrap directly. Place these items inside a sturdy cardboard gift box or a simple paper gift bag first, then wrap the box or decorate the bag using your gift wrapper roll for a clean, structured finish.
Frequently Asked Questions (FAQ)
How do I wrap a cylindrical item using a gift wrapper roll?
To wrap a cylinder, roll the item in the paper to determine the length, leaving a 2-centimeter overlap, and cut. The paper extending from the flat ends should equal slightly more than the radius of the cylinder. Secure the main longitudinal seam with double-sided tape. For the ends, you can pleat the paper inward in small, overlapping folds toward the center, securing the final pleat with a sticker or tape. Alternatively, gather the excess paper tightly at each flat end and tie it off with ribbon to create a classic, elegant cracker or candy-wrapper shape.
What is the best way to store a gift wrapper roll to prevent damage?
To keep your gift wrapper rolls in pristine condition, store them vertically in a tall, dry container, such as a clean wastebasket or a dedicated cardboard storage tube. This prevents the edges of the paper from getting crushed or torn. Keep the rolls out of direct sunlight and away from humid areas, as moisture can warp the paper and UV rays can fade the printed designs over time. To prevent the rolls from unravelling, secure the loose ends with gentle silicone slap bands, toilet paper rolls cut lengthwise, or low-tack painter’s tape that will not tear the surface when removed.
Community discussion
Share your experience or ask a question. Comments are reviewed before publication.