
Organza bags offer an elegant, semi-sheer wrapping solution that instantly elevates the presentation of any gift. Their delicate weave and soft shimmer provide a clear peek at the contents inside while maintaining an air of mystery and sophistication. Whether you are preparing party favors, delicate stationery, or artisanal soaps, mastering the art of the organza wrap ensures your tokens look intentional and thoughtfully curated.
Achieving a polished look requires more than simply dropping an item inside and pulling the strings. By understanding how to select the correct bag size, position the contents strategically, and dress the drawstrings, you can transform a basic mesh pouch into a stunning gift presentation. This guide walks you through the step-by-step techniques to ensure your gifts sit beautifully, stay secure, and leave a lasting impression on your recipients.
Preparing Your Gift and Selecting the Right Organza Bag
Selecting the appropriate size is the foundation of a neat presentation. An organza bag that is too small will stretch the delicate fabric, distorting the weave and leaving the drawstring unable to close completely. Conversely, a bag that is too large can make the gift look swallowed and messy. To find the ideal fit, measure the height, width, and depth of your gift, then choose a bag that provides at least two to three inches of clearance above the item when it sits at the bottom. This extra space is essential for gathering the fabric beautifully at the top.
Products mentioned in this guide
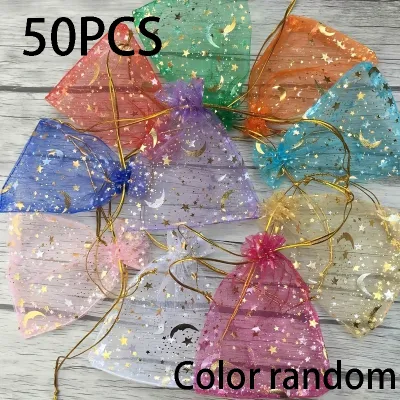
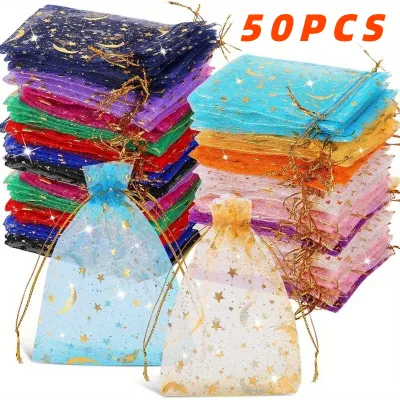
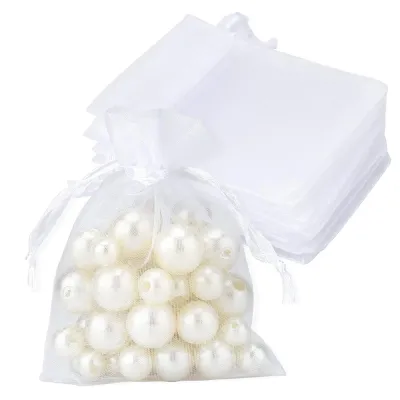
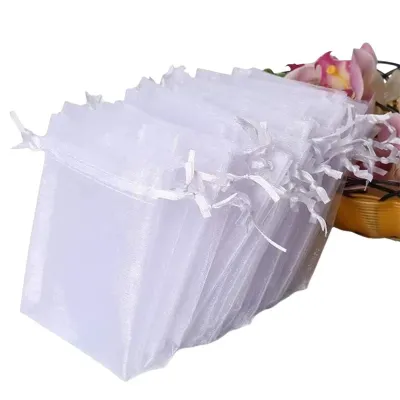
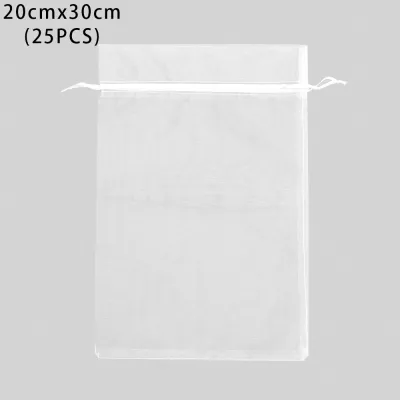
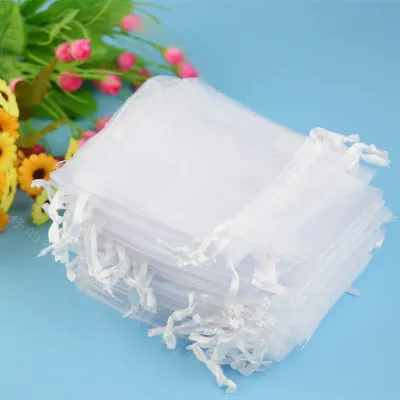
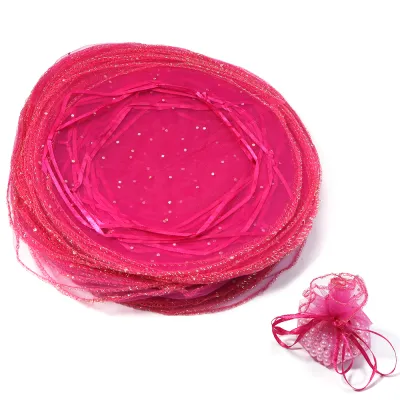
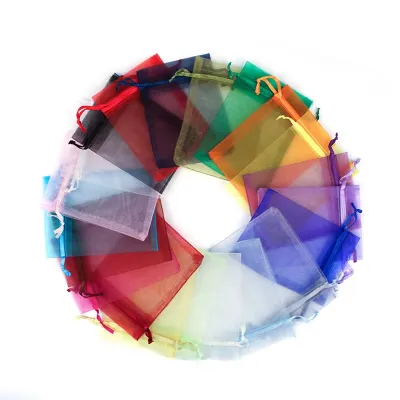
Prices are valid at publication and may change. Please refer to the product page for the latest price.
Before placing your item inside, inspect it thoroughly for any sharp edges, rough corners, or decorative elements that could snag the delicate mesh. Items like metal jewelry, textured packaging, or unfinished wooden crafts can easily catch on the fine threads of the organza, causing unsightly pulls or tears. If you detect any potential snagging points, consider wrapping the item in a thin layer of smooth tissue paper or placing it in a small protective sleeve first.
It is equally important to inspect the organza bag itself before you begin wrapping. Examine the side seams to ensure they are fully stitched and free of loose threads that could unravel under tension. Test the built-in drawstring by gently pulling it closed and opening it again; the ribbon should glide smoothly through the channel without catching or bunching. Identifying any structural flaws early prevents the frustration of a torn bag or a stuck drawstring mid-wrap.
Positioning the Item for a Balanced Look
The way an item sits inside the bag determines its overall visual balance and stability. Begin by opening the organza bag fully, using your fingers to gently expand the bottom corners from the inside. Drop your gift slowly into the center of the bag, ensuring it rests flat against the bottom seam. This creates a stable base, allowing the wrapped gift to stand upright or sit neatly on a flat surface without tipping over.

Different item shapes require distinct positioning strategies to maintain a symmetrical silhouette. For flat items, such as gift cards, notebooks, or compact mirrors, align the flat face of the item parallel to the flat sides of the bag. For irregularly shaped items, like round bath bombs or molded candles, center the bulk of the weight at the very bottom and arrange any decorative protrusions upward. This alignment ensures the sheer fabric drapes evenly around the item rather than pulling tightly on one side.
Pay close attention to how the corners of your gift interact with the sheer mesh. Even if an item does not have sharp edges, prolonged pressure from a pointed corner can stretch the organza, creating a distorted, stressed appearance. If you notice a corner pressing tightly against the fabric, gently shift the item’s angle or add a small piece of matching tissue paper to cushion the contact point. This simple adjustment preserves the smooth, airy look of the bag.
Gathering and Tying the Drawstring Securely
Gathering the fabric symmetrically is key to achieving a professional finish. Instead of pulling only one side of the drawstring, grasp both ribbon ends simultaneously and pull them outward in opposite directions with equal tension. This dual-pull technique ensures the fabric gathers evenly around the neck of the bag, creating a neat, puckered collar rather than a lopsided bunch.
Once the bag is fully closed, you must decide on the most suitable knotting method for your specific gift. For lightweight items or gifts that will be opened immediately, a standard bow is highly effective and easy for the recipient to untie. If the gift is heavy, contains multiple small pieces, or needs to travel, tie a secure double knot first, then form a neat bow with the remaining ribbon length. This provides peace of mind that the contents will remain safely inside during transport.
After securing the knot, evaluate the appearance of the ribbon ends. If the drawstrings are excessively long, they can drag on the table or look untidy, distracting from the overall presentation. You can trim the excess ribbon with sharp fabric scissors, cutting at a clean 45-degree angle to prevent fraying. Alternatively, tuck the long ends back into the gathered collar of the bag for a cleaner, more compact look.
Fluffing and Adjusting the Fabric for Volume
Once the drawstring is tied, the gathered fabric at the top of the bag—often called the header—requires some styling to look its finest. Gently insert your fingers into the ruffles above the knot and pull them outward to separate the layers of organza. This action fluffs the fabric, creating a full, voluminous crown that frames the gift beautifully.
Next, check the distribution of the gathers around the entire circumference of the neck. Sometimes, pulling the drawstrings leaves one side of the bag tightly bunched while the other remains flat. Use your fingertips to slide the gathers along the drawstring channel until they are evenly distributed. A balanced distribution ensures the bag looks attractive from every angle, whether viewed from the front, side, or back.
Finally, inspect the drawstring channel itself for any twisted or folded sections. A twisted channel can cause the ribbon to sit awkwardly and prevent the bag from closing symmetrically. Smooth out the fabric along the channel, ensuring the ribbon lies flat against the organza. This attention to detail elevates the presentation from a simple pouch to a meticulously styled gift package.
Advanced Techniques for a Professional Finish
For special occasions or premium gifts, you can elevate the basic organza wrap with a few advanced styling techniques. One highly effective method is layering two contrasting or complementary organza bags. By placing a slightly smaller, brightly colored bag inside a larger, pastel or sheer white bag, you create a beautiful dual-tone effect. This layering adds visual depth and a luxurious, multi-dimensional shimmer to the presentation.
Another way to add a personalized touch is by introducing secondary decorative elements over the built-in drawstring. Once the bag is tied shut, wrap a length of satin ribbon, rustic twine, or metallic cord around the neck and tie it into a secondary bow. You can slide a personalized gift tag, a sprig of dried lavender, or a small decorative charm onto this secondary tie before securing it. This extra layer of detail makes the gift feel incredibly thoughtful and custom-made.
If you are wrapping fragile items or want to conceal the contents slightly, utilizing filler material is an excellent strategy. Place a sheet of premium tissue paper or a handful of colorful crinkle-cut paper filler inside the organza bag before adding your gift. The filler adds structural volume to the bag, cushions delicate items like glassware or ceramics, and provides a beautiful backdrop that highlights the shape of the gift while keeping the exact contents a surprise.
Common Mistakes to Avoid for a Flawless Presentation
Avoiding common wrapping pitfalls ensures your presentation remains flawless from the moment you assemble it to the moment it is opened. The most frequent mistake is overstuffing the bag. Attempting to force a large or bulky item into a small pouch prevents the drawstring from closing completely, leaving an unsightly gap at the top and putting immense strain on the seams. If you must squeeze the item in, it is a clear sign you need to transition to a larger bag size.
Another error is pulling the drawstrings too aggressively during the gathering process. While organza is surprisingly resilient, sudden or violent tugs can rip the delicate mesh away from the drawstring channel or snap the ribbon entirely. Always apply smooth, steady pressure when closing the bag, allowing the fabric to fold naturally along the channel without force.
Lastly, do not ignore the visual weight and balance of the wrapped gift. Placing a heavy, dense item in a tall, flimsy organza bag can cause the package to look top-heavy or lopsided when displayed. If your gift has significant weight, ensure the base of the bag is wide enough to support it, or use a small piece of cardstock at the bottom of the bag to distribute the weight evenly and maintain a stable, upright posture.
Frequently Asked Questions (FAQ)
Can I wash and reuse organza bags for future gifts?
Yes, organza bags are highly durable and can be reused multiple times if cared for properly. Before cleaning, check the bag for any manufacturer’s care labels, which may provide specific instructions. If no label is present, hand-wash the bag gently in cool water using a mild detergent, avoiding any vigorous scrubbing that could distort the delicate mesh. Once clean, lay the bag flat on a clean towel to air-dry, as high heat from a dryer can melt or warp the synthetic fibers. Store the dried bags flat in a drawer or box to prevent permanent creases from forming.
How do I keep small items from slipping out of the bag?
To secure tiny or delicate items, such as loose beads, small earrings, or coins, wrap them in a sheet of tissue paper or place them inside a smaller inner pouch before putting them in the organza bag. This adds necessary bulk and prevents them from sliding through any small gaps at the gathered top. When closing the bag, ensure the drawstring channel is pulled completely tight with no visible openings at the base of the gathers. For added security, tie a firm double knot with the drawstrings, or wrap a secondary ribbon tightly around the neck of the bag to seal the opening completely.
Community discussion
Share your experience or ask a question. Comments are reviewed before publication.