
Wrapping a gift basket with oriented polypropylene (OPP) plastic elevates a simple collection of items into a professional, high-end hamper. OPP plastic is highly favored in gift presentation because of its exceptional clarity, high tensile strength, and characteristic crinkly texture that catches the light beautifully. Unlike standard cling wrap or soft plastics, OPP does not stretch easily, allowing it to stand upright and maintain a crisp, structured shape around your gift arrangement.
To achieve a flawless finish, the process requires careful preparation, precise measurement, and a systematic folding technique. By securing the base, pulling the sides taut, and gathering the plastic neatly at the top, you can create a stunning presentation that protects the contents while keeping them fully visible. Whether you are preparing a festive hamper for Chinese New Year, a corporate appreciation gift, or a baby shower basket in Singapore, mastering this wrapping technique ensures your presentation looks polished and secure.
Tools and Materials Needed for OPP Wrapping
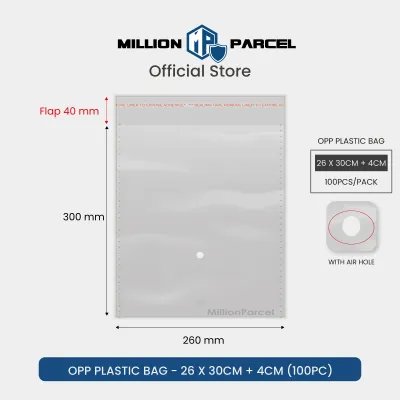
Before beginning, gathering the correct tools is essential for a seamless wrapping experience. The primary material is the OPP plastic itself, which is widely available in rolls or pre-cut sheets. For gift baskets, rolls are highly recommended as they offer the flexibility to customize the length based on the height of your specific arrangement. With a modest budget of just a few S$, a high-quality roll of OPP plastic can transform simple items into an elegant presentation.
Products mentioned in this guide
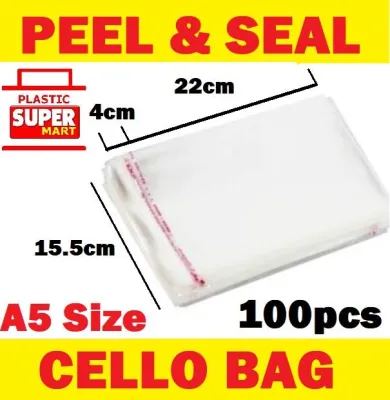
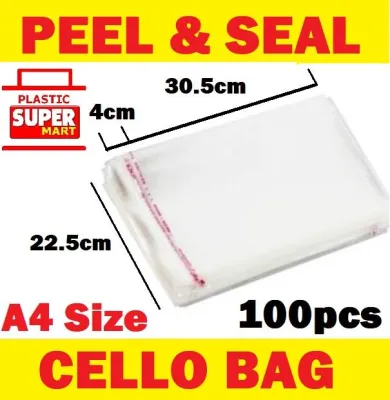
![100pcs Self Adhesive OPP Clear Plastic Packing Bag [Many Size]](https://img.lazcdn.com/g/p/ac5bceee908db8d0d5f1f16c197210b2.jpg_400x400q80.jpg_.webp)
![[SG SELLER] Self Adhesive Clear OPP Transparent Packaging Poly Plastic Bag Retailer Clothes Sealing Wrap Plastic Storage](https://img.lazcdn.com/g/p/22be75670b3840eb6258305648fc2f8f.png_400x400q80.png_.webp)
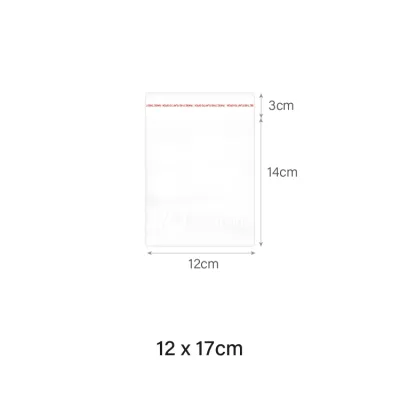
![[SG] Free 1 pack |Transparent Self Adhesive Opp Bag | Transparent Plastic Bag with Seal | Self Adhesive Plastic Bag](https://img.lazcdn.com/g/p/dd5be533ffa418c574e3b7f6c8d3c8fa.png_400x400q80.png_.webp)
Prices are valid at publication and may change. Please refer to the product page for the latest price.
Look for a thickness of 30 to 40 microns when purchasing your wrap. This range provides the ideal balance between structural rigidity and ease of folding, ensuring the plastic does not tear easily while remaining pliable enough to gather at the top. The width of the roll should be selected based on the size of your basket. For small to medium baskets, a roll width of 60 to 70 centimeters is usually sufficient, while larger hampers require rolls measuring 80 to 90 centimeters wide to ensure complete coverage without needing to piece multiple sheets together.
Adhesives play a critical role in securing the wrap invisibly. High-quality clear adhesive tape is necessary for anchoring the plastic to the bottom of the basket. For a truly professional look, double-sided tape is invaluable; it allows you to secure overlapping seams from the inside, keeping the exterior clean and free of visible tape lines.
Your cutting tools must be exceptionally sharp to prevent jagged edges. Dull scissors can snag the OPP plastic, leading to accidental tears that run along the grain of the material. A sharp utility knife paired with a cutting mat can also help you achieve perfectly straight lines when cutting the plastic from the roll.
Finally, select decorative elements that complement the transparent wrap. Satin, organza, or grosgrain ribbons are excellent choices for binding the gathered top. You can also prepare pre-made pull bows, personalized gift tags, or small sprigs of artificial florals to add texture and color to the final presentation.
Preparing the Gift Basket and Measuring the Plastic
A beautiful wrap starts with a well-prepared foundation. Before the plastic ever touches the basket, you must ensure that all items inside are completely stable. If items shift during transit, they can press against the OPP plastic, causing unsightly bulges or even punctures.

Begin by placing the tallest and heaviest items at the back and center of the basket to establish a strong focal point. Use shredded paper filler, wood wool, or tissue paper to pack the bottom of the basket, raising smaller items so they are clearly visible. To lock everything in place, apply small pieces of double-sided tape or adhesive glue dots to the bottom of individual items, securing them to each other or to the basket frame. This step is particularly important for bottles, jars, or heavy gourmet items that might slide around.
Once the basket is arranged, it is time to measure and cut the OPP plastic. Lay the plastic flat on a clean, dust-free work surface. To calculate the required length of the sheet, use a simple formula: measure the depth of the basket, add twice the height of the basket, and add an additional 30 to 40 centimeters. This extra allowance is crucial, as it provides enough material to gather at the top and form a decorative flare.
For example, if your basket is 20 centimeters deep and 30 centimeters tall, your calculation would be 20 + 60 + 30, resulting in a required plastic length of 110 centimeters. It is always safer to cut slightly more than you need, as excess plastic can easily be trimmed later, whereas a sheet that is too short cannot be salvaged.
When cutting the plastic, use long, continuous strokes with your scissors rather than short, choppy snips. This technique minimizes micro-tears along the edge of the OPP plastic, which can split under tension when you pull the wrap tight around the basket.
Step-by-Step Wrapping Technique
Wrapping with OPP plastic is a systematic process that moves from the bottom upward. By breaking the task down into distinct phases—centering the base, securing the sides, and gathering the top—you can maintain consistent tension across the film, resulting in a smooth, wrinkle-free finish.
Positioning and Securing the Base
Start by placing your cut sheet of OPP plastic flat on your work surface, ensuring there are no wrinkles or dust particles on the material. Carefully lift your prepared gift basket and place it directly in the center of the plastic sheet. Take a moment to look at the basket from all sides to verify that the margins of plastic extending to the left, right, front, and back are relatively equal.
To secure the base, pull the front and back edges of the plastic upward, bringing them together temporarily above the center of the basket. This action helps you confirm that the basket is perfectly centered. While holding these sections loosely, focus on the bottom corners of the basket.
To create a clean, flat base, you will use an envelope fold technique. Fold the excess plastic at the bottom corners inward against the underside or lower sides of the basket, creating neat, triangular flaps. Press these flaps flat against the basket base.
Secure these folded flaps using small pieces of clear tape. Place the tape strategically on the underside of the basket where it will not be visible when the gift is upright. Ensure the tape is pressed down firmly to prevent the plastic from slipping or unfolding when you begin working on the sides.
Folding and Gathering the Sides
With the base securely anchored, you can now address the sides of the wrap. This step is where the crisp, rigid nature of OPP plastic becomes highly advantageous, as it allows you to create sharp, clean pleats.
Begin on one side of the basket. Grasp the plastic at the midpoint of the side and pull it upward and inward toward the center top of the basket. It is vital to pull the plastic taut, but avoid using excessive force that could tear the material or pull the base out of alignment. The goal is to eliminate any loose sagging along the vertical faces of the basket.
As you pull the plastic upward, use your other hand to guide the excess material into neat, symmetrical pleats. Fold the front and back edges of the side plastic inward, overlapping them neatly. If you are wrapping a rectangular basket, these folds should align closely with the vertical corners of the basket for a tailored look.
Repeat this process on the opposite side, ensuring that the tension is balanced on both sides of the basket. Once both sides are pulled up, hold the gathered plastic tightly in one hand just above the tallest item in the basket.
Use your free hand to adjust the pleats, smoothing out any accidental creases across the front face of the wrap. The front panel of the plastic should be as smooth and transparent as glass, offering an unobstructed view of the beautifully arranged gifts inside.
Adding Finishing Touches and Decorations
Once you have gathered the plastic tightly at the neck of the basket, secure it temporarily with a twist tie or a small piece of clear tape. This temporary hold frees up both of your hands, making it much easier to apply the decorative elements without losing the tension of your wrap.
Select a high-quality ribbon that matches the theme or color scheme of your gift. Wrap the ribbon around the gathered neck, covering the temporary tape or twist tie completely. Tie a secure double knot to lock the gather in place, ensuring the plastic cannot slip or loosen.
Now, you can fashion a beautiful bow. If you are using a pull bow, simply pull the inner strings to form the loops, tie it to the neck of the basket, and let the excess ribbon curl downward. For a classic hand-tied bow, ensure the loops are symmetrical and the tails are cut at a clean 45-degree angle or a decorative V-shape to prevent fraying.
To elevate the presentation further, consider tucking a personalized gift card or a small decorative accent, such as a sprig of dried lavender or a festive ornament, into the knot of the ribbon. Take a step back and inspect the entire package. If the top flare of the plastic is uneven, use your scissors to trim the top edges into a neat, uniform curve or a series of decorative points.
Common Mistakes to Avoid When Using OPP Plastic
Working with OPP plastic can be challenging if you are unfamiliar with its physical properties. One of the most common mistakes is cutting the plastic sheet too small. When there is insufficient material, you will struggle to pull the plastic to the top, resulting in a tight, strained wrap that squashes the basket contents and leaves no room for a decorative top flare. Always measure twice and err on the side of generosity.
Another frequent error is the overuse of adhesive tape. While tape is necessary to secure the folds, applying large, visible strips across the front or sides of the wrap detracts from the professional aesthetic. Keep your tape pieces small, and always try to hide them under the base, along the back seams, or beneath the decorative ribbon. Utilizing double-sided tape between overlapping layers of plastic is an excellent way to keep adhesives completely hidden.
Uneven tension during the folding process can also ruin the final look. If you pull one side tighter than the other, the basket may tilt, or the plastic will develop diagonal wrinkles that distort the view of the items inside. Work slowly, checking the symmetry of your wrap from the front after securing each section.
Finally, avoid using dull cutting tools. OPP plastic is highly susceptible to running tears if the initial cut is jagged. A clean, sharp cut ensures the material can withstand the tension required to pull it taut without splitting.
Frequently Asked Questions (FAQ)
Can I use OPP plastic for heavy or oversized gift baskets?
Yes, OPP plastic is suitable for heavy or oversized baskets, but you must select the correct thickness and reinforce the base. For heavy hampers, choose a premium OPP plastic with a thickness of 40 microns or more to prevent stretching or tearing under weight. Additionally, reinforce the bottom of the basket by placing a sturdy cardboard base inside, and apply extra heavy-duty clear tape to the bottom folds to ensure the plastic remains securely anchored during transport.
How do I prevent the OPP plastic from tearing during wrapping?
To prevent tearing, always use exceptionally sharp scissors or a utility knife to ensure clean, smooth edges, as micro-tears can easily split under tension. When wrapping, avoid pulling the plastic over sharp corners or pointed edges of the basket contents; you can cushion sharp items with tissue paper or reposition them toward the center. Finally, pull the plastic with steady, even pressure rather than sudden, jerky movements.
Is OPP plastic suitable for outdoor or humid gift deliveries?
OPP plastic is highly moisture-resistant, making it an excellent choice for protecting gift baskets during transit in humid climates like Singapore. It acts as an effective barrier against light drizzle, dust, and ambient moisture, keeping the contents dry and pristine. However, ensure that the basket contents themselves are completely dry before wrapping, as any trapped moisture can lead to condensation inside the sealed plastic wrap.

Community discussion
Share your experience or ask a question. Comments are reviewed before publication.