
Transforming plain party favor bags into themed Disney goodie bags requires a systematic approach to measuring, folding, and decorating. By using high-quality wrapping paper featuring beloved characters and coordinating ribbons, you can create a cohesive look that matches your party’s theme. The key to a professional finish lies in precise measurement, crisp folds, and secure fastening techniques that withstand handling by excited young guests. Whether you are preparing for a birthday celebration or a festive gathering, mastering this wrapping process ensures each guest receives a beautifully presented token of appreciation.
Gather Your Wrapping Materials and Tools
Before beginning, gather all necessary supplies to ensure an efficient, uninterrupted wrapping session. Start by selecting your Disney-themed wrapping paper. Look for a paper weight between 80 gsm and 100 gsm; this range offers the ideal balance of flexibility for crisp folds and durability against tearing. Pay close attention to the pattern scale. Large character prints work well on spacious bags, whereas smaller, repeating motifs are better suited for compact favor bags so the characters remain recognizable.
Next, choose a complementary ribbon. Satin ribbons offer a classic, glossy finish that highlights vibrant paper designs, while grosgrain ribbons provide a ribbed texture that holds knots securely. A ribbon width of 12mm to 25mm is generally versatile enough for most standard goodie bags without overpowering the printed characters.
Products mentioned in this guide
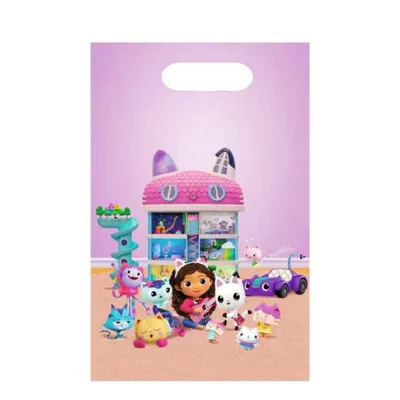
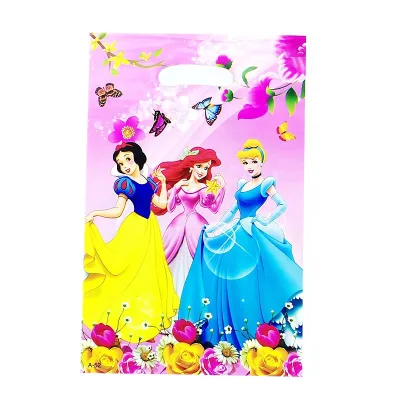
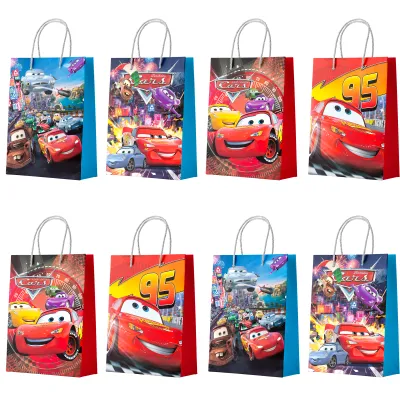
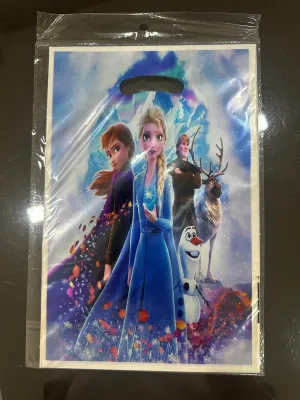
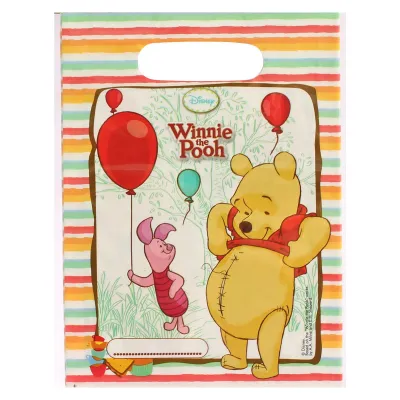
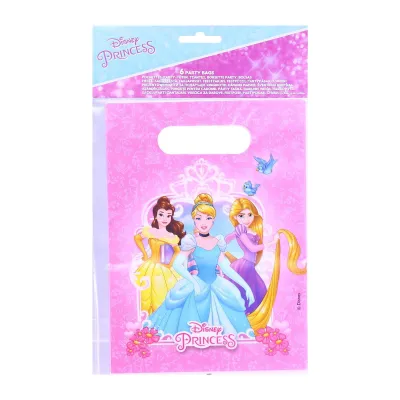
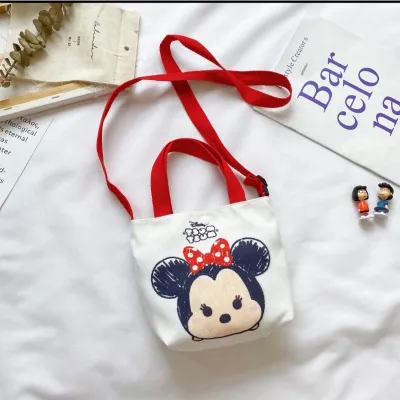
Prices are valid at publication and may change. Please refer to the product page for the latest price.
For tools, you will need a pair of sharp stationery scissors to ensure clean cuts without fraying the paper edges. Double-sided tape is highly recommended for a seamless, professional look, though high-quality matte clear tape also works well. Keep a metal ruler or a flexible measuring tape nearby to take accurate dimensions of your base bags.
Finally, inspect your base goodie bags. Whether you are using plain kraft paper bags or structured cardstock boxes, ensure they are clean, dry, and structurally sound. In Singapore’s humid climate, paper can sometimes absorb moisture and soften, so store your materials in a cool, dry place prior to wrapping to maintain their structural integrity.
Measure and Cut the Wrapping Paper
Accurate measurement is the foundation of a neatly wrapped goodie bag. Begin by laying your base bag flat on a clean, hard work surface. To determine the required width of the wrapping paper, wrap a flexible measuring tape around the entire circumference of the bag, adding an extra 3 to 4 centimeters to allow for a secure overlap at the back seam. For the height, measure from the top rim of the bag down to the base, adding enough allowance to cover the bottom completely (usually about two-thirds of the bag’s depth) plus an additional 2 centimeters at the top to fold inward for a clean edge.

Once you have your measurements, unroll your Disney wrapping paper face down. If your paper features grid lines on the reverse side, use them as a guide to ensure perfectly straight cuts. If not, use your ruler and a pencil to lightly mark your cutting lines. When cutting, glide your sharp scissors smoothly through the paper rather than using choppy, short cuts, which can leave jagged edges.
Before making any cuts, double-check the orientation of the Disney characters. Ensure that the motifs will appear upright on the front face of the bag once wrapped. If the paper has a directional pattern, align the bag so the characters face the top opening.
To make the actual wrapping process easier, pre-fold the paper along the bag’s natural side creases. Gently press the paper against the edges of the flat bag to create light guiding lines. This step helps the paper wrap tightly around the structure, preventing loose gaps and ensuring a crisp, professional silhouette.
Wrap the Goodie Bag Step by Step
With your paper cut to size, you can begin the wrapping process. Place the wrapping paper face down on your workspace and center the goodie bag face down on top of it. Pull one side of the paper over the back of the bag, followed by the other side, ensuring they overlap tightly in the center. Apply a strip of double-sided tape along the overlapping edge, pressing down firmly from the middle outward to secure the seam flatly without pulling the paper so tight that it distorts the bag’s shape.
Next, address the bottom of the bag. Fold the top flap of the bottom overhang downward against the base of the bag, creating two neat triangular flaps on the sides. Fold these side flaps inward toward the center, pressing the creases flat. Finally, fold the remaining bottom flap upward over the others. Secure this final fold with a small piece of double-sided tape hidden beneath the flap, or use a neat strip of clear matte tape across the seam.
To finish the top opening, gently fold the excess paper at the top rim inward, tucking it inside the bag. This creates a clean, reinforced edge that hides the raw cut of the paper and prevents it from tearing when guests reach inside. Ensure this fold is flat and does not obstruct the bag’s opening or interfere with any internal contents.
Throughout this process, systematically smooth out any trapped air bubbles or minor creases. Work your hands from the center of each panel outward to the edges. This careful smoothing ensures the paper adheres tightly to the bag’s contours, resulting in a polished, store-bought appearance.
Add the Ribbon and Finishing Touches
The ribbon adds a festive touch that ties the entire Disney theme together. Decide on your ribbon placement based on the bag’s design. Wrapping the ribbon horizontally around the middle of the bag works well for simple patterns, while tying it around the top handles or cinching the neck of a pouch-style bag creates a classic gift look. If you are wrapping the ribbon around the perimeter, use a small piece of double-sided tape on the back of the bag to keep the ribbon flat and prevent it from sliding out of place.
When tying your bow, aim for symmetry. Create two even loops and pull them snug, adjusting the tails so they are proportional to the size of the bag. To prevent the ribbon ends from fraying, use sharp scissors to cut them at a clean 45-degree angle, or fold the ribbon end in half vertically and cut diagonally upward to create a classic “swallowtail” finish.
For an extra touch of Disney magic, incorporate coordinating gift tags or stickers. You can thread a themed tag onto the ribbon before tying the final knot, or place a character sticker directly over the ribbon intersection. If the bag is open at the top, consider tucking a sheet of coordinating tissue paper inside, allowing the corners to peek out elegantly to add volume and color contrast.
Troubleshoot Common Wrapping Mistakes
Even with careful preparation, wrapping mistakes can happen. If you notice the paper is wrinkled or bunched after taping, do not panic. Carefully peel back the tape—or cut the seam open if using strong adhesive—and adjust the tension of the paper. Re-wrap the section, pulling the paper taut but gentle, and apply fresh tape to secure it smoothly.
If you realize a character pattern is upside down or misaligned, you can often salvage the bag without starting over. If the mistake is on the back, cover it strategically with a large, themed Disney sticker or a decorative gift tag. If the front is upside down, it is usually best to carefully remove the paper and reposition it, as a reversed pattern can detract from the overall theme.
Visible tape marks can ruin the clean look of your goodie bag. To prevent this, always prioritize double-sided tape, which remains completely hidden between the paper layers. If you must use clear tape, opt for a matte or “magic” finish tape that diffuses light, and place it only on the inner folds or bottom seams where it is less noticeable.
If your ribbon bows tend to slip or come undone under the handling of excited children, secure them with a tiny dot of clear craft glue or a small piece of double-sided tape hidden directly under the knot. This keeps the bow perfectly shaped and securely attached to the bag throughout the party.
Frequently Asked Questions (FAQ)
Can I use tissue paper instead of wrapping paper for the outside?
Tissue paper is generally not recommended for the exterior wrapping of goodie bags due to its low durability and high susceptibility to tearing under handling stress. However, if you are wrapping very light, small bags that will not undergo heavy handling, you can use tissue paper by layering two or three sheets together to increase its strength. Alternatively, use tissue paper as an elegant inner liner that pees out of the top of a sturdier wrapping paper exterior.
How do I wrap a goodie bag that already has handles?
To wrap a bag with pre-existing handles, you can modify your wrapping technique by cutting precise vertical slits in the wrapping paper where the handles emerge. Slide the paper over the handles through these slits, then reinforce the cut edges on the inside of the paper with small pieces of clear tape to prevent them from ripping further. Alternatively, wrap only the main body of the bag, leaving the top rim and the handles exposed for a stylish, contrasting look.
Community discussion
Share your experience or ask a question. Comments are reviewed before publication.