
Organza pouches offer an elegant, semi-sheer, and cost-effective way to present gifts. Their delicate texture and subtle shimmer instantly elevate items like jewelry, handmade soaps, and festive treats. To achieve a polished presentation, you must match the pouch size to the gift, prepare the items to prevent damage, and use proper closing and embellishing techniques. This guide provides a step-by-step walkthrough to master the art of wrapping with organza pouches, ensuring your gifts look professional and beautiful.
Preparing Your Gifts and Selecting the Right Organza Pouch
Choosing the correct pouch size is the foundation of a neat presentation. A pouch that is too small stretches the fabric and distorts the shape, while an oversized pouch makes the gift look lost. Measure your gift’s height, width, and depth, adding at least two centimeters of clearance on all sides to allow the fabric to drape naturally.
Weight is another critical factor. Lightweight items like single rings sit perfectly in standard sheer organza, but heavier items like polished stones or dense glass vials require a pouch with reinforced stitching. Check the bottom seam of the pouch by gently pulling the fabric apart to ensure the thread is secure and won’t split.
Products mentioned in this guide
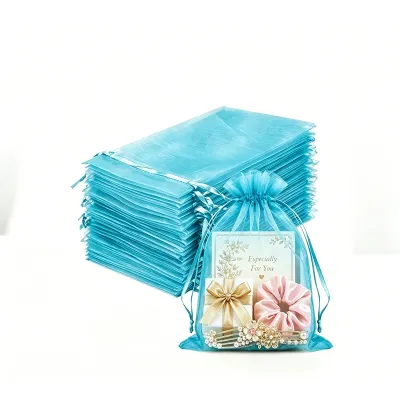
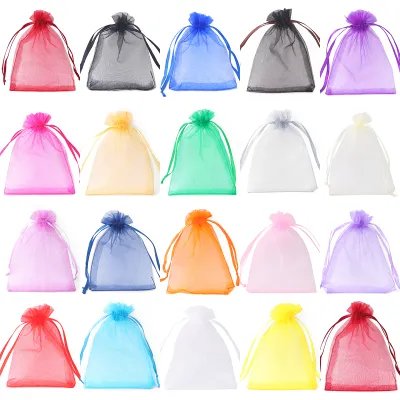
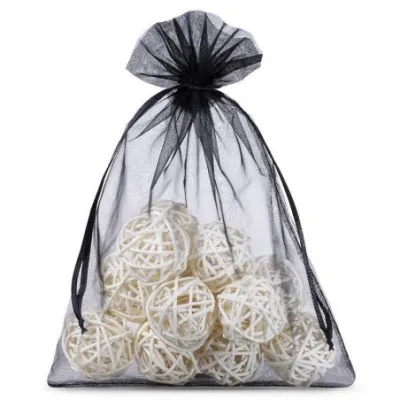
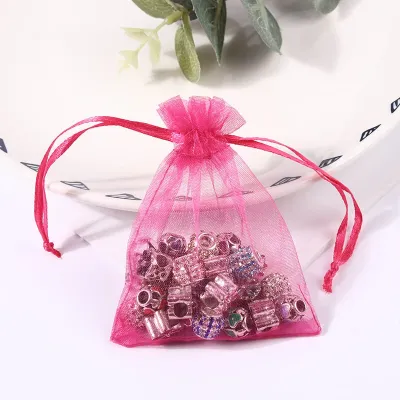
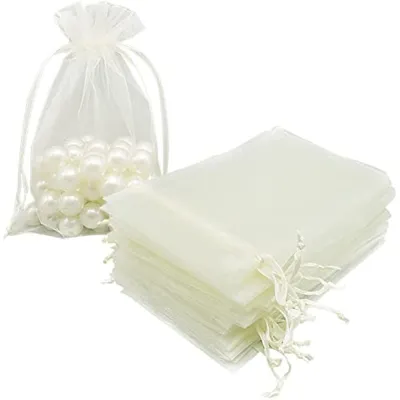
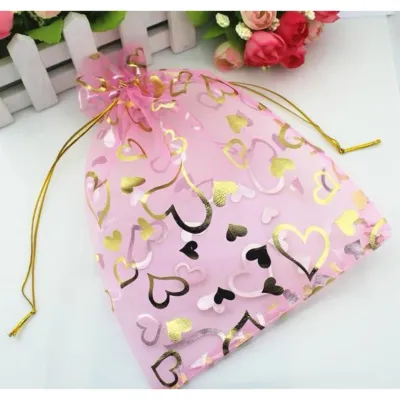
Prices are valid at publication and may change. Please refer to the product page for the latest price.
Before placing any item inside, inspect the pouch for manufacturing defects. Look for loose threads along the side seams, uneven cuts at the top header, or frayed drawstrings. Pull the drawstrings back and forth once or twice to verify they slide smoothly through the channel without catching.
Certain gifts require protective pre-wrapping. Sticky items like unpeeled hard candies or artisanal chocolates can leave unsightly oil spots on the polyester fibers. Wrap these items in food-safe glassine paper or clear cellophane first to create a clean barrier.
Similarly, sharp or textured items like brooches with exposed pins or metal charms can easily snag the delicate woven mesh. Wrapping these pieces in a small square of acid-free tissue paper protects both the gift and the outer pouch from damage.
Step-by-Step Wrapping Techniques for Jewelry, Candies, and Small Items
Wrapping delicate jewelry requires careful arrangement to prevent chains from tangling and to showcase the design. If you are gifting a necklace and earring set, do not simply drop them into the pouch together. Instead, wrap the necklace chain around a small piece of sturdy cardstock, leaving the main pendant visible at the front, and secure the earrings to the top of the card.

Slide the cardstock insert gently into the organza pouch, ensuring the decorative front faces outward through the semi-sheer fabric. This keeps the jewelry flat, prevents the chain from knotting, and creates an immediate visual impact. For rings or loose charms, placing them on a small cotton insert or a fabric-covered foam pad inside the pouch keeps them centered.
For bulkier gifts or multiple small items like wedding favors, colorful candies, or crafting beads, the goal is to distribute the weight evenly. Hold the pouch open with one hand and place the items inside one by one, settling them flat against the bottom seam. Avoid letting the items pile up in a single corner, which causes the pouch to tilt and look lopsided.
Gently tap the bottom of the filled pouch against a flat surface to help the items settle naturally. This creates a stable, wide base that allows the pouch to stand upright or sit flat. Ensure there is at least three centimeters of empty space below the drawstring channel so the fabric can gather neatly without compressing the contents.
To close the pouch with a professional finish, locate the two drawstring ends on either side of the collar. Grasp both drawstrings simultaneously and pull them outward in opposite directions with steady, even pressure. This action gathers the fabric symmetrically around the neck of the pouch, creating uniform pleats and preventing the top header from puckering to one side.
As you pull, use your fingers to guide the gathers, ensuring they bunch neatly in the center. Avoid pulling too tightly, as excessive tension can strain the delicate stitching around the drawstring channel or cause the thin ribbon to snap. Once the pouch is fully closed, smooth out the top ruffled header so it flares out evenly like a decorative collar.
Adding Finishing Touches for a Polished Presentation
Once the pouch is securely closed, the standard drawstrings can be transformed into a decorative feature. Instead of leaving the ribbon ends hanging loose, tie them into a neat bow close to the neck of the pouch. For a classic look, tie a standard shoelace bow, then gently pull the loops to make them symmetrical and trim any excessively long ribbon tails at a clean 45-degree angle to prevent fraying.
To elevate the presentation further, consider adding external accents that complement the gift’s theme. Slide a personalized gift tag or a small card with a handwritten note onto one of the drawstring ribbons before tying the final knot. You can also tuck a small sprig of dried lavender, a tiny paper flower, or a piece of preserved eucalyptus behind the knot for a rustic, organic touch.
If the standard satin drawstrings look too plain, you can layer a secondary ribbon over the closure. Wrap a contrasting ribbon, such as a metallic gold cord or a thin grosgrain ribbon, around the gathered neck of the pouch and tie it into a larger, more prominent bow. This adds texture and color contrast, making the packaging feel bespoke and carefully curated.
Finally, take a moment to manually adjust the fabric gathers and the shape of the pouch. Gently pull the sides of the pouch outward to fluff the fabric and ensure the contents are displayed beautifully through the mesh. If the top header is flattened or bent, use your fingertips to open up the ruffles, giving the pouch a full, three-dimensional appearance from every angle.
Common Wrapping Mistakes and How to Avoid Them
One of the most common mistakes is overstuffing the organza pouch. Packing too many items into a small space forces the fabric to stretch taut, which can cause the delicate side seams to split or fray. Overstuffing also prevents the drawstring from closing completely, leaving a gap at the top where small items can slip out.
Another frequent error is pulling the drawstrings with sudden, harsh force. Organza is a lightweight, plain-weave fabric made from synthetic fibers like polyester or nylon, and the drawstring channels are often stitched with fine thread. Jerking the ribbons can tear the channel, pull the drawstring completely out of the pouch, or cause the sheer fabric to pucker permanently. Always apply slow, steady tension when closing the pouch.
Failing to check the gift for sharp edges or rough surfaces can also lead to ruined packaging. Metal clasps, sharp earring posts, or rough wooden edges can easily catch on the fine threads of the organza mesh, causing unsightly snags or runs. Always inspect the items beforehand and cover any sharp points with protective backing, tissue paper, or small silicone earring backs before sliding them into the pouch.
Cleaning and Storing Organza Pouches for Reuse
Organza pouches are highly durable and designed for reuse, making them an eco-friendly packaging option. If a pouch becomes dusty or soiled, hand-wash it gently in a basin of cool water mixed with a few drops of mild, pH-neutral liquid detergent. Avoid using harsh bleach or fabric softeners, which can degrade the synthetic fibers and strip away the fabric’s characteristic shimmer.
Gently swirl the pouch in the soapy water without scrubbing, wringing, or twisting the delicate mesh. Rinse thoroughly with clean, cool water to remove all soap residue. To dry, lay the pouch flat on a clean, dry towel and gently pat it to absorb excess moisture, then let it air-dry completely away from direct sunlight, which can fade vibrant colors over time.
Once dry, store the pouches flat in a shallow drawer or a dedicated storage box to prevent permanent creasing or fabric distortion. Avoid folding them repeatedly or crushing them under heavy items, as deep creases in organza can be difficult to remove without applying low, indirect heat from an iron. Before reusing a stored pouch, inspect the seams and drawstrings once more to ensure they remain strong and intact for the next recipient.
Frequently Asked Questions (FAQ)
Can organza pouches hold moist or liquid-based gifts?
Standard organza is a highly porous, woven mesh fabric that is neither waterproof nor moisture-resistant. Placing moist items like freshly poured artisanal soaps, damp bath bombs, or liquid vials directly into the pouch will cause the moisture to seep through, staining the fabric and potentially damaging surrounding items. To safely gift these items, seal them first in a small glass vial, a leak-proof tin, or a clear biodegradable plastic bag before placing them inside the organza pouch for presentation.
How do I prevent the drawstring from slipping open?
Satin drawstrings can sometimes be slippery, causing the pouch closure to loosen during transport. To prevent this, tie a secure double knot or a surgeon’s knot close to the gathered neck of the pouch after pulling the drawstrings tight. For added security without tying permanent knots, you can slide a small decorative wooden bead or a metal slide charm onto the drawstrings to act as a tension toggle, or secure the gathered neck with a small decorative wooden clip or a dab of wax over the ribbon ends.

Community discussion
Share your experience or ask a question. Comments are reviewed before publication.