
The presentation of a gift is just as meaningful as the item inside. Wrapping a Christmas gift with premium paper and structured ribbon elevates a simple gesture into an elegant, sensory experience. Achieving a flawless, boutique-quality finish does not require professional training; instead, it relies on using the correct materials, precise measurements, and disciplined folding techniques. By mastering these foundational steps, you can ensure every gift under the tree looks exceptionally polished and festive.
Choosing the Right Premium Wrapping Paper and Ribbon
Selecting your materials is the first step toward a beautiful presentation. Premium wrapping paper is distinguished by its weight and texture, typically ranging from 80 to 120 GSM (grams per square meter). This thickness provides a sturdy structure that resists tearing on sharp box corners, yet remains pliable enough to hold a sharp crease. Avoid thin papers that tear easily, as well as excessively thick sheets that resist folding and spring open at the seams.
The texture of your paper should guide your ribbon selection to create a balanced, cohesive aesthetic. Matte, kraft, or heavily textured papers pair beautifully with high-shine satin or rich, luxurious velvet ribbons, creating a sophisticated contrast of textures. Conversely, metallic, glossy, or highly patterned papers benefit from the structured, ribbed texture of grosgrain ribbon, which anchors the design without competing for attention.
Products mentioned in this guide
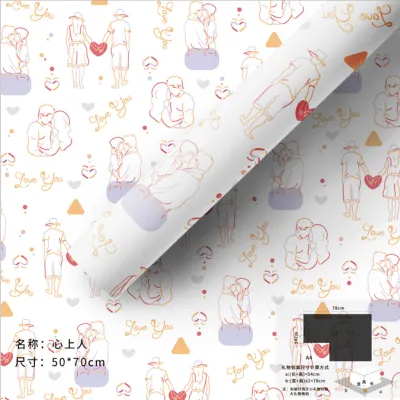
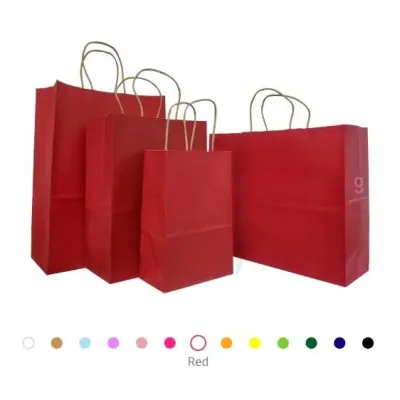
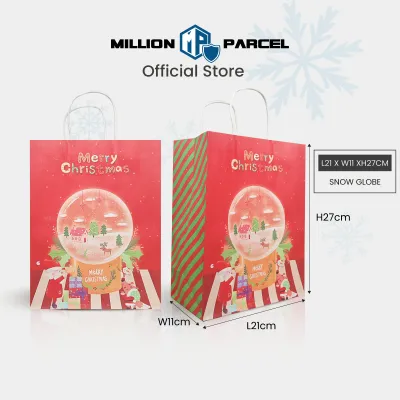
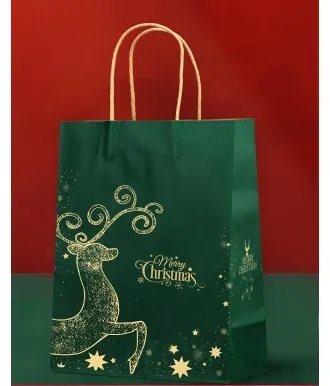
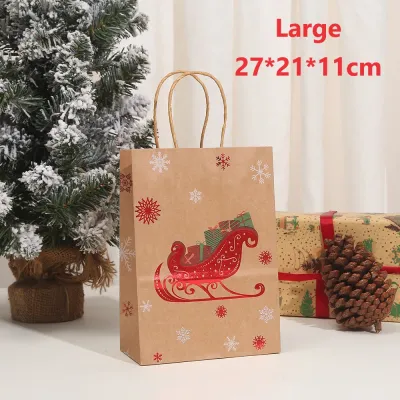
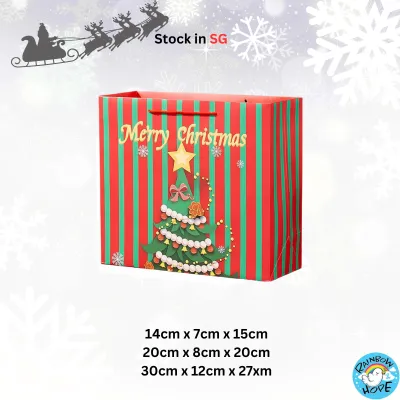
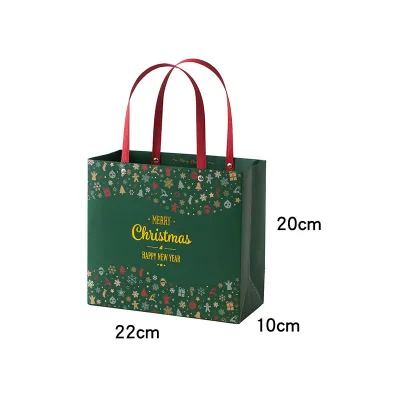
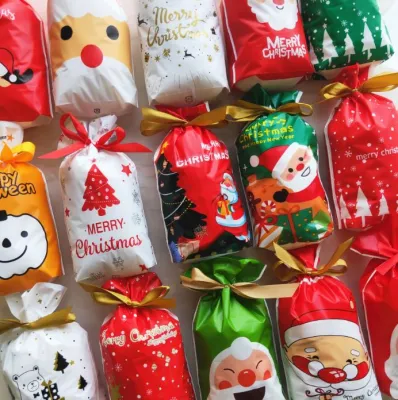
Prices are valid at publication and may change. Please refer to the product page for the latest price.
Before cutting into your premium sheets, calculate the exact dimensions required for your box to prevent waste. To find the correct width, wrap the paper around the box; it should cover all four sides with an overlap of approximately 5 cm to allow for a clean, secure seam. To determine the length, measure the overhang on the open ends. This overhang should equal roughly three-quarters of the box’s height on each side, providing enough coverage to fold neatly without creating bulky, overlapping layers.
Essential Tools for a Polished Gift Wrapping Setup
A professional finish requires the right tools. Using household scissors that have been dulled by cutting plastic or cardboard will result in jagged, frayed edges on both your paper and ribbon. Instead, dedicate a pair of ultra-sharp scissors exclusively to paper, and keep a separate pair of fabric shears specifically for cutting ribbon. This separation ensures clean, effortless cuts every time.

Adhesive choice is equally critical to achieving a seamless look. High-quality double-sided tape is the industry standard for invisible gift wrapping, as it hides all attachment points beneath the folds. Before committing to your project, test the tape’s adhesion on a small scrap of your premium paper. Some heavily textured, glittered, or wax-coated papers require specialized high-tack tape, while delicate handmade papers can tear if you need to reposition a fold.
Finally, prepare a flat, hard workspace, such as a large dining table or a clean cutting mat. Wrapping gifts on a soft surface like a bed or carpet prevents you from achieving tight folds and crisp lines. Keep a bone folder or a smooth, hard-edged tool nearby. This simple tool allows you to crease your folds with precision, giving the wrapped box a sharp, architectural silhouette.
Step-by-Step Guide to Wrapping a Standard Box
To begin, place your standard rectangular box face down on the reverse side of your pre-cut premium paper. This ensures that any seams or tape placements remain hidden on the bottom of the gift. Pull the paper tightly up and over the sides of the box to verify that your measurements are correct and that the pattern on the front of the paper is aligned as desired.
Next, secure the long sides of the paper. Pull one side tightly over the center of the box’s bottom and secure it with a small piece of double-sided tape. To create a professional, seamless edge on the overlapping side, fold its raw edge under by about 1 cm to create a clean, straight hem. Pull this hemmed edge tightly over the first side, align it down the center of the box, and secure it with double-sided tape. This creates a clean, straight seam with no visible raw edges.
To wrap the short ends, execute a classic envelope fold, often referred to as a hospital corner. Start by folding the top flap of paper down flat against the side of the box, which naturally creates two neat, diagonal wings on the sides. Crease these diagonal edges sharply with your bone folder. Next, fold the two side flaps inward tightly against the box, securing them with a small piece of double-sided tape if necessary. Finally, fold the bottom flap upward. For a flawless finish, fold the raw edge of this bottom flap under by 1 cm before securing it flat against the box with double-sided tape. Repeat this process on the opposite end of the box.
The final step in wrapping the box is defining its shape. Run your bone folder or the side of your fingernail firmly along all twelve edges of the wrapped box. This sharpens the creases, pulls the paper taut, and eliminates any loose, puffy areas, giving the gift a highly structured, professional appearance.
Tying and Styling the Ribbon for a Festive Finish
A beautiful ribbon is the crowning detail of a premium gift. To ensure you have enough ribbon to tie a full, luxurious bow without crushing the corners of your box, measure out a length equal to roughly five to six times the longest dimension of the box. It is always better to have a little extra ribbon to work with than to struggle with a tail that is too short.
To wrap the ribbon in a classic cross pattern, place the center of the ribbon across the top of the box. Bring the two ends down the sides, cross them over each other underneath the box, and turn them 90 degrees. Bring the ends back up the remaining two sides to the top of the box. Thread the ends under the original central ribbon loop and pull them snug, securing them with a simple, tight single knot to keep the tension even.
Now, form a balanced bow. Create two even loops and tie them together in a standard bow, or craft a multi-loop bow if you are using a wired ribbon that holds its shape well. Gently adjust the loops and pull the tails to ensure the bow is symmetrical and proportional to the size of the box. Fluff the loops to add volume and dimension.
To finish the presentation, trim the ribbon tails. Cut them at a sharp 45-degree angle, or fold each tail in half vertically and cut diagonally upward from the fold to the outer edge to create a classic V-notch. This simple detail prevents the ribbon from fraying and provides a clean, tailored finish that mirrors high-end boutique packaging.
Adapting Techniques for Oddly Shaped Gifts
Not every Christmas gift comes in a perfect rectangular box. When dealing with highly irregular items, such as soft toys, clothing, or multi-part gifts, the easiest solution is to place them inside a sturdy, plain cardboard gift box first. This provides a uniform, flat surface that allows you to use standard wrapping techniques without struggling with awkward angles.
For cylindrical or soft, malleable items, the “candy wrapper” or cracker method is highly effective. Roll the item tightly in a sheet of premium wrapping paper, leaving generous, equal overhangs at both ends. Gently pinch and twist the paper at each end immediately adjacent to the item. Secure these twists tightly with beautiful ribbons, allowing the excess paper at the ends to flare out elegantly like a festive holiday cracker.
If you must wrap an irregular shape directly, choose a thicker, textured paper that naturally masks minor folds and imperfections. Once wrapped, layer multiple ribbons around the item to draw the eye. You can also attach a large, structured gift tag or tuck a festive embellishment, such as a sprig of dried pine, a cinnamon stick, or a small ornament, into the ribbon. These decorative elements create a focal point, distracting from any uneven folds beneath.
Frequently Asked Questions (FAQ)
How much extra wrapping paper should I leave for folding?
The ideal overhang for the short ends of your box should be approximately three-quarters of the box’s height. If the overhang is too long, the paper will overlap excessively at the bottom, creating bulky, uneven layers that are difficult to tape flat and look untidy. If the paper is too short, it will not cover the sides completely. Always measure carefully and trim away any excess paper before you begin folding to ensure a clean, professional profile.
What is the best way to prevent premium ribbon from fraying?
To prevent fraying, always use dedicated, ultra-sharp fabric shears to cut your ribbon. Dull scissors crush the fibers rather than cutting them cleanly, leading to immediate unraveling. Cutting the ribbon tails at a sharp 45-degree angle or creating a V-notch naturally reduces the surface area of exposed threads, which minimizes fraying. For highly delicate woven ribbons like satin or grosgrain, you can apply a tiny dot of clear fabric sealant or clear nail polish to the very edge of the cut tip to lock the fibers in place.
Can I reuse premium wrapping paper and ribbon for next Christmas?
Yes, high-quality premium wrapping paper and ribbon are durable enough to be reused if handled carefully. When opening gifts, avoid tearing the paper; instead, use a dull knife or letter opener to gently slice through the double-sided tape. Once the gift is open, carefully peel away any remaining tape. Store the wrapping paper by rolling it loosely around a clean cardboard tube to prevent deep creases, and wind ribbons flat around a spool or a piece of cardstock. Keep them in a cool, dry place away from direct sunlight to prevent fading.

Community discussion
Share your experience or ask a question. Comments are reviewed before publication.