
A beautifully presented box hantaran (gift tray or box) is a central element of traditional Malay weddings and engagements. The exchange of hantaran gifts represents the union of two families, making the visual presentation just as significant as the gifts themselves. Wrapping these boxes with precision requires a blend of proper stationery selection, accurate measurement, and clean execution.
By mastering the core folding, securing, and decorating techniques, you can create a professional, seamless finish that elevates your entire wedding display. This guide walks you through the entire process, from setting up your workspace to executing crisp corners and styling elegant decorative accents.
Gathering Materials and Preparing Your Workspace
Before beginning, it is essential to set up a clean, flat, and spacious workspace. A large dining table or a dedicated craft desk works best. Wipe down the surface thoroughly before laying out your materials to remove any dust, moisture, or oils that could stain or ruin your wrapping paper.
Products mentioned in this guide
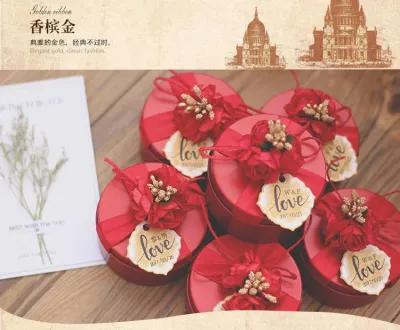
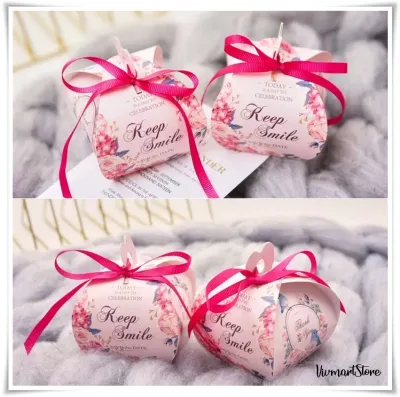

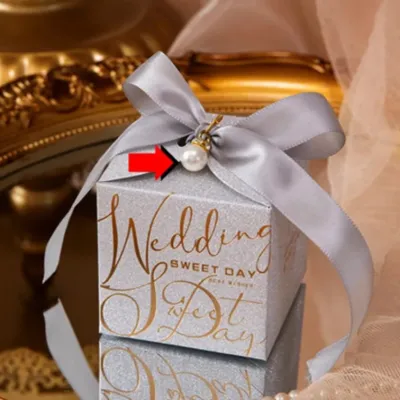
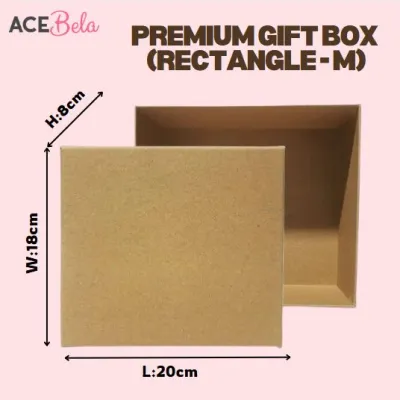
Prices are valid at publication and may change. Please refer to the product page for the latest price.
To achieve a professional finish, gather the following essential tools and materials:
- Box hantaran: A sturdy base box made of thick cardboard, wood, or acrylic.
- Premium wrapping paper: Textured linen, embossed metallic, or high-grade matte paper.
- Adhesives: High-quality double-sided tape and clear glue dots.
- Cutting tools: A steel ruler, a self-healing cutting mat, and sharp scissors or a utility knife.
- Decorations: Satin or organza ribbons, faux florals, and personalized gift tags.
Paper weight is a critical factor in the final look of your box. Standard gift wrap (around 60 to 80 GSM) is often too thin, making it prone to tearing at sharp corners and allowing the dark color of the underlying box to show through. Conversely, cardstock or heavy craft paper (above 180 GSM) is too stiff to fold cleanly, resulting in bulky, messy seams. A premium paper with a weight of 100 to 130 GSM strikes the perfect balance, offering excellent structural durability while holding sharp, clean folds.
Safety is paramount when working with sharp tools and adhesives. When using a utility knife or shears, always cut away from your body and keep your non-dominant hand clear of the cutting path. If you choose to use a hot glue gun for heavy embellishments, place it on a heat-resistant stand when idle and avoid touching the heated nozzle to prevent painful burns.
Measuring and Cutting the Wrapping Paper
Accurate measurement is the secret to a seamless wrap. If you cut the paper too small, you will end up with exposed gaps; if you cut it too large, the excess bulk will prevent the paper from laying flat against the box.

To find the correct dimensions for your wrapping paper, use a steel ruler or a flexible measuring tape to record the length, width, and height (depth) of your box. Use these simple formulas to calculate your paper size:
- Paper Width = Box Width + (2 x Box Height) + 4 cm
- Paper Length = Box Length + (2 x Box Height) + 4 cm
The extra 4 cm provides a clean 2 cm seam allowance on each side, allowing you to fold the paper neatly over the inner rim of the box base or lid.
Once you have calculated the dimensions, place your wrapping paper face down on your cutting mat. Use a pencil and your steel ruler to mark the cutting lines on the back of the paper. For the straightest possible edges, guide a sharp utility knife along the edge of your steel ruler in a single, continuous motion. This method prevents the jagged, uneven edges that often occur when using scissors.
If you are using paper with a directional pattern, geometric design, or embossed texture, take a moment to align the design. Center the box on the paper before making any cuts to ensure that prominent design motifs sit squarely in the middle of the box lid or base, keeping the overall presentation symmetrical.
Wrapping the Base and Lid for a Seamless Finish
Before applying any adhesive to your final presentation, always perform a quick test on a scrap piece of your wrapping paper. Different paper finishes—such as glossy, metallic, or highly textured linen—react differently to double-sided tape and liquid glues. Check if the tape leaves an oily residue through the paper, or if liquid glue causes the paper to warp or bleed colors. This simple trial ensures your chosen material combination remains flawless.
To wrap the main body of the box, place the box base upside down in the center of your pre-cut paper. Pull one long side of the paper up and over the side of the box, securing it to the interior rim with a strip of double-sided tape. Pull the opposite side of the paper up, fold a clean 1 cm hem along its raw edge to hide any cut marks, and tape it down over the first side, ensuring a tight, smooth fit across the bottom.
To tackle the open ends, use precise diagonal folds, often referred to as hospital corners:
- Push the paper on the short sides inward against the box, creating two neat diagonal flaps (or wings) on the left and right.
- Crease these diagonal edges sharply with your fingernail or a bone folder.
- Fold one wing inward against the box side, secure it with double-sided tape, and repeat for the other wing.
- Fold the remaining bottom triangular flap upward, apply double-sided tape to its inner edge, and press it firmly against the box side.
Always use high-quality double-sided tape hidden beneath the folds or inside the inner rim of the box. Avoid using standard clear adhesive tape on the exterior of the box, as it catches the light and looks unprofessional.
If your hantaran box features a separate lid, wrap it using the exact same folding techniques, adjusting your measurements to account for the shallower depth of the lid. Be careful not to pull the paper too tightly on either the base or the lid during the process. Over-tightening can warp the cardboard structure, making it difficult or impossible to fit the lid back onto the base without tearing the paper.
Styling with Ribbons and Decorative Accents
Once your box is cleanly wrapped, you can elevate its presentation with ribbons and wedding-appropriate decorations. Select a ribbon material that complements the texture of your paper; satin, grosgrain, and organza ribbons are classic choices that offer a soft, luxurious contrast to structured paper.
For a standard 30 cm box, you will need approximately 1.5 to 2 meters of ribbon to wrap the box and tie a substantial bow. You can choose from several ribbon layouts:
- Classic Cross: Place the center of the ribbon on top of the lid, wrap it around the sides to the bottom, cross the bands over each other at a 90-degree angle, and bring them back up to the top to tie.
- Single Band: Run a single, thick ribbon band off-center for a modern, minimalist aesthetic.
- Double Band: Run two parallel ribbons side-by-side for added texture.
To tie a secure, structured bow, tie a tight double knot where the ribbons intersect. Create two even loops and tie them into a classic bow, adjusting the loops until they are symmetrical. To ensure the bow looks professional, cut the ribbon tails at a sharp 45-degree angle, or fold the ends in half and cut diagonally to create a swallowtail finish. If the ribbon is prone to fraying, pass the cut edges quickly near a flame to seal them.
Safely affix your floral accents, such as artificial orchids, roses, or preserved baby’s breath, using clear glue dots or a small dab of low-temperature hot glue. Always apply the adhesive directly to the ribbon rather than the wrapping paper, as hot glue can warp or discolor delicate paper finishes. Finish the design by threading a personalized name tag or an acrylic laser-cut monogram onto the ribbon, securing it with a delicate gold pin or thin twine.
Final Inspection and Safe Handling
Before displaying your hantaran box at the ceremony, conduct a thorough visual inspection to ensure everything is secure and flawless. Use this quick checklist:
- Check all corners for lifting paper or loose tape.
- Ensure the ribbon is centered and holds its tension without pinching the box.
- Gently wiggle any attached floral elements or name tags to verify they are firmly anchored.
If you have added heavy decorative elements, ensure they are anchored directly to the structural ribbon rather than just the paper. This prevents the weight of the decorations from tearing the paper during transit.
When transporting your finished boxes, place them side-by-side in a sturdy plastic crate or a clean, shallow cardboard box. Line the bottom of the container with a non-slip shelving liner to prevent the boxes from sliding and scuffing against each other. Never stack wrapped hantaran boxes on top of one another, as this will crush the delicate bows and floral decorations.
Singapore’s high humidity can soften paper fibers and weaken adhesives over time. Store the wrapped boxes in an air-conditioned room or a cool, dry closet away from direct sunlight. This prevents the paper from warping, keeps the vibrant colors from fading, and ensures the adhesives do not melt or lift before the big day.
Frequently Asked Questions (FAQ)
What type of paper is best for wrapping a hantaran box?
For a premium, professional finish, choose a medium-weight paper between 100 and 130 GSM. Textured papers like linen, embossed damask, or heavy kraft paper work exceptionally well because they hold crisp creases and do not tear easily at the corners. Avoid standard lightweight wrapping paper (under 80 GSM), which is too fragile and may allow the color of the underlying box to show through.
How do I prevent the wrapping paper from tearing at the corners?
Tearing usually happens when the paper is pulled too tightly or if the box has sharp, rigid corners. To prevent this, ensure your paper measurements include a generous allowance so you do not have to stretch the paper. When folding, gently press the paper over the corners rather than pulling it taut. You can also apply a small piece of clear tape to the inside of the paper at the corner points before wrapping to reinforce the fibers against friction.

Community discussion
Share your experience or ask a question. Comments are reviewed before publication.