
Assembling a beautiful goodie bag is a wonderful way to thank young guests for attending a children’s birthday party or special event. The presentation of these gifts sets the tone for the celebration, building excitement before the children even look inside. However, wrapping and packing these treats so they remain intact, look professional, and survive the journey home requires a systematic approach.
By selecting the right base materials, reinforcing structural weak points, and using professional paper-folding techniques, you can create stunning party favours that hold up under transport. Whether you are hosting a small gathering at home or a large celebration at an indoor play space in Singapore, this step-by-step guide will help you assemble neat, durable, and eye-catching packages.
What You Need: Materials and Tools for Goodie Bags
Selecting the right stationery and wrapping supplies is the foundation of a successful assembly process. The weight, size, and shape of your planned gifts will dictate the specific materials you should prepare.
Products mentioned in this guide
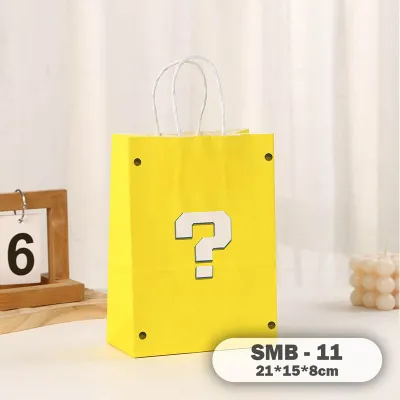


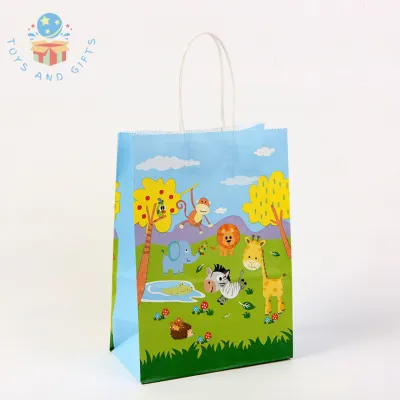
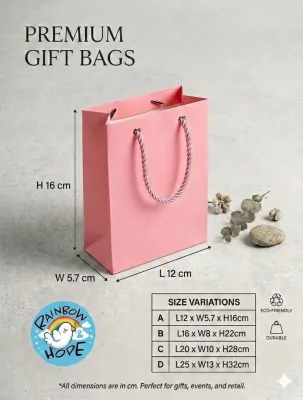

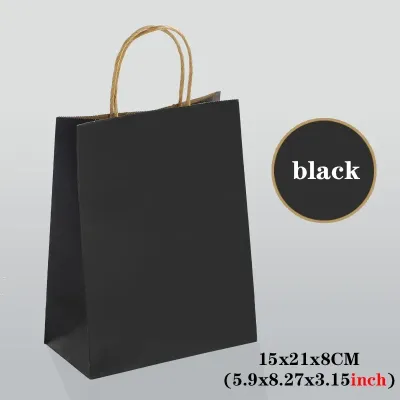
Prices are valid at publication and may change. Please refer to the product page for the latest price.
- Base Bags: You can choose between paper, cellophane, or canvas bags. Paper bags offer a classic, structured look and are highly customisable. Cellophane bags work beautifully for showcasing colourful candies or small toys, while reusable canvas bags provide an eco-friendly alternative. Always check the gusset width—the side fold of the bag—to ensure it can expand sufficiently to accommodate bulky items without stretching or tearing.
- Wrapping Elements: High-quality tissue paper adds volume and conceals the contents. Crinkle-cut paper fillers or shredded tissue can be placed at the bottom of the bag to elevate smaller items. Satin, grosgrain, or polypropylene curling ribbons add a festive touch.
- Essential Tools: Gather a pair of sharp precision scissors, high-tack double-sided tape, glue dots, and a single-hole puncher. If you plan to print custom labels, prepare high-quality cardstock and personalised name tags.
When purchasing paper bags, always check the paper weight, which is measured in grams per square metre (GSM). Standard lightweight paper bags are typically around 70 to 80 GSM, which is suitable for lightweight sweets or stickers. For heavier items like small activity books, wooden toys, or drink boxes, look for premium kraft paper bags rated at 100 to 120 GSM. Choosing the correct GSM ensures the handles and base will not tear when carried by excited children.
Step 1: Preparing and Filling the Goodie Bags Neatly
Proper structural preparation prevents your bags from tipping over, sagging, or tearing at the bottom. Taking the time to layer items systematically ensures the gifts remain secure and look highly appealing when opened.

If you are using thin paper bags to hold heavier items like juice boxes, small water bottles, or dense plastic toys, you must reinforce the base. Cut a piece of heavy cardstock or recycled cardboard to match the exact dimensions of the bag’s bottom gusset. Slide this cardboard insert flat into the bottom of the bag. This simple step distributes the weight evenly across the base, preventing the paper from sagging or splitting under pressure.
Next, implement a strategic layering plan. Place the heaviest, flattest, and most rigid items at the very bottom of the bag first. This lowers the centre of gravity, keeping the bag upright on your display table. Medium-weight items, such as playdough tubs or bubble wands, should go in the middle. Save the lightest, most fragile, or loose items—like custom stickers, packaged snacks, or hair accessories—for the top layer.
To keep smaller items from sliding to the bottom and disappearing from view, pack a generous handful of crinkle paper or shredded tissue at the base. This elevated padding pushes smaller gifts upward, making them visible above the bag’s rim and creating an abundant, exciting presentation.
Finally, pay close attention to the shapes of your items. Toys with sharp plastic corners, boxed games, or pointed stationery items can easily puncture thin paper or cellophane. Wrap these specific items in a protective sheet of tissue paper, or place them in the center of the bag surrounded by softer items to prevent them from poking through the outer material.
Step 2: Wrapping and Styling with Tissue Paper
Tissue paper is the secret to achieving a professional, boutique-style finish. It adds a vibrant pop of colour while keeping the contents of the goodie bag a surprise until the child opens it.
The Fan Fold Technique
For a structured, elegant look, lay a sheet of tissue paper flat on a clean surface. Fold the sheet back and forth in accordion-style pleats, making each fold about 3 to 5 centimetres wide. Pinch the folded strip firmly in the middle, allowing the two loose ends to flare out like a fan. Gently tuck the pinched center down into the bag, letting the flared, pleated edges stand up neatly from the top. This technique keeps the contents completely covered while offering a clean, symmetrical aesthetic.
The Fluff and Tuck Method
If you prefer a voluminous, festive appearance, lay a sheet of tissue paper flat. Pinch the exact center of the sheet and lift it straight up, letting the corners drape down naturally. Give the pinched point a quick twist to create a structured cone shape. Tuck the twisted point down into the bag, allowing the loose, fluffy corners to bloom out of the top. This method is highly efficient and creates a playful, cloud-like effect that children love.
Securing and Colour Coordinating
To prevent the tissue paper from slipping down into the bag or blowing away at ventilated venues, apply a small strip of double-sided tape or a decorative sticker to the inside rim of the bag. Press the tissue paper gently against the adhesive to lock it in place.
When choosing your colours, match the tissue paper to your party theme, or use contrasting colours for visual depth. Layering two different coloured sheets of tissue paper slightly offset from one another before folding or fluffing creates a vibrant, multi-dimensional look. In humid environments, ensure you use bleed-resistant tissue paper to prevent the dye from transferring onto the gifts or children’s hands if they get damp.
Step 3: Adding Ribbons, Bows, and Personalised Tags
The finishing touches secure the bag’s opening and add a personalised, high-quality feel. Using the correct stationery techniques prevents damage to the delicate base materials.
To thread ribbons through paper or cellophane bags without ripping the edges, reinforce the attachment points first. Apply a small piece of clear stationery tape over the exact spot where you intend to punch. Use a sharp, single-hole puncher to cut through the taped area. The tape acts as a structural barrier, reinforcing the paper or plastic so it does not tear when the ribbon is pulled or carried.
When selecting your ribbon style, consider the overall theme of the party:
- Classic Bows: Use satin or grosgrain ribbon to tie a neat, double-loop bow around the handles or through the punched holes. This provides a traditional, sophisticated look.
- Curly Ribbons: Use polypropylene curling ribbon for a whimsical, high-energy style. Tie the ribbon securely, then hold the ribbon strand firmly against the blunt edge of a pair of scissors. Pull the ribbon quickly outward to create tight, bouncy curls that cascade down the side of the bag.
Before tying your final bow, thread your personalised name tags or thank-you cards onto the ribbon. Position the tag so it sits flat against the front face of the bag, making it easy for young guests to find their names.
Avoid using liquid school glue or hot glue guns on thin paper bags or cellophane. The moisture in liquid glue causes paper to wrinkle, warp, and weaken as it dries, while hot glue can instantly melt cellophane or thin plastics. Always opt for double-sided tape, glue dots, or high-quality clear tape to secure your decorations safely.
Step 4: Final Checks and Display Tips for the Party
Before transporting your completed bags to the party venue, conduct a quick quality control check to ensure every package is structurally sound and safe for children.
Perform a quick “lift test” on a few assembled bags. Pick up the bag by its handles or tied ribbons and gently lift it off the table. Give it a soft shake to ensure the bottom holds its shape, the items inside do not shift excessively, and the tissue paper remains securely in place. If you notice the base sagging, slide an extra layer of cardstock inside to reinforce it.
Next, inspect the bags for any safety hazards. Carefully run your hand along the outside and inside rims to check for sharp edges from staples, hard plastic toys, or wire twist ties poking through the material. Cover any internal sharp points with extra tissue paper or stationery tape to ensure young children do not scratch their hands when reaching inside.
When you arrive at the venue, display the bags in an organized, appealing manner. Arrange them symmetrically on a dedicated gift table. For outdoor parties or open-air venues, place the bags inside sturdy decorative wooden crates or shallow woven baskets to prevent them from tipping over in the wind. If you are using lightweight bags, hanging them from a colourful pegboard using peg hooks creates an eye-catching, interactive display that doubles as party decor.
Frequently Asked Questions (FAQ)
How do I prevent cellophane goodie bags from splitting at the bottom?
Cellophane is prone to splitting along its side and bottom seams when subjected to sudden pressure. To prevent this, apply a strip of clear packing tape across the bottom seam of the bag before you begin filling it. Additionally, avoid overstuffing the bag beyond its natural gusset capacity, as excessive lateral tension will easily rupture the plastic seams.
Can I use wrapping paper to wrap the outside of a plain paper goodie bag?
Yes, upcycling plain paper bags with wrapping paper is an excellent way to customise them to match a specific party theme. Measure the flat faces of the bag, cut the wrapping paper to fit, and secure it to the exterior using double-sided tape for a seamless look. Ensure the bag’s handles remain completely free and un-taped so that children can still carry the bag easily without tearing the decorative paper.
What is the best way to wrap goodie bags for a large number of guests quickly?
To assemble a high volume of bags efficiently, set up an assembly line system. Group your materials and dedicate specific stations for each step of the process: one station for reinforcing the bases and filling the items, one station for folding and tucking the tissue paper, and a final station for tying the ribbons and attaching the tags. Pre-cutting all your ribbons and pre-punching your tags in batches beforehand will significantly speed up the final assembly.
Community discussion
Share your experience or ask a question. Comments are reviewed before publication.