
Wrapping an extra large gift box neatly can feel like a daunting task, especially when standard paper rolls seem too narrow or fragile to cover the surface. The key to achieving a professional, store-bought finish lies in precise measurement, strategic folding, and selecting the right stationery supplies. By using calculated techniques, you can wrap even the most oversized boxes without wasting valuable paper or ending up with bulky, unsightly corners. Whether you are preparing a large housewarming gift, a major holiday surprise, or a bulky toy, mastering these foundational steps ensures your presentation matches the significance of the gift itself.
Tools and Materials for Wrapping Oversized Boxes
Handling a substantial package requires tools that offer durability and precision. Standard lightweight paper often tears when stretched across wide surfaces, so selecting the proper paper weight is the first step toward a successful wrap.
- Wrapping Paper Selection: Look for wrapping paper with a weight of at least 80 to 90 GSM (grams per square meter). Thicker kraft paper, heavy-duty matte paper, or high-quality patterned sheets provide the structural integrity needed to resist tearing over sharp box corners. Avoid thin, glossy foil papers, which crease permanently at the slightest mistake and tear easily under tension.
- Cutting Tools: Clean cuts are essential for neat seams. Use a pair of sharp, long-blade scissors or a utility craft knife paired with a heavy metal ruler. A long ruler helps guide your blade in a single, continuous motion, preventing the jagged, frayed edges that often occur when trying to cut large sheets freehand.
- Adhesives: To achieve a seamless look, double-sided tape is highly recommended. It hides completely beneath the paper seams, eliminating shiny plastic lines on the visible faces of your box. For the high-tension structural seams on the bottom or sides, keep a roll of strong, clear packing tape or heavy-duty stationery tape on hand to ensure the paper does not pop open under the weight of the box.
- Creasing Tools: A bone folder or a flat, smooth plastic edge is invaluable when working with thick paper. It allows you to press sharp, crisp creases along the edges of deep boxes, which prevents the paper from bowing out and looking bloated.
- Safety and Workspace Setup: If you are working on a large floor space, always use a self-healing cutting mat beneath your cutting lines to protect your flooring. Exercise caution when using utility knives, keeping your free hand well behind the direction of the cut.
How to Measure and Cut Wrapping Paper to Minimize Waste
The most common cause of wasted paper is guesswork. Cutting too much paper leads to bulky, overlapping folds that look messy, while cutting too little forces you to patch up gaps.
Products mentioned in this guide
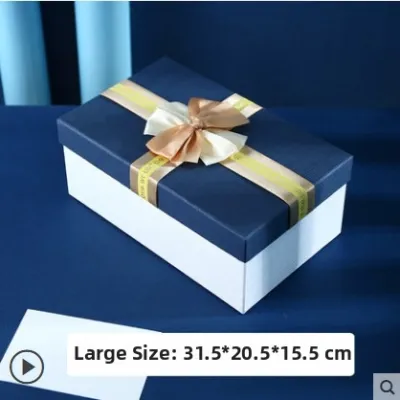
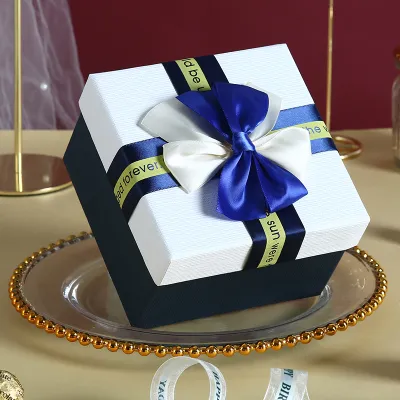
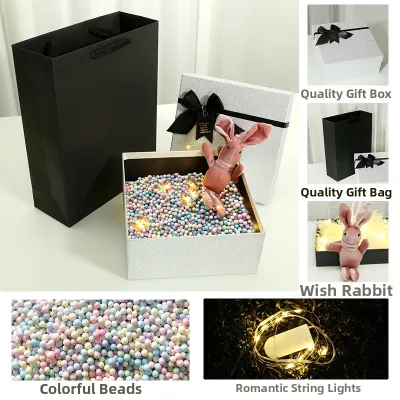
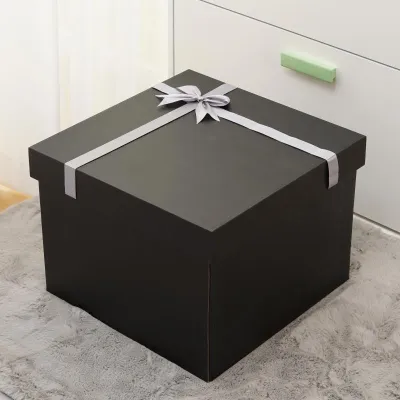
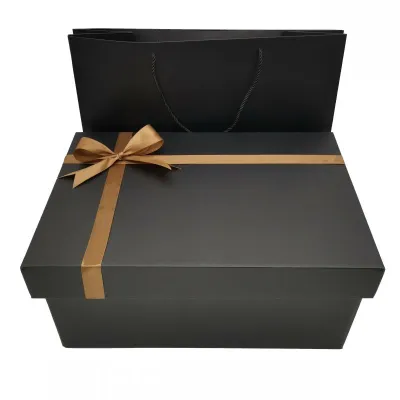
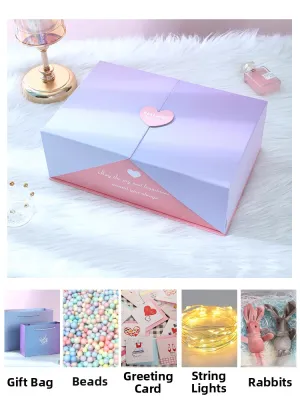
Prices are valid at publication and may change. Please refer to the product page for the latest price.

To determine the exact dimensions needed for a standard rectangular box, use a simple formula. For the width of the paper, measure the box’s width and depth, then add them together and add an extra 3 cm for a clean overlap:
Paper Width = Box Width + Box Depth + 3 cm
For the length, measure the box’s length, add twice the depth, and add another 3 cm:
Paper Length = Box Length + (Box Depth x 2) + 3 cm
If your box is exceptionally wide or has square dimensions, placing it diagonally on the paper sheet can significantly reduce the amount of paper required. This technique, often called the diagonal wrap, allows the corners of the paper to fold over the sides of the box efficiently, utilizing the maximum diagonal length of the paper roll and saving up to 20 percent of the material.
Instead of relying solely on a measuring tape, use the box itself as a physical guide. Place the box on the paper, roll it over all four sides to mark the exact coverage, and use a light pencil to draw your cut lines. This visual check ensures you account for any slight bulging or unusual proportions before making a single cut.
Avoid the temptation to add extra inches to your measurements “just in case.” Excess paper at the ends of the box creates thick, bunched-up folds that are incredibly difficult to secure neatly. If you find you have cut too much, trim the excess off before you begin folding rather than trying to force the extra bulk into your corners.
Step-by-Step Guide to Wrapping the Main Body of an Extra Large Gift Box
Once your paper is cut to size, the next challenge is securing it tightly around the box without creating air bubbles, wrinkles, or misaligned seams.
Extra large boxes rarely fit on standard tables. Clear a wide, clean area on a hard floor—such as a tiled or hardwood floor common in modern apartments—and sweep or wipe it down first to prevent dust or hair from sticking to your tape or paper.
Place your paper face down on the floor and position your box top-down in the exact center. Pull the first long edge of the paper up and over the side of the box, securing it temporarily to the center of the box bottom with a small piece of clear tape. This keeps the paper from shifting as you work.
Walk to the opposite side of the box, grab the remaining loose edge of the paper, and pull it taut. Use your hand to smooth the paper flat against the sides and top of the box, working from the center outward to push out any trapped air bubbles. Keeping the tension firm but even is crucial; pulling too hard can slice the paper against sharp box corners, while leaving it loose results in a saggy finish.
Before taping the second edge down, fold its raw cut edge inward by about 1 cm to create a clean, folded “factory edge.” Apply a strip of double-sided tape along the underside of this folded edge, align it perfectly straight over the first secured edge, and press down firmly to create a clean, invisible seam.
Folding Techniques for Clean, Mess-Free Corners
The ends of a large, deep box present the highest risk of looking untidy. Managing the volume of paper at these points requires systematic folding and creasing.
Before making any folds, use your fingers to pinch and crease the paper along the vertical corners of the box. This defines the shape of the box and guides the paper to fold exactly where it should, preventing diagonal wrinkles from spreading across the face of the package.
For deep boxes, the envelope fold (or hospital corner) is the neatest method. Push the top flap of paper straight down against the end of the box, creating two neat, triangular wings on the left and right sides. Press your bone folder along the top edge to set the fold. Next, fold the two side triangles inward so they lie flat against the box face, pulling them tight to eliminate any slack.
If the box is exceptionally deep, the bottom flap may extend past the top edge when folded upward. If this occurs, lay the flap flat and use your scissors to trim it down so that it ends about 2 cm below the top edge of the box. This prevents excess paper from wrapping over the top face and ruining the clean lines.
Apply double-sided tape to the inside edge of the bottom flap. Pull the flap firmly upward over the folded side triangles, ensuring the center line remains perfectly vertical, and press it secure. Repeat this entire process on the opposite end of the box, checking that both sides look symmetrical.
Seamless Splicing: What to Do When the Paper is Too Narrow
It is common for standard paper rolls to fall short when wrapping an extra large gift box. Instead of wasting an entire second sheet or abandoning the wrap, you can splice two pieces of paper together seamlessly.
Never place a spliced seam randomly. Plan the join so that it aligns with a natural focal point, such as the exact center of the box where you plan to place a wide ribbon, a decorative band, or a large gift tag. This turns a functional seam into an intentional design element.
Cut two sheets of paper to the required length. Take the manufactured, perfectly straight edge of the second sheet and overlap it by 2 cm over the cut edge of the first sheet. Apply a continuous strip of double-sided tape between this overlap to join the sheets. Using the factory edge ensures the seam looks perfectly straight and professional.
If you are using patterned paper, take a moment to align the pattern across the seam before taping. Alternatively, embrace the contrast by splicing two different solid colors together—such as a neutral kraft paper paired with a vibrant festive shade—to create a modern, color-blocked aesthetic.
Never allow a spliced seam to sit on the structural bottom of a heavy box. The weight of the gift inside can put immense pressure on the bottom surface, and a spliced seam is more vulnerable to splitting than a solid sheet of paper. Keep all joins on the top or upper sides of the box.
Reinforcing and Decorating Large Gift Boxes
An extra large gift requires decorations that match its scale. Petite bows and thin ribbons will look lost on a massive package, so scale up your embellishments accordingly.
Use wide fabric ribbons (at least 3 to 5 cm wide), thick jute twine, or decorative paper bands to wrap around the box. This not only adds a luxurious touch but also acts as a physical harness that supports the weight of the box and reinforces your taped seams.
Opt for oversized gift tags, large hand-tied bows, or natural elements like dried eucalyptus leaves or pinecones to complement the package size. A single, well-placed focal point is much more effective on a large surface than multiple small decorations.
Before presenting the gift, perform a quick quality check. Run your hand over the surfaces to ensure there are no loose edges, peeling tape, or air pockets. Lift the box slightly to verify that the bottom seams are secure and that the paper remains taut and stable under the box’s weight.
Frequently Asked Questions (FAQ)
What is the best type of wrapping paper for heavy, extra large boxes?
For heavy or oversized boxes, thicker paper with a high GSM (such as 80 GSM or above) or durable kraft paper is the ideal choice. These materials offer superior tear resistance and structural strength, ensuring the paper does not puncture or rip when stretched over sharp corners or subjected to the weight of a heavy gift.
How can I wrap a large box if my wrapping paper keeps tearing?
If your paper tears easily, first ensure your scissors or utility blades are perfectly sharp, as dull blades drag and rip the fibers. Reduce the tension slightly when pulling the paper over corners, and consider reinforcing high-stress edges with a strip of clear tape on the inside of the paper before folding.
Is it better to use a gift bag instead of wrapping an extra large box?
While reusable gift bags are convenient for awkwardly shaped or fragile items, wrapping an extra large box provides a more secure, structured, and personalized presentation. If you use the correct measurement formulas and sturdy paper, wrapping a large box is highly achievable and often more cost-effective than purchasing an oversized specialty gift bag.

Community discussion
Share your experience or ask a question. Comments are reviewed before publication.