
Presenting mooncakes in a beautifully wrapped box is an excellent way to show care and respect when gifting these traditional treats during festive seasons. A well-packaged gift enhances the anticipation of opening the box, making the exchange far more memorable for family, friends, or business associates. By selecting the right paper weight, measuring accurately, and mastering a few simple folding techniques, you can transform a standard box into an elegant, professional-looking gift.
Materials and Tools You Will Need
Selecting the right wrapping paper is the foundation of a successful wrap. For rigid mooncake boxes, a medium-weight paper (around 80 to 120 gsm) is highly suitable. Thin papers, such as standard tissue or cheap newsprint, tear easily at sharp corners. Conversely, excessively thick papers, like heavy cardstock, resist clean creasing and make the corners look bulky. Textured papers, such as kraft paper or embossed specialty sheets, add a pleasant tactile quality to the presentation.
The ribbon should complement the scale of your mooncake packaging box. For a standard four-piece mooncake box, a ribbon width of 1.5 cm to 2.5 cm is generally proportionate. Thinner ribbons can look lost on larger boxes, whereas overly wide ribbons might overwhelm the design. Satin ribbons provide a classic, glossy finish, while grosgrain ribbons offer a ribbed texture that holds knots securely.
Products mentioned in this guide
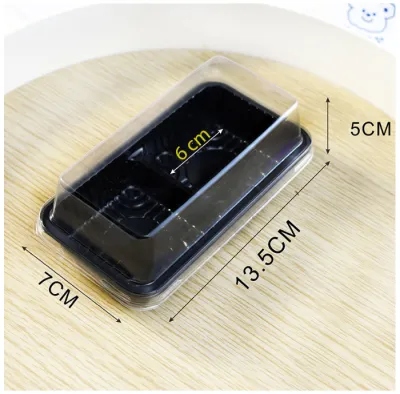
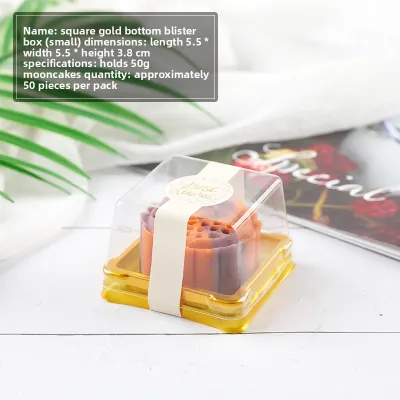
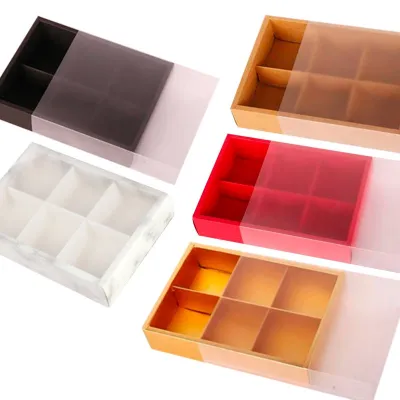
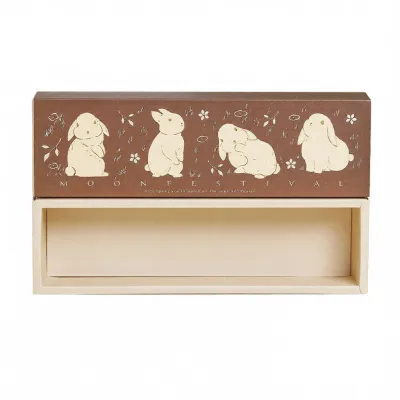
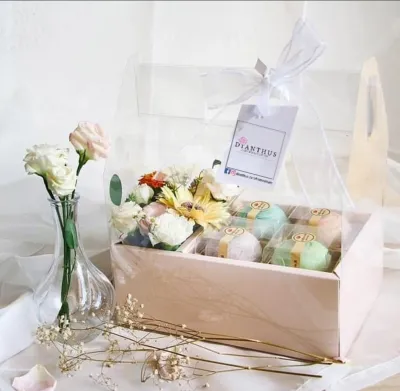
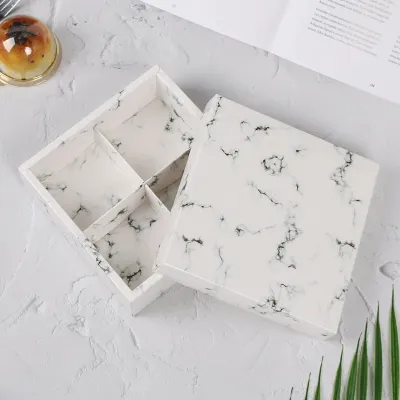
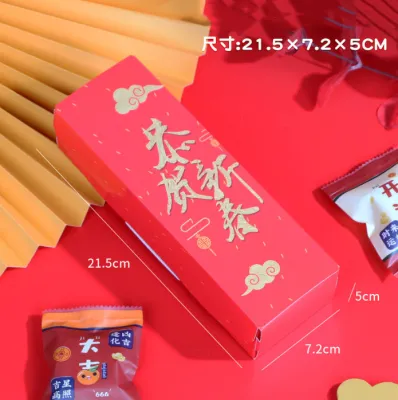
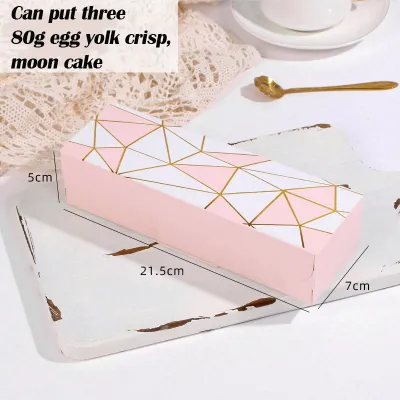
Prices are valid at publication and may change. Please refer to the product page for the latest price.
Having the correct tools on hand prevents frustration during the wrapping process. You will need a pair of sharp scissors dedicated to cutting paper, as dull blades can fray the edges. Double-sided tape is highly recommended over standard single-sided tape because it can be hidden entirely beneath the folds, creating a seamless exterior. A long metal ruler and a pencil are also essential for marking precise cutting lines.
How to Measure and Cut the Wrapping Paper
Accurate measurement is the secret to a neat wrap. If the paper is cut too small, it will not cover the box; if it is too large, the excess paper will bunch up at the ends, creating unsightly bulk. To determine the correct dimensions, place your mooncake box on a flat surface and use your ruler to measure its length, width, and height.

To calculate the required width of the wrapping paper, add the length of the box to twice the height, then add an extra 3 cm for overlap. For example, if your box is 20 cm long and 8 cm high, your paper width should be 39 cm. To find the required length of the paper, wrap a measuring tape entirely around the girth of the box (covering the top, bottom, and two sides) and add 4 cm for a secure overlap. Alternatively, you can calculate this by multiplying the width of the box by two, adding twice the height, and adding the 4 cm overlap.
Once you have calculated these dimensions, lay your wrapping paper face down on a clean, flat work surface. Use your ruler and pencil to mark the measurements on the back of the paper. Draw straight guidelines connecting your marks. Cut along these lines using long, smooth scissor strokes, or use a utility knife against a metal ruler for a perfectly straight, professional edge.
Step-by-Step Guide to Wrapping the Mooncake Box
Before you begin wrapping, ensure your workspace is clean, dry, and free of dust, which can prevent tape from sticking properly. Place the cut wrapping paper face down on your workspace. Position the mooncake packaging box face down in the center of the paper. This ensures that any seams or tape joins will end up on the bottom of the box, leaving the top clean and smooth.
Pull the long side of the paper up and over the bottom of the box, securing it temporarily with a small piece of double-sided tape. Next, pull the opposite long side of the paper tightly over the box. To create a clean, professional seam, fold the raw edge of this second side inward by about 1 cm to create a neat crease. Apply double-sided tape along this folded edge, pull the paper taut, and press it down onto the first side. This creates a straight, clean seam along the bottom of the box.
Now, turn your attention to the open ends of the box. Start on one side by pushing the top flap of paper downward against the side of the box, creasing it sharply along the top edge. This action will naturally create two triangular flaps on the left and right sides. Crease these side flaps sharply against the box, then fold them inward one at a time, securing them with a small piece of double-sided tape if necessary to keep them flat.
You will now have a single trapezoidal flap remaining at the bottom. Fold the top edge of this bottom flap inward by about 1 cm to hide the raw cut edge, creating a clean line. Pull this flap upward tightly against the side of the box, apply double-sided tape to the inside of the folded edge, and press it firmly into place. Repeat this entire folding and taping process on the opposite end of the box, ensuring the folds are symmetrical.
To make the folds as crisp as possible, use the side of your thumb or a bone folder to press along the edges of the box. This creates sharp, defined lines that give the package a professional, manufactured appearance rather than a loose, handmade look. Inspect the wrapped box for any loose edges, wrinkles, or misaligned seams, and apply a small piece of double-sided tape underneath any loose folds to secure them.
Adding Ribbon and Decorative Finishing Touches
A beautiful ribbon adds the final touch of elegance to your mooncake gift. To measure the ribbon, wrap it loosely around the box twice along its length and twice along its width, then add about 30 cm to 40 cm for tying the bow. This ensures you have plenty of material to work with without struggling with short ends.
When choosing a ribbon color, consider the design of your wrapping paper. A solid-colored ribbon works beautifully with patterned paper, while a patterned or textured ribbon can elevate plain kraft paper. Classic festive colors like gold, red, or deep blue are popular choices that complement traditional mooncake themes.
To tie a classic cross-wrap bow, place the center of the ribbon across the top of the wrapped box. Bring both ends of the ribbon down the sides and cross them underneath the box, turning them 90 degrees. Pull the ends back up along the remaining two sides of the box to the top. Thread the ends under the original center piece of ribbon and pull them tight to secure the wrap.
Tie a secure double knot at the center to keep the ribbon from slipping. From here, form a classic bow by creating two loops, crossing them, and pulling one loop through the center space. Adjust the loops and tails of the bow until they are symmetrical and proportionate to the size of the box. Cut the ribbon tails at a 45-degree angle or in a V-shape to prevent fraying and add a professional finish.
You can also add small decorative elements to personalize the presentation. Slide a custom gift tag onto one of the ribbon tails before tying the bow, or tuck a small sprig of dried flowers, such as lavender or osmanthus, under the knot. Ensure these additions are lightweight so they do not weigh down the bow or tear the wrapping paper.
Tips for a Professional and Secure Presentation
When wrapping rigid boxes, the sharp corners can easily puncture thin or delicate paper. To prevent tearing, avoid pulling the paper too tightly over the corners. If you are using a delicate paper, you can reinforce the inside corners of the wrapping paper with small pieces of clear tape before placing the box on top.
Thick or heavily textured papers often resist holding a sharp crease, which can make the wrapped box look bulky. To manage this, use a bone folder or the smooth side of a plastic ruler to press down firmly on every fold. This extra pressure forces the paper fibers to bend permanently, resulting in crisp, professional edges.
If your mooncake packaging box has a loose lid that tends to slide off, it is important to secure it before wrapping. You can wrap a simple paper band, often called a belly band, around the middle of the box to keep the lid in place. Alternatively, use a small piece of low-tack painter’s tape to secure the lid to the base; this tape can be easily removed by the recipient without damaging the box itself.
Frequently Asked Questions (FAQ)
Can I use regular printer paper to wrap a mooncake box?
Standard printer paper is generally not recommended for wrapping mooncake boxes. It lacks the necessary durability and tear resistance, meaning it is highly likely to rip at the sharp corners of a rigid box. Additionally, printer paper is often semi-transparent, which may allow the design of the underlying box to show through. If you must use it, check its opacity and weight first, and consider using it only for very small boxes.
How do I keep the ribbon from slipping off a smooth box?
To prevent ribbon from sliding on glossy or smooth paper, you can place a small dot of double-sided tape or a removable glue dot directly underneath the ribbon where it crosses the bottom and sides of the box. This keeps the ribbon anchored in place without damaging the paper. Additionally, ensure you tie the initial knot tightly to maintain friction against the box surface.
What is the best way to wrap an irregularly shaped mooncake tin?
For round or irregularly shaped mooncake tins, traditional wrapping paper can be difficult to fold neatly. Instead, consider using flexible materials such as fabric wraps (furoshiki), cellophane, or soft crepe paper. Place the tin in the center of the material, gather the excess fabric or paper upward over the top of the tin, and secure it tightly with a ribbon. This creates a beautiful pouch effect that accommodates curves easily.

Community discussion
Share your experience or ask a question. Comments are reviewed before publication.