
Gifting moon cakes during the Mid-Autumn Festival is a cherished tradition, but the presentation of the box itself plays a vital role in conveying your respect and warm wishes. A beautifully wrapped moon cake box transforms a standard package into a highly personalized, luxurious gift. Achieving a flawless, store-quality finish requires more than just pulling paper over cardboard; it demands careful material selection, precise measurements, clean folding techniques, and thoughtful embellishments. By mastering a few fundamental wrapping and styling methods, you can elevate any standard moon cake box into an elegant centerpiece that stands out.
Choose the Right Wrapping Paper and Tools for Your Box
Before cutting any paper, you must prepare the moon cake box to ensure a smooth foundation. Moon cake boxes are often constructed from heavy cardboard, decorative tin, or even polished wood, and any surface irregularities will show through your wrapping paper. Begin by wiping down the exterior of the box with a dry microfiber cloth to remove dust and fingerprints. Carefully peel off any price tags or retail stickers; if they leave a sticky residue, gently rub the spot with a tiny amount of rubbing alcohol on a cotton pad, first verifying on an inconspicuous corner that the solvent does not discolor the box material. Ensure the box is fully closed, and if it has a loose lid, secure it with a small piece of removable painter’s tape to keep it from shifting during the wrapping process.
Selecting the correct paper weight is the most critical decision for achieving clean, sharp edges. For wrapping structured boxes, a paper weight between 80 and 120 grams per square meter (GSM) offers the perfect balance of flexibility and strength. Paper that is too thin, such as standard tissue or cheap newsprint (under 70 GSM), will easily puncture or tear when pulled taut against the sharp corners of a heavy moon cake box. Conversely, paper that is too thick, such as heavy cardstock or thick handmade textured papers (over 150 GSM), is highly resistant to folding, resulting in bulky, rounded corners and seams that constantly spring open. Consider also the scale of the pattern on the paper: compact boxes look best with small, dense motifs, while large, multi-tiered gift sets accommodate grander, more spacious designs without losing the visual impact of the print.
Products mentioned in this guide
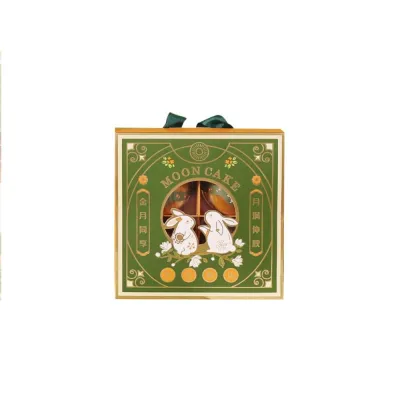
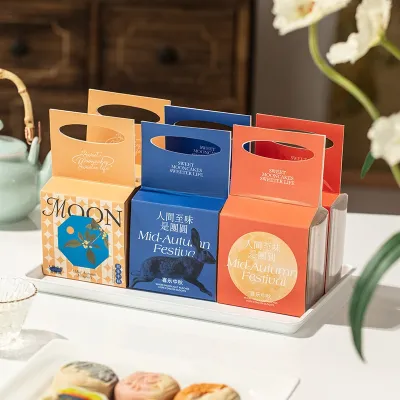
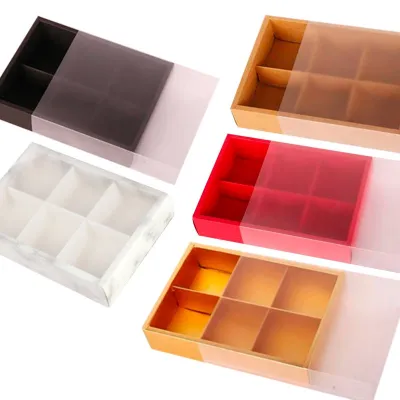
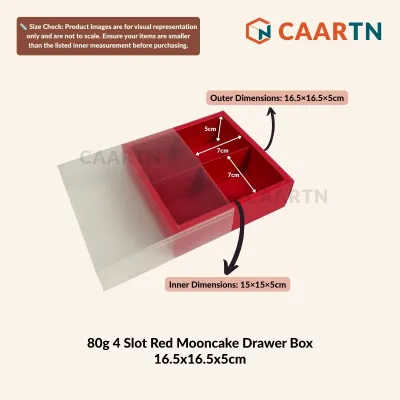
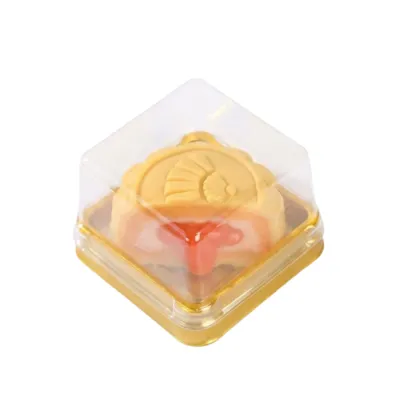
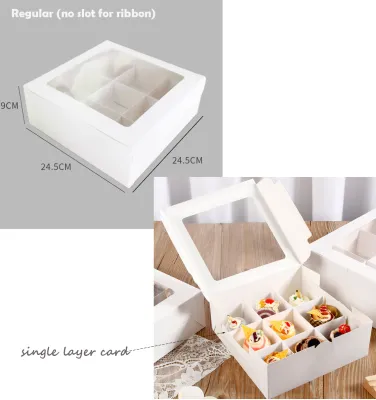
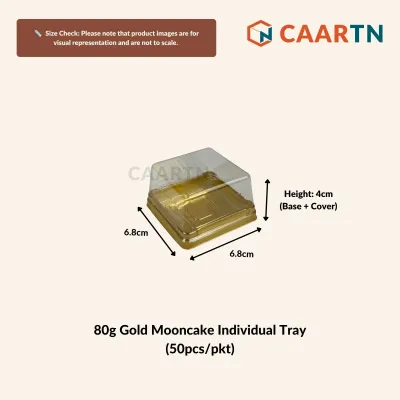
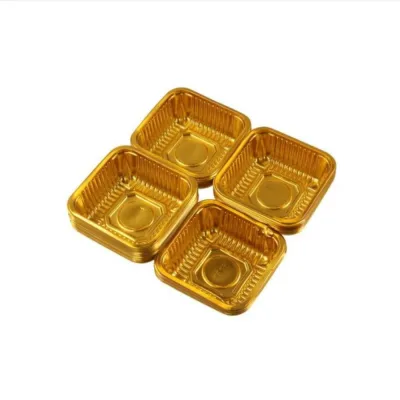
Prices are valid at publication and may change. Please refer to the product page for the latest price.
Your choice of ribbon material defines the overall aesthetic of the presentation. Satin ribbon offers a classic high-gloss shine and a soft, fluid drape that feels traditional and luxurious. Grosgrain ribbon, with its distinctive ribbed texture, provides excellent structure, making it ideal for creating crisp, voluminous bows that hold their shape during transit. For a modern, organic, or rustic presentation, cotton or linen ribbons offer a beautiful matte finish and a tactile, understated appeal. Match the ribbon width to the scale of your box: a delicate 1.5-centimeter ribbon suits a small, single-tier box, whereas a substantial 3.8-centimeter to 5-centimeter ribbon is necessary to visually balance a large, heavy multi-pack box.
To execute a professional wrap, gather high-quality tools designed for precision. Avoid standard household utility scissors, which can chew the paper and leave jagged edges; instead, use sharp craft scissors or a dedicated paper-cutting shear. Keep a metal ruler or a flexible measuring tape on hand for accurate calculations. For securing the paper, high-quality, narrow double-sided tape is indispensable, as it creates completely invisible seams without the unsightly glare of clear single-sided tape. Finally, a bone folder—or a smooth, hard plastic edge like a clean ruler—is the secret weapon of professional wrappers, allowing you to burnish folds and create razor-sharp creases without tearing the paper fibers.
Measure and Cut the Paper for a Perfect Fit
To avoid wasting premium wrapping paper and to prevent bulky, overlapping seams, you must calculate the exact dimensions required for your specific moon cake box. Start by measuring the three key dimensions of your box: the length (L), the width (W), and the height (H). Write these measurements down so you can refer to them during the layout process.

To find the correct dimensions for cutting your wrapping paper, use a simple mathematical formula. To wrap around the main body of the box, the paper length must equal the perimeter of the box plus an overlap allowance: multiply the width by two, add the height multiplied by two, and add an extra 3 centimeters for a clean seam (Paper Length = 2W + 2H + 3 cm). To cover the ends of the box, the paper width must equal the length of the box plus the height of the box, allowing the side flaps to meet perfectly in the middle of each end without excess bulk (Paper Width = L + H). If your paper is slightly wider than this calculation, trim it down; excess paper at the ends will bunch up and ruin the clean lines of your final folds.
When you are ready to cut, lay your wrapping paper face down on a clean, flat surface, preferably on a self-healing cutting mat. Use your metal ruler and a light pencil to mark your calculated dimensions on the reverse side of the paper. For the straightest, cleanest edges, place the metal ruler along your pencil line, press down firmly to prevent slipping, and glide a sharp utility knife or craft knife along the ruler’s edge in a single, continuous motion. If you are using scissors, hold the paper taut and slide the blades smoothly through the sheet rather than making short, choppy cuts, which can create micro-tears along the seam line.
Wrap the Box for a Seamless, Professional Finish
Securing the Main Body
Begin the wrapping process by placing your cut sheet of paper design-side down on your work surface. Position the moon cake box face-down directly in the center of the paper, ensuring that the sides of the box run perfectly parallel to the edges of the sheet. Aligning the box precisely at this stage ensures that any patterns on the paper run straight across the finished package.
Pull the long edge of the paper farthest from you up and over the bottom of the box, holding it tight against the cardboard surface. Next, take the remaining long edge of the paper and fold its raw margin inward by about 1 centimeter, pressing the fold flat with your bone folder to create a clean, hemmed edge. Pull this hemmed edge tightly over the first layer, overlapping it by about 2 centimeters. This folded hem hides the raw cut of the paper and provides a clean, straight seam line along the bottom of your box.
To secure this main seam, apply a continuous strip of narrow double-sided tape along the underside of the folded hem. Carefully press the hemmed edge down onto the underlying paper, smoothing it from the center outward to prevent wrinkles or air bubbles. By placing the tape entirely between the overlapping layers of paper, you ensure that no adhesive is visible on the exterior of the gift.
Once the main body is secured, slide your fingers firmly along the top and bottom edges of the box to mold the paper to its shape. Run your bone folder gently along these long edges to create crisp, defined corners. This step eliminates any slack or pocketed air, ensuring the wrapping paper hugs the box like a custom-made sleeve.
Folding the Ends for Crisp Corners
With the main body wrapped, turn your attention to the open ends of the box. Start on one side by pushing the left and right side flaps of the paper inward against the box end. As you push these flaps in, the top and bottom paper will naturally form clean, triangular wings. Use your fingers to crease these side folds sharply against the vertical corners of the box.
Next, fold the top triangular flap downward against the end of the box. Run your bone folder along the top horizontal edge to create a sharp, flat crease. The flap should lay completely flat against the vertical surface of the box without any bowing or puckering.
To finish the end, fold the bottom triangular flap upward over the top flap. Before taping, fold the raw tip of this bottom flap inward by about 1 centimeter to create a clean, horizontal hemline that aligns with the top edge of the box. Apply a small strip of double-sided tape to the inside of this hemmed flap, pull it tightly upward, and press it firmly against the end of the box to seal it.
Repeat this exact sequence on the opposite end of the box, ensuring that you pull the paper with equal tension to maintain symmetry. If you are wrapping a two-piece moon cake box featuring a separate lid and base, wrap each section individually using this same method. When wrapping them separately, fold the paper margins over the open edges of the lid and base, and secure them neatly to the inside walls with double-sided tape, ensuring the lid can still slide smoothly over the base.
Tie and Style the Ribbon for an Elegant Touch
To determine the amount of ribbon required for a classic cross-pattern tie, wrap the ribbon loosely around the length and width of your box, then add an extra 60 centimeters to accommodate the loops and tails of the bow. For a simpler, single-band presentation, wrap the ribbon once around the width and add 40 centimeters. Once you have measured the correct length, cut the ribbon ends at a sharp 45-degree angle, or fold the ribbon in half vertically and cut upward at an angle toward the outer edge to create a tailored chevron V-cut. This clean finish prevents the woven threads of satin or grosgrain from fraying over time.
To tie a classic cross pattern, lay your ribbon flat on your work surface and place the wrapped moon cake box face-down in the center of the ribbon. Bring the two ends of the ribbon up over the bottom of the box, cross them over each other, and twist them 90 degrees so they run perpendicular to their original direction. Pull the ribbon ends tautly along the remaining sides of the box, flip the box face-up, and bring the ribbon ends together on the top surface. Ensure the ribbon is snug against the paper, but avoid pulling it so tight that it compresses the cardboard box or creates unsightly wrinkles in your wrapping paper.
Tie a secure half-knot at the center of the top surface to establish a firm base for your bow. Form a neat loop with one end of the ribbon, wrap the other end around the base of the loop, and pull it through the center opening to create a standard bow. Hold the center knot firmly while adjusting the size of the loops and the length of the tails until they are perfectly symmetrical and proportional to the overall size of the box.
If you prefer a modern, minimalist aesthetic, skip the traditional bow and opt for a flat square knot instead. Cross the left ribbon end over the right and pull it through, then cross the right end over the left and pull it tight to create a flat, geometric knot. Trim the tails very short, cutting them at a sharp angle close to the knot for a clean, contemporary look. To prevent either style of knot from sliding or shifting out of alignment during transport, place a tiny dot of clear craft glue or a small piece of double-sided tape directly beneath the knot, securing it to the wrapping paper.
Add Final Embellishments to Elevate the Gift
To give your wrapped moon cake box a premium, bespoke appearance, attach a high-quality paper gift tag. Create a sophisticated, dimensional look by layering a smaller tag made of cream or white textured paper over a slightly larger piece of contrasting cardstock—such as deep crimson, forest green, or metallic gold—to create a framed border. Write your message using a high-quality gel pen or calligraphy ink, and allow it to dry completely to prevent smudging. Punch a small hole through both layers of the tag, thread a thin piece of metallic thread or natural twine through the hole, and tie it securely to the base of your ribbon bow.
Subtle, organic accents add a beautiful touch of texture and seasonal warmth to your gift. Slide a small, lightweight botanical element, such as a sprig of dried osmanthus, a stem of preserved baby’s breath, or a small dried eucalyptus leaf, directly under the ribbon knot. Alternatively, you can apply a personalized wax seal. Melt a small amount of coordinating wax and pour it directly onto the ribbon intersection or the corner of your gift tag, then press it with a traditional metal stamp featuring a festive motif or your family initial.
Before presenting your gift, perform a thorough final inspection to ensure a flawless presentation. Check all sides of the box for any exposed tape lines, adhesive residue, or loose paper edges. Smooth out any minor surface wrinkles with the flat side of your bone folder. Verify that the ribbon is perfectly centered, taut, and free of twists. Finally, if you wrapped a two-piece box separately, confirm that the lid can still be removed and replaced easily without catching or tearing the wrapping paper. This attention to detail ensures your gift looks spectacular and honors the recipient.
Frequently Asked Questions (FAQ)
How should I wrap a moon cake box that has a hinged lid?
Wrapping a hinged box as a single unit will cause the paper to stretch and tear at the back hinge when the recipient opens the lid. To prevent this, wrap the lid and the base of the box separately if the construction allows, securing the paper margins inside the box walls. If the box cannot be separated, wrap the entire unit but leave a neat, deliberate gap in the paper along the rear hinge line, securing the paper edges tightly right up to the hinge. Alternatively, you can wrap the box as a single closed unit without using any tape near the hinge, relying instead on a beautiful ribbon tied around the exterior to hold the wrap in place; the recipient can then simply slide the paper off like a sleeve when opening the gift.
What type of tape works best on dark or textured wrapping paper?
Standard clear plastic tape should be avoided on dark, matte, or heavily textured wrapping papers, as its glossy surface creates a highly visible, unpolished contrast. Instead, always use premium, ultra-thin double-sided tape applied between overlapping layers of paper, keeping the adhesive completely hidden from view. If you must use single-sided tape on the exterior for structural reinforcement, opt for a matte-finish invisible tape, which diffuses light and blends into the paper surface. For delicate, fibrous, or handmade papers, perform a quick test with your tape on a scrap piece of paper first to ensure the adhesive does not bleed through the fibers or tear the delicate surface.
Community discussion
Share your experience or ask a question. Comments are reviewed before publication.