
Wrapping an oversized present can quickly turn into a frustrating exercise of patching together scraps, dealing with misaligned edges, and wasting meters of expensive paper. Achieving a flawless, professional finish on a large gift box requires shifting away from guesswork and adopting a systematic approach to measurement, cutting, and folding. By calculating the exact dimensions of your box beforehand and using the right tools, you can wrap even the most substantial packages with a single, continuous sheet of paper. This method eliminates unsightly horizontal seams, minimizes paper waste, and ensures that every corner remains crisp and secure. Whether you are preparing a large toy, a household appliance, or a bulky storage box, mastering these foundational techniques will elevate your presentation and make the unwrapping experience truly memorable.
Essential Tools and Paper Selection for Oversized Gifts
The success of wrapping a large gift box begins with selecting the appropriate materials and setting up an adequate workspace. Standard wrapping paper rolls often measure around 50 to 70 centimeters in width, which may fall short when dealing with deep or exceptionally wide boxes. For oversized items, look for specialty wide-format rolls, often sold in widths of 90 centimeters or more, or heavy-duty kraft paper rolls that provide both structural strength and generous coverage. Thicker paper is highly recommended for larger boxes because it resists tearing when stretched over sharp corners and handles the weight of the package during the wrapping process. Before purchasing, verify the roll length to ensure you have enough continuous paper to cover the entire box without needing to splice multiple sheets together.
Equally important are the tools you use to secure and shape the paper. Standard clear adhesive tape often stands out on the surface, creating a messy finish and drawing attention to the seams. Instead, opt for high-quality double-sided tape, which hides completely between the overlapping layers of paper for an invisible bond. You will also need a pair of long, sharp scissors or a dedicated wrapping paper cutter to ensure clean, straight lines without snagging or fraying the edges. Because safety is paramount when handling sharp blades, always cut on a stable surface away from your body, and store cutting tools securely when not in use. Finally, a bone folder or a rigid plastic ruler is indispensable for pressing down folds and creating the sharp, professional creases that define a high-end wrap.
Products mentioned in this guide
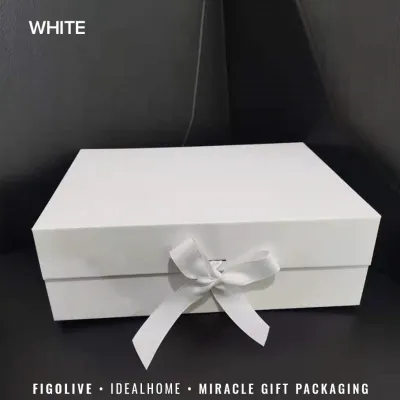
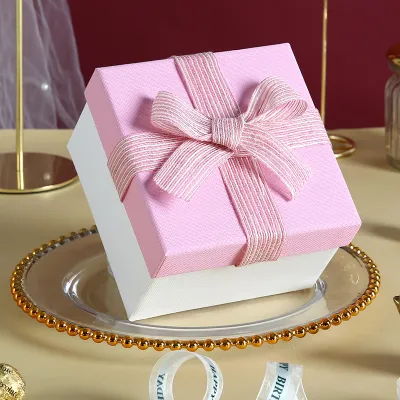
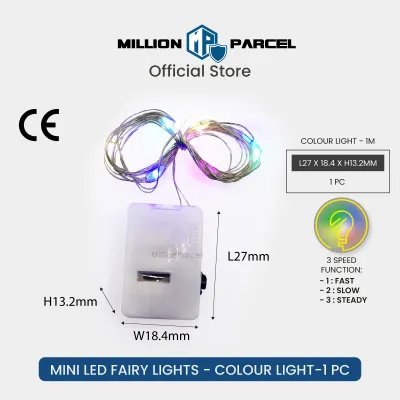
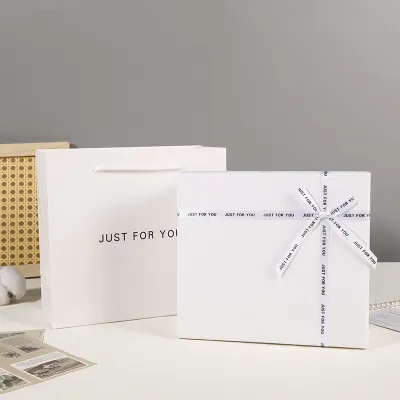
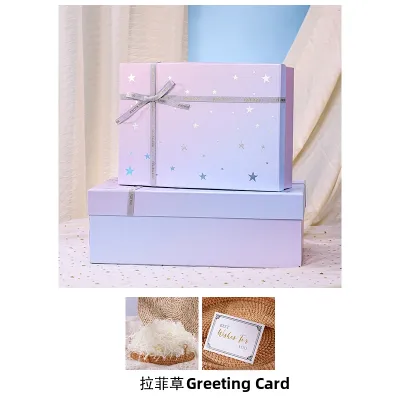
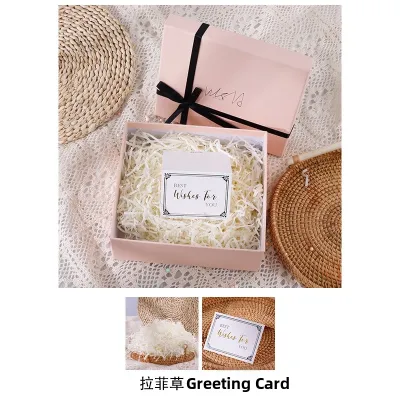
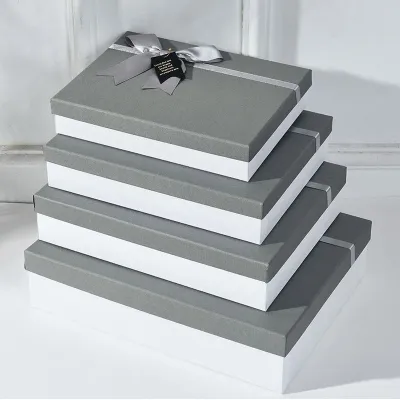
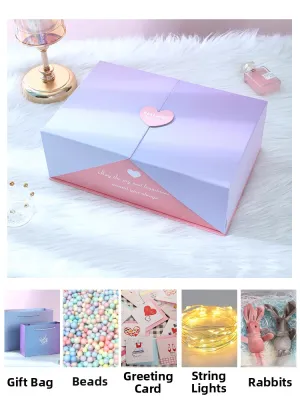
Prices are valid at publication and may change. Please refer to the product page for the latest price.
To execute the wrap smoothly, prepare a clean, flat workspace that is large enough to accommodate the full wingspan of the unrolled paper alongside the box itself. A large dining table, a clean hardwood floor, or a dedicated crafting desk works best. Working on carpet or cluttered surfaces makes it difficult to maintain tension, leading to accidental punctures, wrinkles, and misaligned seams. Clear the area of any dust or debris that could stick to the adhesive tape or scratch the surface of your wrapping paper.
Measuring and Cutting Paper to Prevent Seams and Waste
To avoid wasting valuable paper or ending up with a sheet that is too small, you must calculate the exact dimensions required before making any cuts. The horizontal measurement of your paper must cover all four sides of the box with a slight overlap to secure the seam. To find this length, wrap a flexible measuring tape around the perimeter of the box, or simply roll the box along the paper to measure its path. The formula is straightforward: add the width of the box twice, the depth of the box twice, and then add an extra 3 to 5 centimeters for the overlap. This small allowance ensures you have enough material to fold under and create a clean, finished edge where the paper meets.

The vertical measurement of the paper determines how much coverage you have for the ends of the box. To calculate this, measure the length of the box and add the depth of the box once. This allows the paper on each end to extend slightly more than half the depth of the box, ensuring that when the top and bottom flaps are folded inward, they overlap slightly in the center without leaving any exposed cardboard. If the paper extends too far past this measurement, the excess material will bunch up inside the folds, creating bulky, uneven corners that prevent the box from sitting flat. Trim away any excess paper before you begin folding to keep the ends neat and streamlined.
When you are ready to cut, use a long ruler or a straight edge as a guide to draw a light pencil line on the reverse side of the paper. This is especially helpful for large sheets, where maintaining a straight line over a long distance can be challenging. Glide your scissors smoothly through the paper rather than making choppy, individual cuts, which can cause jagged edges and tears. If your wrapping paper has a grid pattern printed on the back, utilize these lines to guide your cuts precisely.
Before making the final cut, evaluate the orientation of the box on the paper. Sometimes, rotating the box 90 degrees allows you to fit the dimensions within the standard width of the roll, saving you from having to cut from a wider section. If the box is too large for the paper’s width in both directions, you will need to decide whether to use a wider roll or implement a decorative joining technique rather than attempting to tape random scraps together, which inevitably compromises the structural integrity and appearance of the gift.
Step-by-Step Wrapping Technique for a Smooth Finish
With your paper cut to the precise dimensions, place it face down on your clean workspace and position the large gift box in the exact center. To ensure the main seam remains hidden, align the box so that the paper’s edges will meet on the bottom or the least visible side of the package. Pull one side of the paper tightly over the top of the box and secure it temporarily with a small piece of tape. Next, take the opposite edge of the paper, fold it over by about 1 centimeter to create a clean, creased hem, and apply a strip of double-sided tape along this folded edge. Pull the paper taut across the box, align the hemmed edge over the first side, and press down firmly to seal the seam. This hemmed edge hides the raw cut of the paper and creates a perfectly straight, invisible seam.
Once the main body of the box is wrapped, move to one of the open ends to fold the side flaps. Start by pushing the top flap of paper downward against the end of the box, smoothing it flat from the center outward to prevent air bubbles. Use your fingers to crease the paper sharply along the top edge of the box. As you push this flap down, the paper on the left and right sides will naturally fold outward, forming two neat, diagonal wings. Use your bone folder or ruler to crease these diagonal folds sharply from the corner of the box to the outer edge of the paper.
Next, fold the left and right side wings inward against the box, pressing them flat and creasing the vertical edges sharply. This leaves only the bottom flap pointing outward. Fold the raw edge of this bottom flap inward by about 1 centimeter to create another clean hem, apply double-sided tape to the inside of this hem, and pull the flap tightly upward over the other folded sections. Press firmly to secure it in place. Repeat this entire process on the opposite end of the box, ensuring that you maintain consistent tension throughout so the paper does not buckle or sag.
Managing paper tension is critical when wrapping large surfaces. If the paper is too loose, it will sag and wrinkle over time; if it is pulled too tightly, it may tear at the corners. To find the right balance, support the weight of the box with one hand while pulling the paper snug with the other. Always smooth the paper from the center of each face outward to the edges before securing any tape. By keeping all adhesive concealed within the folds and hems, the exterior of your large gift box will remain completely clean, smooth, and professional.
Inspecting the Wrap and Fixing Common Mistakes
After completing the wrap, place the box on a flat surface and inspect all sides for any imperfections. If you notice trapped air bubbles or minor wrinkles on the large flat surfaces, do not peel the paper off immediately. Instead, use a bone folder or the flat edge of a plastic ruler to gently sweep the air toward the nearest edge or seam, smoothing out the paper without tearing it. If a corner has a small tear due to high tension, you can reinforce it from the inside if the paper is still accessible, or apply a small, neat patch of matching paper secured with double-sided tape.
Understanding the root causes of common wrapping mistakes will help you avoid them in future projects. Visible seams and bulky corners are usually the result of using standard single-sided tape or failing to trim excess paper from the end flaps. If you find that your seams are misaligned, it is often because the box was not perfectly centered on the paper before folding began. Take your time during the initial alignment phase to save effort later.
If you encounter unavoidable minor imperfections, such as a slight crease or a small scuff on the paper, you can strategically cover them without compromising your design. A wide fabric ribbon wrapped around the box not only adds a luxurious touch but also perfectly conceals any off-center seams or minor tears. You can also place a decorative gift tag, a sprig of dried foliage, or a large bow directly over the flawed area, turning a mistake into an intentional design element.
Frequently Asked Questions (FAQ)
What should I do if my wrapping paper is not wide enough for the box?
If your wrapping paper roll is not wide enough to cover your large gift box in one continuous sheet, avoid the temptation to tape two identical pieces together side-by-side. This approach almost always results in a highly visible, uneven seam that looks messy and easily splits under tension. Instead, use the contrast band or belly band technique to join two different papers intentionally. Wrap the center of the box with your primary paper, leaving the exposed ends uncovered. Then, cut a wide strip of a coordinating, contrasting paper or a thick decorative fabric ribbon, fold its edges neatly, and wrap it around the center to cover the gap. This turns a structural limitation into an elegant, multi-layered design feature. Alternatively, for exceptionally large or awkwardly shaped items, consider using reusable fabric wraps, such as a large Furoshiki cloth, which stretch easily and eliminate the need for paper and tape entirely.
Community discussion
Share your experience or ask a question. Comments are reviewed before publication.