
Upcycling retail shopping bags or grocery carriers into custom gift wrap is a practical, creative, and sustainable way to present gifts. Instead of spending S$5 to S$10 on single-use wrapping paper rolls that often end up in landfills, you can transform a plain paper bag into a polished, minimalist package. This technique not only reduces waste but also gives your gifts a charming, rustic aesthetic that stands out under any tree or on any celebration table.
By learning how to properly deconstruct, measure, fold, and decorate these bags, you can achieve a professional finish that rivals premium store-bought options. The process requires only a few basic stationery tools and a bit of patience to master the clean folding techniques.
Selecting the Right Paper Bag and Essential Tools
To achieve a clean and professional look, you must first evaluate the material of your paper bag. Standard kraft paper bags are ideal because they possess the structural integrity to hold sharp creases without tearing easily. Extremely thin paper bags, such as those used for lightweight food takeaway, tend to rip at the corners when folded tightly. Conversely, heavy-duty luxury boutique bags with thick, laminated coatings can be overly stiff, making it difficult to achieve flat, flush seams. Look for a medium-weight paper bag that feels sturdy yet pliable when you pinch a corner.
Products mentioned in this guide
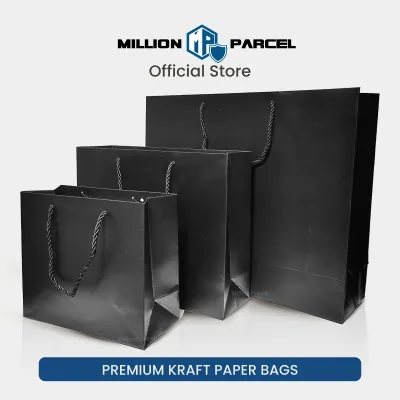
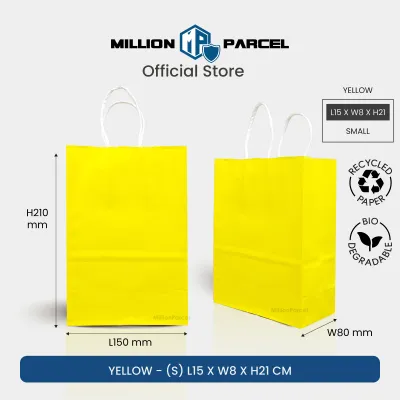
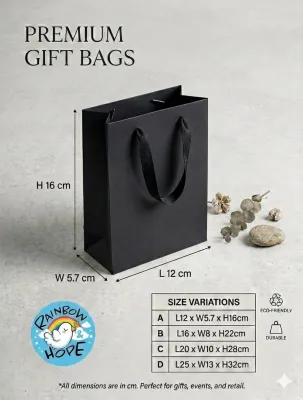


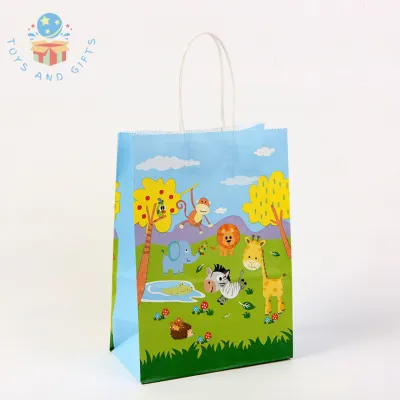
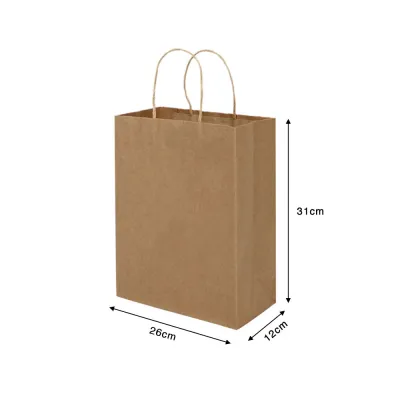
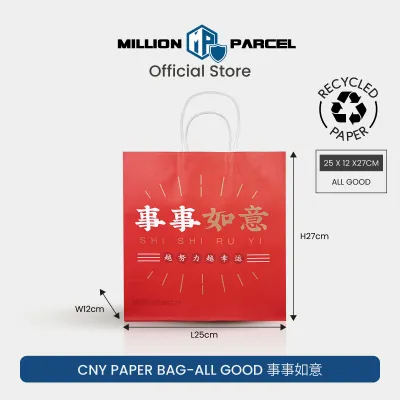
Prices are valid at publication and may change. Please refer to the product page for the latest price.
Size compatibility is another critical factor. The flat surface area of the deconstructed bag must be large enough to wrap completely around your gift with a comfortable overlap. As a general rule, the paper sheet should be wide enough to wrap around the entire gift plus an extra 5 centimeters for a secure seam. The height of the paper should cover the height of the gift plus at least three-quarters of its depth on both the top and bottom ends to allow for clean, triangular folds.
Before you begin, assemble a basic stationery tool kit to ensure precision. You will need a pair of sharp scissors or a utility knife to make clean cuts without fraying the paper edges. A roll of high-quality double-sided tape is essential for creating invisible, secure seams that hold the paper under tension. Finally, a bone folder—or a smooth, flat alternative like the edge of a plastic ruler or a rigid plastic card—is highly recommended for scoring and flattening your creases. If you are using cutting blades, always work on a dedicated cutting mat to protect your tabletop and ensure a stable, slip-free cutting surface.
Step-by-Step Instructions: Cutting and Folding the Bag
The first step in transforming a paper bag into wrapping paper is preparing the material. Carefully remove the handles from the bag. If the handles are attached with glued paper patches, try to gently peel them away; if they are firmly bonded, use your scissors to cut a straight line just below the patch to preserve as much usable paper as possible. Once the handles are removed, reach inside the bag and push out the bottom gussets, flattening the entire bag into a flat, double-layered rectangle.

To open the bag into a single, continuous sheet, identify the vertical seam where the paper was originally glued together during manufacturing. Use your scissors or a utility knife to cut directly along this seam from the top rim down to the bottom base. Next, cut carefully around the perimeter of the rectangular bottom panel to detach it completely. You will be left with a long, flat sheet of paper with natural fold lines from the bag’s original shape. Lay this sheet flat on your workspace with the unprinted, interior side facing up.
Position your gift face down in the center of the paper sheet. Pull one side of the paper over the gift, followed by the opposite side, ensuring they overlap by at least 3 centimeters. To create a clean, professional edge along this central seam, fold the raw edge of the top overlapping sheet inward by about 1 centimeter, creasing it sharply. This hidden fold conceals any uneven scissor cuts and prevents the paper from fraying.
Apply a continuous strip of double-sided tape along the underside of this folded edge. Pull the paper taut across the gift to maintain tension, then press the taped edge firmly onto the underlying paper. This creates a secure, flat, and completely invisible seam down the back of your package.
To finish the ends of the package, start on one side by folding the top edge of the paper down flat against the side of the gift, creating two neat, triangular flaps on the left and right. Crease these side triangles sharply using your bone folder, then fold them inward toward the center of the gift. Finally, fold the remaining bottom flap upward. Apply a strip of double-sided tape to the inside edge of this bottom flap, pull it tight, and press it down to seal the end. Repeat this entire process on the opposite side of the gift, ensuring the paper remains snug and wrinkle-free throughout.
Elevating the Presentation: Adding Finishing Touches
A plain kraft paper surface provides the perfect neutral canvas for creative embellishments. To elevate your presentation, select a tying material that complements the rustic texture of the paper. Natural jute twine, polished cotton cord, or woven linen ribbons work beautifully to secure the package while adding visual depth. Wrap the ribbon or twine around the length and width of the package, pulling it snug before tying a classic bow or a neat knot in the center.
Personalizing the plain paper surface allows you to tailor the gift to the recipient or occasion. You can use rubber stamps with pigment ink, stencils, or hand-drawn calligraphy to add custom patterns or messages. Because paper bag materials vary in their absorption rates, always perform an ink test on a scrap piece of the cut-off paper first. This allows you to verify the drying speed, check for ink feathering, and ensure the ink does not bleed through to the other side. If the ink takes longer to dry on a coated bag surface, allow ample drying time before handling the package to prevent smudging.
For a modern, organic touch, you can attach natural elements directly to the wrapping. Slide a sprig of dried lavender, a preserved eucalyptus leaf, or a small cinnamon stick under the twine before tying the final knot. If you prefer a classic look, write a personalized message on a simple cardstock gift tag and thread it onto the twine. Ensure any botanical elements you use are completely dry, as moisture can warp the paper or cause unsightly water stains over time.
Adapting the Technique for Irregularly Shaped Gifts
Not all gifts fit neatly into rectangular boxes, but you can easily adapt your paper bag wrapping technique to accommodate unusual shapes. For flat, flexible, or delicate items like soft clothing, scarves, or thin notebooks, you can construct a custom paper pouch. Fold your flat sheet of paper in half, then fold the left and right edges over twice by about 5 millimeters to create secure side seams. Seal these side seams with double-sided tape, slide your gift inside the open top, and fold the top flap down to create a clean, secure envelope.
Cylindrical or bulky items, such as jars, bottles, or soft toys, require a gathering technique. Wrap the paper sheet around the circumference of the object to form a tube, securing the vertical seam with double-sided tape. Fold and tape the bottom end flat against the base of the object so it can stand upright. Gather the excess paper at the top of the cylinder together, pinching it tightly just above the gift, and tie it securely with a piece of ribbon or twine to create a decorative, flared top that resembles a festive cracker.
When wrapping items with sharp corners or heavy edges, such as wooden blocks or metal tins, the paper is highly susceptible to puncturing during handling. To prevent this, place a small piece of thick cardstock or a folded scrap of paper over the sharp corners of the gift before you begin wrapping. This simple barrier cushions the impact points and distributes the tension, ensuring your paper bag wrap remains intact and pristine.
Frequently Asked Questions (FAQ)
How to Handle Paper Bags With Printed Logos
Most retail paper bags feature prominent branding or logos on their exterior surfaces. The easiest way to conceal this is to turn the bag inside out during the deconstruction process. Once you cut open the vertical seam and remove the bottom panel, you will find that the interior of the bag is almost always a clean, unprinted, and uniform kraft paper surface. By placing your gift on the printed side and folding the paper so the clean interior faces outward, you completely hide the branding.
If the exterior print is exceptionally dark or heavy, it may cast a shadow or bleed through thin paper when viewed under bright light. To resolve this, you can paste a decorative panel of contrasting paper, a large adhesive label, or a wide fabric ribbon directly over the printed area on the outside. This not only masks the logo completely but also adds an intentional, multi-layered design element to your gift presentation.
Preventing Tears at the Folded Corners
Paper bags are generally stiffer than standard wrapping paper, which makes them prone to cracking or tearing along sharp fold lines. To prevent this, use a bone folder or a blunt edge, such as a closed pen cap or the back of a butter knife, to gently score your fold lines before making the final crease. Scoring compresses the paper fibers along the intended line, allowing the paper to bend smoothly and cleanly without splitting.
For high-stress areas like the sharp corners of a box, you can apply a small preventative reinforcement. Place a small square of clear adhesive tape or a scrap piece of paper on the inside surface of the wrapping sheet exactly where the corner of the gift will rest. This hidden reinforcement absorbs the tension and friction of the sharp edge, keeping the exterior of your wrapped gift looking flawless and secure.

Community discussion
Share your experience or ask a question. Comments are reviewed before publication.