
Wrapping a gift box neatly is a systematic process of precise measurement, sharp creasing, and controlled tension. To achieve a clean, professional-looking presentation, you must eliminate excess paper, use the right adhesive tools, and master the geometric folds at the ends of the box. This step-by-step guide walks you through the exact techniques used by professional gift wrappers, transforming a simple box into a beautifully structured work of art.
The visual appeal of a gift begins long before it is opened. A neatly wrapped box shows care and attention to detail. By mastering a few basic structural techniques, you can wrap any standard rectangular box with perfectly flat seams, razor-sharp edges, and no visible tape.
Essential Tools and Materials for Gift Wrapping
Before you begin, gather the necessary tools to ensure a smooth wrapping process. Having the right materials on hand prevents tearing, uneven cuts, and loose folds that compromise the final presentation.
Products mentioned in this guide
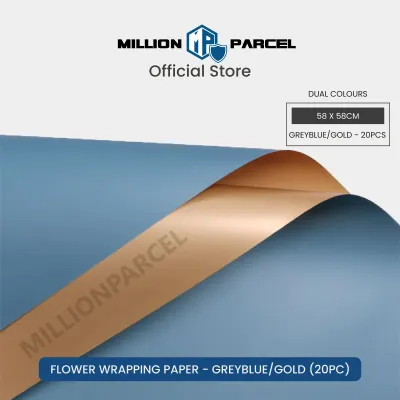
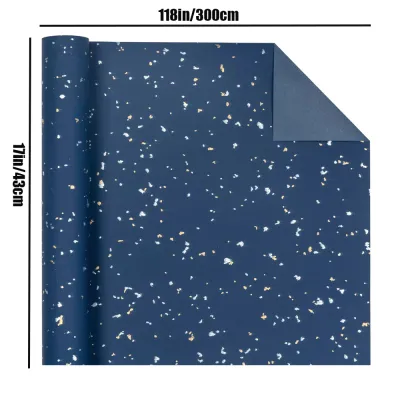
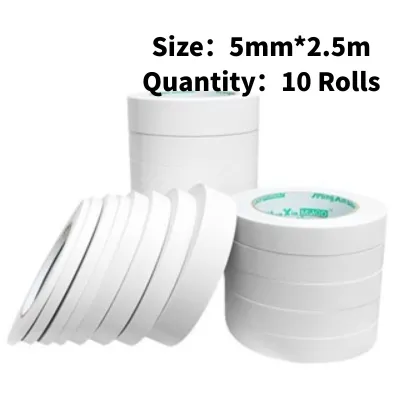
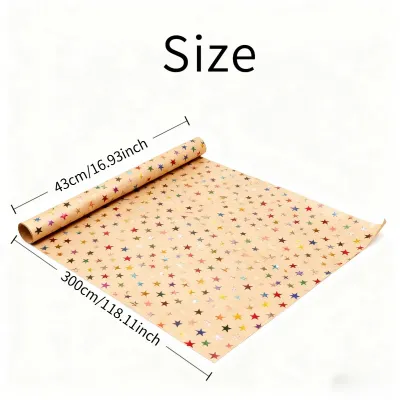
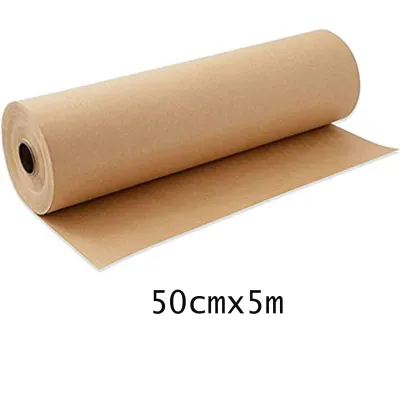
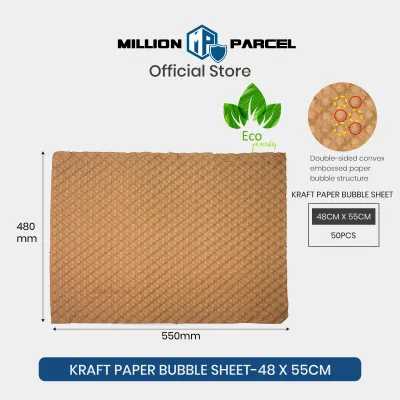
Prices are valid at publication and may change. Please refer to the product page for the latest price.
- Wrapping Paper: Select a high-quality wrapping paper with a weight of 80 to 90 GSM (grams per square meter). Thinner papers tear easily at the corners of the box, while excessively thick papers resist folding and spring back against adhesives. Look for rolls with grid lines printed on the reverse side to make straight cutting effortless.
- Sharp Scissors: Use dedicated paper shears or a sharp utility knife. Dull blades drag and tear paper fibers, leaving frayed, unsightly edges that ruin a clean look.
- Adhesives: Double-sided tape is the gold standard for a seamless finish because it hides completely between the layers of paper. If using single-sided tape, choose a matte-finish invisible tape rather than glossy cellophane tape, which reflects light and draws attention to seams.
- Creasing Tool: A bone folder or a clean plastic ruler is highly useful for pressing folds into crisp, professional creases.
- Embellishments: Gather high-quality ribbon (such as satin, grosgrain, or cotton twine) and minimalist gift tags to complete the presentation.
Always perform a quick safety check before starting. When using sharp scissors or utility knives, work on a flat, stable cutting mat and always cut away from your body to protect your fingers and your work surface.
Step 1: Measure and Cut the Wrapping Paper Perfectly
The most common cause of a messy wrap job is using too much or too little paper. To avoid bulkiness or exposed cardboard, you must measure the paper using the box itself as a physical guide rather than guessing or relying on a tape measure.

Begin by unrolling your wrapping paper pattern-side down on a wide, clean, flat table. Place your gift box face down on the unrolled paper near one edge. To measure the width needed to cover the main body, roll the box over its four sides (front, top, back, and bottom) across the paper. Mark the point where the paper meets, and add an extra 2 to 3 centimeters of overlap. This extra paper ensures you can create a clean, folded seam later.
Next, measure the length needed to cover the ends of the box. Slide the box to the center of your measured width. Pull the paper up on one side of the box; it should cover roughly three-quarters of the box’s height. Repeat this check on the opposite side. If the paper extends past this point, it will bunch up into bulky layers when folded. Trim any excess paper so that the overhang on both ends is symmetrical and matches this three-quarter height rule.
Once your dimensions are marked, cut the paper. If your wrapping paper features grid lines on the back, follow them carefully. If not, use a metal ruler as a straightedge and draw a light pencil line before cutting. Slide your scissors smoothly through the paper in long, continuous strokes to maintain a perfectly straight, clean edge.
Step 2: Wrap and Secure the Main Body
With your paper cut to the perfect dimensions, you are ready to wrap the central section of the box. This step establishes the structural tension of the paper, which prevents sliding and keeps the surface smooth.
Keep the gift box positioned face down in the center of the cut paper. Placing the box face down ensures that the final seam sits on the bottom or back of the gift, leaving the top face completely pristine. Pull one of the long edges of the paper up and over the bottom of the box, aligning it slightly past the center line. Secure this first edge directly to the box with a small piece of tape to hold it in place.
Take the opposite long edge of the paper and pull it toward the center. Before taping it down, fold the raw cut edge inward by about 1 to 2 centimeters to create a clean, straight hem. This simple fold hides the raw paper fibers, prevents fraying, and gives the seam a highly polished look.
Pull this hemmed edge tightly over the first secured layer, ensuring the paper is snug against all four sides of the box. Any slack at this stage will result in sagging and wrinkles later. Apply double-sided tape along the underside of the folded hem, then press it firmly down onto the lower layer of paper. If you are using single-sided tape, apply small pieces of clear matte tape parallel to the seam, smoothing them down flat.
Step 3: Fold and Seal the Ends for a Clean Finish
The end folds are the true test of a neat wrap job. This is where excess paper often bunches up, but with the right geometric folding techniques, you can achieve flat, crisp corners that resemble a professionally wrapped package.
The Classic Envelope Fold Method
The classic envelope fold is the standard method for rectangular and square boxes. Start at one open end of the box, keeping the package flat on your work surface.
First, push the top flap of the paper straight down against the vertical end of the box. Use your thumb and forefinger to crease the paper sharply along the top horizontal edge of the box. This action naturally creates two diagonal, triangular wings on the left and right sides.
Second, press the left triangular wing inward against the box side, smoothing it flat. Run your thumbnail along the diagonal crease that forms at the corner to make it razor-sharp. Repeat this step for the right triangular wing, pressing it inward and creasing the diagonal edge. You should now have a single, clean triangular flap pointing downward at the bottom.
Third, fold the bottom triangular flap upward against the box end. To make this look exceptionally neat, fold the raw top edge of this bottom flap inward by about half a centimeter to create a clean hem. Pull this hemmed flap tightly up against the box, cover the tip with a small piece of double-sided tape on the underside, and press it firmly into place. Repeat the entire process on the other end of the box.
Adjusting for Deep or Shallow Boxes
Different box dimensions require slight modifications to the classic envelope fold to prevent bulky paper buildup or exposed gaps.
For shallow boxes, such as jewelry or shirt boxes, the side wings can easily overlap too much, creating a thick, messy layer of paper that resists tape. To prevent this, trim the excess paper at the ends before you begin folding. The length of the paper extending from the box should be exactly equal to or slightly less than the height of the box. This ensures the flaps meet neatly in the center without piling up.
For deep boxes, such as large toy or appliance boxes, you must use a pinch-and-fold technique to manage the larger volume of paper. Because the vertical sides are taller, any loose paper will sag and wrinkle. When folding the side wings inward, pinch the diagonal creases firmly between your thumb and forefinger before pressing them flat against the box. This locks the tension in place. If the bottom flap is excessively long, trim it horizontally so it terminates neatly at the upper edge of the box end rather than wrapping over the top face.
Step 4: Add Ribbons, Bows, and Final Touches
Once your box is cleanly wrapped, you can elevate its presentation with thoughtful embellishments. Adding a ribbon or twine not only enhances the aesthetic but also helps conceal the structural seams of the paper.
To tie a classic cross ribbon, cut a length of ribbon approximately five times the length of the box. Place the center of the ribbon over the top face of the box. Bring the ends down to the bottom, cross them over each other at a 90-degree angle, and pull them tight. Bring the ribbon ends back up to the top of the box, thread them under the original central loop, and tie a secure knot.
Fashion the ribbon ends into a neat bow. To prevent the ribbon from fraying, trim the ends at a 45-degree angle or cut a clean “V” shape into the tips. Align the crossed ribbon on the bottom of the box so it runs directly over your central paper seam, hiding any tape lines completely.
For a modern, minimalist aesthetic, substitute satin ribbon with baker’s twine or natural jute cord, wrapping it around the box multiple times. You can slide a simple cardstock gift tag under the knot. For a tactile, organic element, tuck a small sprig of dried lavender, eucalyptus, or a pressed leaf beneath the bow. Ensure all structural tape is fully hidden beneath these decorative elements.
Common Wrapping Mistakes and How to Fix Them
Even with careful planning, mistakes can happen. Recognizing these common wrapping errors allows you to correct them quickly and maintain a flawless presentation.
- Excessive Paper Accumulation: Using too much paper results in bulky, overlapping layers at the ends of the box that look messy and are difficult to seal. The Fix: If you notice the paper overlapping by more than 3 centimeters on the main body, or if the end flaps extend past the height of the box, use your scissors to trim the excess paper before making your final folds.
- Frayed and Uneven Cut Lines: Dull scissors tear the paper fibers, creating jagged edges that ruin the clean lines of your gift. The Fix: Always test your scissors on a scrap piece of paper first. If the blades snag or fold the paper instead of cutting cleanly, sharpen them or switch to a fresh utility knife guided by a metal ruler.
- Highly Visible, Reflective Tape: Standard glossy cellophane tape stands out against matte wrapping paper, making the gift look rushed. The Fix: Switch to double-sided tape applied to the underside of your folds, or use matte-finish invisible tape. Avoid wide packaging tape or duct tape entirely.
- Loose, Sagging Paper and Air Pockets: If the paper is not pulled taut during the wrapping process, it will slide, sag, and wrinkle easily. The Fix: Secure the first edge of the paper tightly to the box with tape before wrapping the rest. Use the palms of your hands to smooth the paper flat against the cardboard surfaces as you work, ensuring all air pockets are pressed out.
Frequently Asked Questions (FAQ)
How do I wrap a gift box without visible tape?
To achieve a completely seamless look, use high-quality double-sided tape. Apply the tape to the underside of the folded hem on the main seam and to the inner edges of the end flaps. Because the adhesive is sandwiched between the paper layers, no tape remains visible on the exterior of the box. Alternatively, for lightweight paper, you can use small glue dots or a thin line of quick-drying craft glue, though you must allow the glue to dry completely under light pressure to prevent the paper from puckering. For an entirely adhesive-free presentation, you can secure the folded paper solely with a tightly tied ribbon or twine, relying on the tension of the knot to hold the folds in place.
What is the best way to wrap an oddly shaped gift?
Wrapping paper is designed to fold cleanly over flat, rigid surfaces with defined corners. Attempting to wrap an oddly shaped item, such as a plush toy, a round bottle, or a soft garment, directly in standard wrapping paper almost always results in unsightly tears, wrinkles, and a messy appearance. The most professional solution is to place the irregular item inside a sturdy rectangular gift box first, then wrap the box using the steps outlined above. If a box is unavailable, you can place the item inside a decorative gift bag filled with tissue paper, or construct a simple cardboard backing plate to give the object a flat surface to wrap against. This keeps your presentation looking crisp and intentional.

Community discussion
Share your experience or ask a question. Comments are reviewed before publication.