
To wrap a gift box for men with a clean, masculine finish, focus on structural precision, matte textures, and hidden fasteners. The presentation relies on sharp, crisp creases and a restrained color palette rather than elaborate embellishments. By selecting high-quality paper, using double-sided tape for invisible seams, and executing precise envelope folds, you can create a sophisticated, minimalist aesthetic that feels intentional and polished.
Achieving this look does not require advanced artistic skills, but it does demand attention to detail. A sloppy wrap with visible tape and bunched corners can detract from even the most thoughtful gift. By treating the wrapping process as a craft project that values clean lines and geometric symmetry, you can elevate the entire gifting experience.
Selecting Wrapping Paper and Ribbon for a Masculine Look
The foundation of a polished gift presentation is the paper itself. For a masculine aesthetic, avoid thin, glossy papers that tear easily and reflect light in a way that highlights imperfections. Instead, look for heavyweight papers with a matte or lightly textured finish. Kraft paper, heavy butcher paper, or specialty papers with a subtle ribbed texture provide a tactile quality that feels substantial and premium in the hand.
Products mentioned in this guide
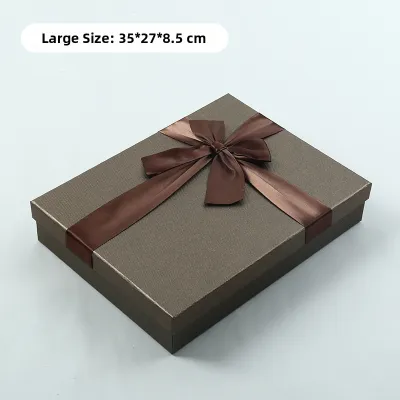
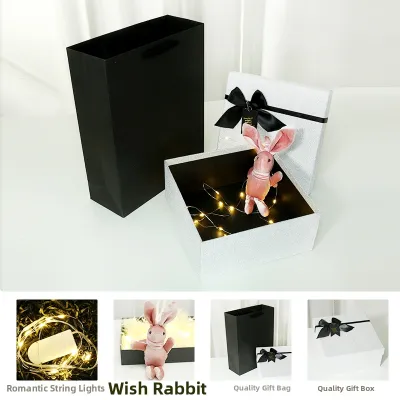
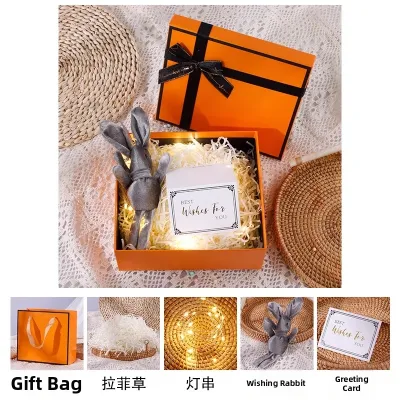
Prices are valid at publication and may change. Please refer to the product page for the latest price.
Color selection plays a critical role in establishing an understated, sophisticated tone. Deep, saturated hues such as forest green, navy blue, charcoal gray, and rich burgundy are classic choices that convey a sense of quiet luxury. Earthy neutrals like slate, olive, warm taupe, and terracotta offer a modern, organic alternative. If you prefer a highly contemporary look, a monochromatic scheme—such as matte black paper paired with a charcoal ribbon—creates a striking, architectural presentation.
When selecting patterns, simplicity is key. Avoid busy, multicolored prints or metallic glitters. If you want to use a pattern, opt for subtle, geometric designs such as fine pinstripes, understated windowpane checks, or minimalist grid patterns. These designs add visual interest without overwhelming the clean lines of the box.
The ribbon or twine you choose should complement the paper rather than compete with it. Flimsy, shiny satin ribbons can look overly delicate and are often difficult to tie cleanly. Instead, select textured materials like cotton herringbone tape, grosgrain ribbon, waxed twine, or flat paper cord. These options provide a sturdy, structured appearance that aligns perfectly with a minimalist, masculine theme.
Essential Tools for a Sharp, Professional Finish
To achieve razor-sharp edges and seamless folds, you must gather the proper stationery tools before you begin. Standard household scissors can sometimes chew through paper, leaving jagged edges. Instead, use a pair of dedicated, sharp paper shears or a utility knife paired with a metal cutting mat. Clean cuts are essential for ensuring that the seams of your wrapping paper lie completely flat against the box.

A bone folder is an invaluable tool for creating professional-grade creases. This flat, polished tool—traditionally made of bone but also available in plastic or wood—allows you to press down on folded edges with consistent pressure. Using a bone folder prevents the paper from tearing or scuffing, which can happen if you use your fingernails or a plastic ruler to crease the paper.
Standard clear tape is highly visible and can ruin the clean aesthetic of your wrap by catching the light. Double-sided tape is the preferred choice for a seamless, invisible hold. By applying the tape between the overlapping layers of paper, you keep the adhesive entirely hidden from view, creating the illusion of a perfectly wrapped box with no visible means of closure.
Accurate measurements are the secret to avoiding bulky, uneven folds. Keep a reliable metal ruler or a flexible measuring tape nearby. Measuring the dimensions of your box beforehand ensures that you cut only the exact amount of paper needed, preventing excessive overlapping that can make the corners look thick and clumsy.
Step-by-Step Guide: Wrapping a Standard Rectangular Box
Begin by preparing a clean, flat workspace, such as a large table or a cutting mat. Place your gift box face down on the reverse side of the wrapping paper. To measure the correct amount of paper, pull the sheet up over the long sides of the box. The paper should overlap in the center by approximately two to three centimeters. Cut the paper along this line, using a ruler to guide your shears for a perfectly straight edge.
Next, measure the paper for the short ends of the box. The paper extending from each end should be slightly less than the height of the box. If the paper is too long, it will bunch up when folded; if it is too short, it will not cover the cardboard. Trim any excess paper from the ends before proceeding to the folding steps.
To secure the long sides, pull one edge of the paper tightly over the center of the box and hold it in place. Take the opposite edge of the paper and fold it over by about one centimeter to create a clean, finished hem. Apply a strip of double-sided tape along the underside of this hem. Pull the paper taut across the box, align the hemmed edge over the first layer, and press down firmly to create a straight, invisible seam.
Now, turn your attention to the short ends of the box to create clean, envelope-style folds. Push the top flap of paper down against the end of the box, creasing the sides to form two neat, triangular side flaps. Use your bone folder to press along the top edge of the box, ensuring the paper sits flush against the cardboard.
Fold the two side flaps inward, pressing them firmly against the end of the box. Use the bone folder to crease the diagonal edges sharply. This step is crucial for achieving a tight, professional corner that does not bulge or sag.
Finally, fold the bottom flap upward. Before securing it, fold the top edge of this bottom flap inward by half a centimeter to create a clean, hemmed edge. Apply a strip of double-sided tape to this hem, pull the flap upward tightly against the box, and press it down to seal the end. Repeat this entire process on the opposite end of the box.
Once both ends are sealed, inspect the box for any loose edges or trapped air. Gently run your hand over the surfaces of the box, smoothing out any minor bubbles toward the outer edges. If any corners feel slightly loose, discreetly apply a tiny piece of double-sided tape to reinforce the fold.
Adapting the Technique for Cylindrical or Odd-Shaped Boxes
Not all gifts come in neat rectangular boxes, but you can still achieve a clean, masculine finish on challenging shapes. For cylindrical items, such as bottles or poster tubes, the twist or “candy wrapper” method is highly effective. Roll the cylinder tightly in a sheet of sturdy paper, leaving a generous amount of overhang on both ends.
Gently gather and pleat the excess paper at one end of the cylinder, twisting it tightly close to the flat surface. Secure this twisted section with a neat wrap of waxed twine or cotton cord, tying a secure knot. Repeat the process on the other end, ensuring the paper is pulled taut along the length of the cylinder. Trim the remaining paper ends into clean, flared edges of equal length.
For highly irregular or multi-piece shapes, wrapping the base and the lid of a box separately is often the best approach. This method allows you to wrap the lid and the bottom container individually, tucking the paper edges neatly inside the box before securing them. This technique not only accommodates unusual dimensions without causing awkward folds, but it also allows the recipient to open the gift cleanly without tearing the outer paper.
Recognize when a traditional paper wrap is not the most practical option. If an item is soft, lacks structural integrity, or has sharp, protruding edges, forcing a paper wrap can result in a messy, torn presentation. In these situations, opt for a high-quality, heavy-duty matte gift bag in a neutral tone, or place the item inside a sturdy, pre-constructed cardboard gift box before wrapping.
Adding Finishing Touches Without Over-Decorating
The key to decorating a gift with a masculine finish is restraint. Avoid large, fluffy bows or metallic curling ribbons, which can look overly busy and detract from the clean lines of the wrap. Instead, opt for a simple, structured knot or a flat, square bow using a textured ribbon like grosgrain or cotton herringbone.
The positioning of your ribbon can dramatically alter the visual balance of the gift. Instead of the traditional centered cross, try wrapping a single band of ribbon off-center, running parallel to one of the shorter edges of the box. This asymmetrical placement feels modern, architectural, and clean. Alternatively, wrap a fine waxed twine around the box multiple times in a tight, parallel band to add a subtle, rustic texture.
When attaching a gift tag, choose a minimalist design made from thick, matte cardstock in a contrasting neutral color, such as slate gray or warm cream. Write your message in clean, simple handwriting using a fine-tip black pen. Attach the tag directly to the ribbon or twine using a simple knot, ensuring it lies flat against the surface of the box.
To finish the presentation, trim the excess ends of your ribbon or twine. Cut ribbon ends at a sharp, clean 45-degree angle, or fold the ribbon in half and cut diagonally to create a neat swallowtail finish. This prevents the edges from fraying and ensures that every detail of the presentation looks deliberate and polished.
Common Wrapping Mistakes and How to Fix Them
Even with careful planning, wrapping mistakes can happen. If you notice that the paper is loose or wrinkled after taping, do not try to pull it tighter from the outside. Instead, carefully peel back the double-sided tape, pull the paper taut from the center of the box outward, and re-secure it. If minor wrinkles persist, use your bone folder to gently smooth them out toward the edges of the box.
Visible tape edges can quickly ruin the seamless look of a professional wrap. If you accidentally used standard clear tape and it is highly visible, do not try to rip it off, as this can tear the paper. Instead, cover the visible adhesive strategically by placing a band of ribbon, a decorative paper belly band, or a gift tag directly over the tape.
Thick or stiff papers, such as heavy kraft paper, can resist folding and result in bulky, rounded corners that refuse to lie flat. To manage this, use a metal ruler and a bone folder to lightly score the fold lines on the reverse side of the paper before making the actual fold. This weakens the paper fibers just enough to allow for a crisp, clean bend without tearing the surface of the paper.
Frequently Asked Questions (FAQ)
Can I use newspaper or brown paper for a masculine gift wrap?
Yes, brown kraft paper and clean newspaper can create an excellent rustic or industrial look. When using newspaper, select pages with clean, text-heavy layouts or monochrome classifieds rather than colorful advertisements. To prevent ink transfer onto your hands or the gift, handle the paper gently and verify that the ink is fully dry. Pair these papers with dark twine or a black cotton ribbon to elevate the presentation.
What is the best way to wrap a gift box without using tape?
You can achieve a completely tape-free wrap by using traditional folding techniques or by securing the paper entirely with tension. Wrap the paper tightly around the box, folding the ends into neat, overlapping triangles. Secure these folds in place by wrapping a sturdy twine or ribbon tightly around the box multiple times, tying it off with a secure knot to hold all the folds flat.
Community discussion
Share your experience or ask a question. Comments are reviewed before publication.