
Wrapping a gift box beautifully is a simple yet impactful way to show care and attention to detail. A neatly wrapped package elevates the anticipation of opening a gift, turning a simple item into a memorable presentation. To achieve a flawless, professional finish, you do not need professional training; instead, you need a combination of precise measurements, sharp creases, hidden adhesives, and a perfectly balanced ribbon. By mastering a few fundamental techniques, you can eliminate unsightly bulk, crooked seams, and loose edges, ensuring your box for gift looks as though it was wrapped by a high-end boutique.
Preparing Your Materials and Workspace
Before cutting into your chosen roll of wrapping paper, gathering the correct tools and preparing a dedicated workspace is essential. A cluttered or uneven surface can lead to accidental tears, unwanted creases, or dust transferring onto your pristine paper. Set up your station on a large, clean, flat table or a hard floor. If you are working on a delicate wooden surface, consider laying down a clean cutting mat to protect both your furniture and your wrapping materials.
The quality of your tools directly influences the final presentation. You will need:
Products mentioned in this guide
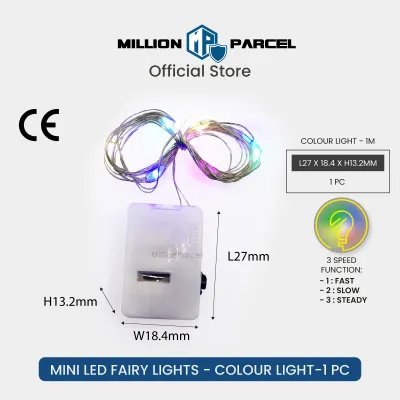
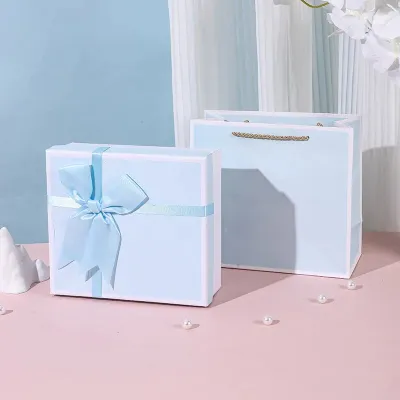
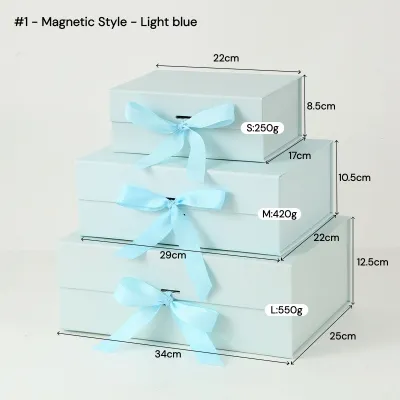
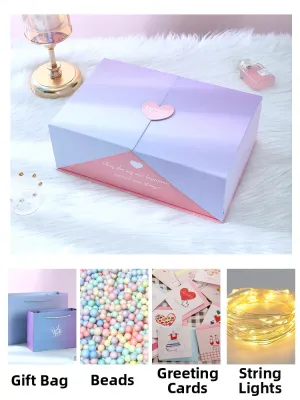
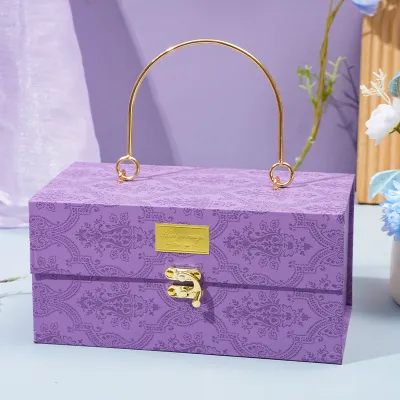
Prices are valid at publication and may change. Please refer to the product page for the latest price.
- Wrapping Paper: Opt for a medium-weight paper (approximately 80 to 90 GSM) which offers the perfect balance of flexibility and durability. Extremely thin paper tears easily under tension, while overly thick paper is difficult to crease cleanly.
- Sharp Scissors: Dull blades will chew through paper, leaving jagged, frayed edges. Use dedicated paper shears or utility scissors with a sharp, clean edge.
- Adhesive: Double-sided tape is the secret weapon of professional gift wrappers because it remains completely hidden between the layers. If using standard clear tape, select a matte or satin finish that diffuses light rather than reflecting it.
- Creasing Tool: A bone folder or the flat edge of a plastic ruler is invaluable for sharpening your folds and defining the structure of the box.
- Measuring Tape: A flexible sewing tape or a long metal ruler helps calculate dimensions accurately, preventing wasteful offcuts.
To measure the paper accurately for your box for gift, place the box on the paper roll. Roll out enough paper to wrap entirely around the perimeter of the box, adding an extra 3 to 5 centimeters for an overlap seam. For the ends, the paper should extend slightly more than half the depth of the box on both sides. Cutting within these precise boundaries prevents excess bulk, which is the primary cause of messy, uneven corners.
Step-by-Step Guide to Wrapping the Box
Once your paper is cut to size, place it design-side down on your clean workspace. Position your box for gift face down in the center of the paper. Wrapping the box upside down ensures that the main seams and tape placements remain hidden on the bottom of the package, leaving the top face completely smooth and seamless.

Begin by pulling the paper from one long side up and over the bottom of the box. Secure this edge to the center of the box bottom with a small piece of double-sided tape. Next, take the opposite long side of the paper and fold the raw edge under by about 1 centimeter to create a clean, finished hem. Pull this side taut over the box, overlapping the first secured edge, and seal it down with double-sided tape. This hemmed edge hides the raw cut and creates a perfectly straight, professional seam along the bottom of the box.
Now, turn your attention to the short ends of the box. Start on one side by pushing the top flap of paper straight down against the end of the box, creating two neat, diagonal wings on the left and right. Press your fingers along the top edge of the box to create a sharp crease.
Next, fold the left and right diagonal wings inward against the box side. As you fold each wing, run your thumb along the vertical edges of the box to sharpen the creases. This technique, often referred to as a hospital corner, creates a clean, triangular flap at the bottom.
Fold the bottom triangular flap upward against the box. Before taping it down, fold the raw tip of the triangle under by half a centimeter to create a clean hem. Pull the flap tight and secure it with double-sided tape. Repeat this entire process on the opposite end of the box, ensuring the paper is pulled equally taut to prevent any sagging or shifting.
If you encounter a minor tear during this process, do not panic or discard the paper. You can easily disguise small tears by strategically placing a decorative gift tag, a sprig of dried foliage, or a wider band of ribbon over the affected area. If the paper feels loose, gently peel back the taped sections, pull the paper snug against the box frame, and re-secure it with fresh adhesive.
Adding and Tying the Ribbon
A beautiful ribbon is the crowning glory of any well-wrapped gift box. To determine the correct length of ribbon without wasting material, wrap the ribbon loosely around the length and width of the box, then add approximately 60 centimeters to account for the bow loops and tails. For a standard medium-sized box for gift, a ribbon length of 1.5 to 2 meters is typically sufficient.
To secure the ribbon in a classic cross pattern, start by placing the center of the ribbon across the top face of the box. Hold the ribbon in place, flip the box over, and cross the two loose ends over each other at a 90-degree angle on the bottom of the box. Pull the ends tight so the ribbon hugs the box snugly without warping the cardboard corners.
Bring the two ends back up to the top face of the box, threading them under the original central strand of ribbon. This anchors the intersection point and prevents the ribbon from sliding around. Pull the ends taut and tie a simple, secure half-knot at the center.
To tie a classic, symmetrical bow, form a loop with one end of the ribbon, keeping the shiny or patterned side facing outward. Wrap the other loose end around the base of the loop and push it through the center space to create a second loop. Pull both loops gently to tighten the knot.
Adjust the loops and tails until they are symmetrical and proportional to the size of the box. To finish the ribbon tails professionally, fold each tail in half vertically and cut diagonally upward from the folded edge to the outer edge. This creates a classic swallowtail finish that resists fraying. Alternatively, cut the tails at a sharp 45-degree angle using highly sharp fabric scissors.
Pro Tips for a Professional Finish
Achieving a boutique-quality look relies on attention to the smallest details. One of the most effective ways to elevate your gift wrapping is to sharpen every single fold. Run a bone folder or the smooth side of a plastic ruler along every edge of the box after folding. This defines the geometric shape of the box for gift, making the wrapping look crisp, intentional, and tailored.
Adhesive placement should always remain invisible. Avoid placing standard clear tape on the exterior surfaces of the paper. Instead, rely entirely on double-sided tape placed on the underside of your folds. If you must use standard tape, ensure it is a high-quality matte tape that blends seamlessly with the texture of the paper.
Irregularly shaped items, such as cylinders, spheres, or fragile objects, require a modified approach. Do not attempt to wrap these items directly in paper, as this often results in unsightly crumpling and tearing. Instead, place the irregular item inside a sturdy, rectangular box for gift first. If a box is not available, wrap the item in several layers of soft tissue paper, gather the ends at the top like a pouch, and secure it with a beautiful ribbon tie.
Frequently Asked Questions (FAQ)
How much extra wrapping paper should I leave for the edges?
For the short ends of the box, the paper should extend slightly more than half the depth of the box on each side. If the paper is too long, it will overlap excessively at the ends, creating bulky, messy folds that are difficult to tape down cleanly. If it is too short, the box surface will be exposed. Aim for a length where the top and bottom flaps meet precisely in the middle or overlap by no more than 1 centimeter.
What is the best type of tape to use for gift wrapping?
Double-sided tape is the gold standard for a clean, professional finish because it hides completely between the overlapping layers of paper. For standard wrapping, a high-quality matte-finish clear tape is excellent because it does not reflect light and is virtually invisible on most paper types. In Singapore’s humid climate, high-quality adhesives are crucial, as moisture in the air can cause low-grade tape to peel over time. Avoid heavy-duty packaging tapes or highly glossy tapes, as they can warp thin paper and distract from the overall design.
How do I keep the ribbon from slipping off the box?
To prevent ribbon from sliding off smooth, glossy, or laminated paper surfaces, place a small square of double-sided tape directly underneath the ribbon at the intersection points on the bottom and top of the box. Additionally, choosing textured ribbons, such as grosgrain, cotton twine, or woven linen, provides natural friction against the paper, keeping the bow securely in place without slipping.

Community discussion
Share your experience or ask a question. Comments are reviewed before publication.