
Wrapping a gift box beautifully is an art that transforms a simple gesture into a memorable experience. A crisp, neatly wrapped present conveys care and anticipation before the recipient even opens it. Achieving a professional, store-quality finish does not require specialized training; instead, it relies on precise measurements, clean folds, and the right stationery tools. By mastering the sequence of measuring, folding, and embellishing, you can turn any standard cardboard box into a stunning work of art.
Gather Your Wrapping Tools and Materials
Before cutting into your paper, assembling a dedicated wrapping station will streamline your process and prevent mistakes. The foundation of any beautiful gift is high-quality wrapping paper. Opt for a medium-weight paper, typically between 80 and 90 GSM, which offers enough durability to resist tearing along sharp box corners while remaining pliable enough for clean folds. Extremely thin paper tends to rip easily and can be translucent, while overly thick paper resists creasing and can spring open even when taped.
Your cutting and fastening tools are just as critical as the paper itself. A pair of long, sharp stationery scissors is essential for achieving smooth, continuous cuts without jagged edges. Keep blades clean and free of adhesive residue to ensure they glide effortlessly. For securing the paper, double-sided tape is the gold standard because it hides completely beneath the seams, leaving a flawless exterior. If double-sided tape is unavailable, a high-quality matte-finish clear tape will blend seamlessly into most paper surfaces. A simple plastic ruler or a wooden bone folder can also assist in pressing down folds to create razor-sharp creases.
Products mentioned in this guide
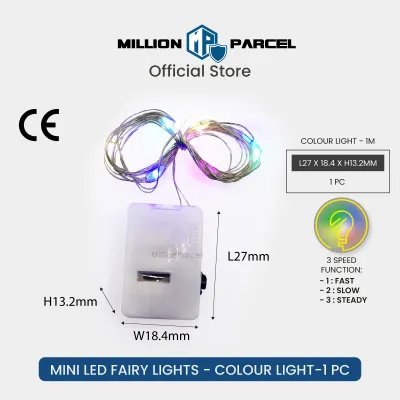
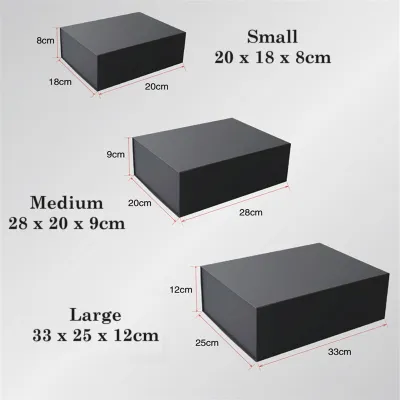
![[SG Stock] 礼品盒Magnetic Gift Box | Solid Hard Large Gift Box with Ribbon For Mother s Day / Valentines Gift Packaging](https://img.lazcdn.com/g/p/5e5003d632dce3e647372c2e54605522.png_400x400q80.png_.webp)
![[SG SELLER] Premium Black Ribbon Gift Box| Gift Boxes | Wedding Gift Box | Birthday Gift Box | Christmas Gift Box](https://img.lazcdn.com/g/p/105f89302e1155c31a45c548bed99350.png_400x400q80.png_.webp)
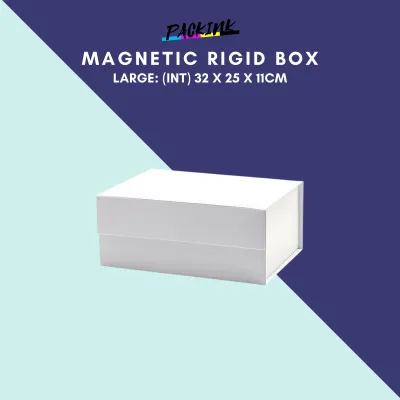
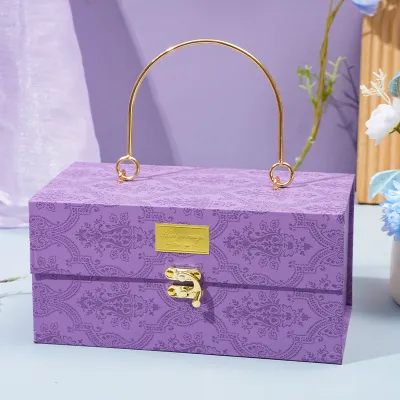
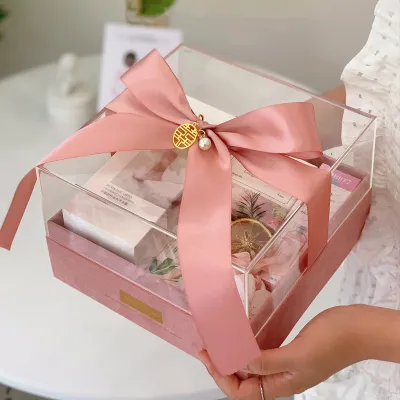
Prices are valid at publication and may change. Please refer to the product page for the latest price.
Finally, select a ribbon that complements both the scale of the box and the design of the paper. For standard-sized gift boxes, a ribbon width of 1.5 to 2.5 centimeters provides an elegant balance. Satin ribbons offer a luxurious, glossy sheen, while grosgrain ribbons provide a ribbed texture that holds knots securely. Organza ribbons add a delicate, sheer touch but may require a double-wrap to stand out against busy paper patterns.
Wrap the Gift Box: Step-by-Step Instructions
Measure and Cut the Wrapping Paper
The secret to a smooth, bulk-free wrap lies entirely in the initial measurements. To begin, clear a flat, clean workspace and roll out your wrapping paper face down. Place your gift box upside down on the paper so that any seams or tape lines will eventually end up on the bottom of the present. To determine the correct width of paper to cut, pull the paper up and over the long sides of the box. The paper should wrap completely around the box and overlap by approximately 3 to 5 centimeters. This overlap ensures you have enough room to fold under the raw edge for a clean, finished seam.

Next, measure the paper for the short ends of the box. The paper extending from the left and right sides of the box must be long enough to cover the depth of the box but not so long that it overlaps itself excessively. A reliable rule of thumb is to ensure the paper on each side extends to about three-quarters of the box’s height. If the paper is too long, it will bunch up during the folding process, creating unsightly bulges at the corners. Use a pencil and a ruler to mark your cutting lines on the back of the paper, or follow the printed grid lines if your wrapping paper has them.
When cutting, keep your scissors steady. For a clean cut, open the scissors wide, place the blade at the starting mark, and gently push the shears forward through the paper in a continuous, sliding motion rather than making multiple choppy cuts. If you are using a utility knife or paper cutter, always work on a self-healing cutting mat to protect your tabletop and keep your fingers clear of the blade path.
Fold and Secure the Paper Edges
With your paper cut to size, you can begin the folding process. Pull the paper tightly over one long side of the box and secure it temporarily to the center of the box bottom with a small piece of tape. Next, take the opposite side of the paper and fold the raw edge under by about 1 centimeter to create a clean, straight hem. Pull this hemmed edge tightly over the first layer, aligning it so that it sits neatly along the center or edge of the box. Secure this seam with double-sided tape placed along the underside of the folded hem, pressing firmly to bond the adhesive.
Now, turn your attention to the open ends of the box. To create classic hospital corners, start on one side by pushing the top flap of paper straight down against the side of the box. This action will naturally create two diagonal, wing-like flaps on the left and right. Press your fingers along the top edge of the box to create a sharp, defined crease.
Next, fold these side wings inward, pressing them flat against the box side. Run your thumb or a bone folder along these diagonal folds to make them as crisp as possible. You will now be left with a single triangular flap pointing upward from the bottom. Fold the top edge of this bottom flap inward by about 1 centimeter to hide the raw cut, pull it tightly upward against the box, and secure it with double-sided tape. Repeat this entire sequence on the opposite end of the box, ensuring the paper is pulled taut throughout to prevent sagging.
Add and Tie the Ribbon for a Polished Finish
Position and Wrap the Ribbon
A beautifully tied ribbon acts as the focal point of your presentation. To wrap the ribbon in a traditional cross pattern, start by cutting a length of ribbon based on your box dimensions. Lay the ribbon flat on your workspace and place the wrapped gift box face down directly in the center of the ribbon. Bring both ends of the ribbon up over the bottom of the box, crossing them over each other in the center to form a 90-degree twist.
While keeping the ribbon taut to maintain tension, pull the two ends outward toward the remaining unwrapped sides of the box. Flip the box over carefully so it is now face up, bringing the ribbon ends with it. The ribbon should now wrap around all four sides of the box, crossing neatly on the bottom and meeting in the center of the top lid. Thread one end of the ribbon under the central cross point on the top of the box, pulling both ends firmly to ensure the ribbon sits flat against the paper without twisting or slipping.
Tie a Classic Bow or Knot
Once your ribbon is positioned and tensioned, you can tie the final bow. Cross the two ends of the ribbon and tie a simple, tight half-knot directly over the center of the box. This knot will serve as the anchor for your bow. To create a symmetrical bow, form a loop with one end of the ribbon, keeping the shiny side facing outward. Wrap the other ribbon end around the base of the loop and push it through the center opening to create a second loop, just as you would tie a shoelace.
Gently pull both loops outward while holding the center knot to tighten the bow. Adjust the size of the loops and the length of the tails until they are perfectly proportioned to the size of the gift box. To give the ribbon a professional, boutique-style finish, fold the end of each tail in half vertically and cut diagonally upward from the folded edge to the outer edge. This creates a classic V-shape, also known as a chevron cut, which prevents the ribbon fibers from fraying over time. Alternatively, a clean, sharp diagonal cut works beautifully for narrower ribbons.
Pro Tips for a Professional-Looking Present
Wrapping irregular items or working with challenging patterns requires a few clever workarounds. If you are wrapping a soft item, a box made of thin cardboard, or an object with slightly rounded edges, place a rigid piece of backing board or a sturdier cardboard insert inside the packaging. This provides a solid structure to fold against, allowing you to achieve those coveted sharp creases without crushing the gift inside.
When using patterned wrapping paper, especially designs with stripes, geometric shapes, or directional motifs like holiday trees, pay close attention to how the patterns align at the seams. Try to cut your paper so that the pattern continues seamlessly across the main overlap on the bottom of the box. If a perfect match is impossible, position the seam along a natural edge of the box rather than dead center, making it far less noticeable to the recipient.
Finally, preserve your leftover materials so they remain pristine for future occasions. Store wrapping paper rolls vertically in a tall basket or a dedicated storage bag to prevent the ends from crushing or tearing. You can slide empty toilet paper rolls, cut vertically, over your wrapping paper rolls to keep them from unrolling and creasing. For ribbons, wind them neatly back onto their original spools or secure them with a small piece of low-tack painter’s tape to prevent fraying and tangling.
Frequently Asked Questions (FAQ)
How much ribbon do I need to wrap a standard gift box?
To estimate the correct ribbon length without wasting material, you can use a simple mathematical formula based on your box’s dimensions. Measure the length, width, and height of your box. For a traditional cross-wrap ribbon with a standard bow, calculate: (2 x length) + (2 x width) + (4 x height) + 60 centimeters. The extra 60 centimeters provides ample slack to tie the loops and trim the tails comfortably. If you plan to tie a more complex, multi-looped bow or want exceptionally long, cascading tails, add an extra 30 to 45 centimeters to your final calculation.
What is the best tape to use for wrapping gifts?
The ideal adhesive depends on the weight and finish of your wrapping paper. For a truly professional, seamless look, double-sided tape is the superior choice because it remains completely hidden between the overlapping layers of paper. If you are using standard clear tape, opt for a matte or satin finish rather than a high-gloss variety, as matte tape diffuses light and blends invisibly into the paper. When wrapping delicate, handmade, or textured papers, use a low-tack adhesive or specialized acid-free paper tape to prevent tearing or leaving greasy adhesive residue on the fibers.
Community discussion
Share your experience or ask a question. Comments are reviewed before publication.