
Wrapping a flower bouquet is a rewarding craft that transforms loose stems into a polished, gift-ready presentation. By choosing a suitable bouquet wrapper and mastering a few basic folding techniques, anyone can create a structured, elegant frame that protects the flowers and highlights their natural beauty. The process relies on preparing your stems, layering your wrapping sheets to build volume, and securing the bundle tightly at a single binding point. With a little patience and the right materials, you can easily craft a beautiful arrangement for any occasion.
The presentation of a bouquet often speaks as loudly as the flowers themselves. A well-wrapped bouquet not only keeps the stems organized but also provides essential physical support to the blooms during transport. Whether you are preparing a simple gift for a friend or crafting a centerpiece for a special gathering, understanding how to handle wrapping materials ensures your floral gifts always look intentional and professionally styled.
Essential Tools and Materials for Bouquet Wrapping
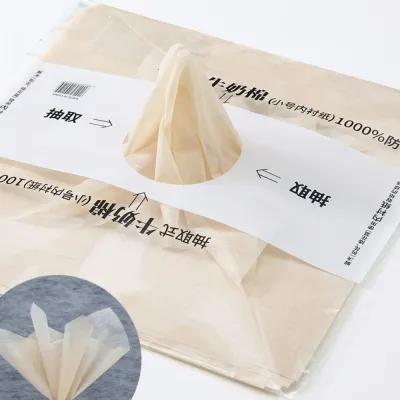
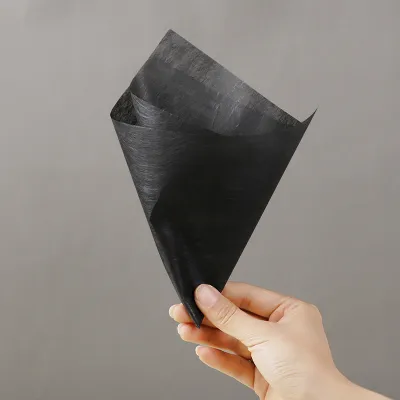
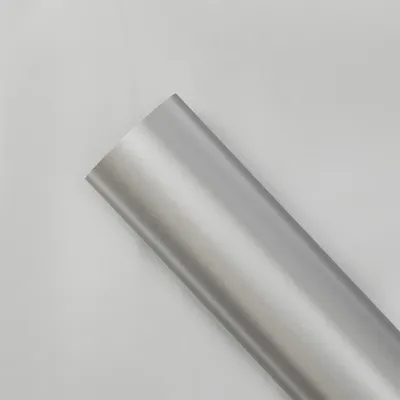
To achieve a clean and stable wrap, you must first gather the appropriate materials. The choice of your bouquet wrapper is central to both the look and longevity of your arrangement. Common options include matte OPP (oriented polypropylene) sheets, which are highly waterproof and offer a modern, semi-translucent finish, and traditional kraft paper, which provides a rustic, organic aesthetic. For delicate or premium arrangements, non-woven fabric wrappers offer a soft, fabric-like drape that resists tearing. You should select your wrapper material based on the moisture level of your flower stems and the overall style of the occasion.
Products mentioned in this guide

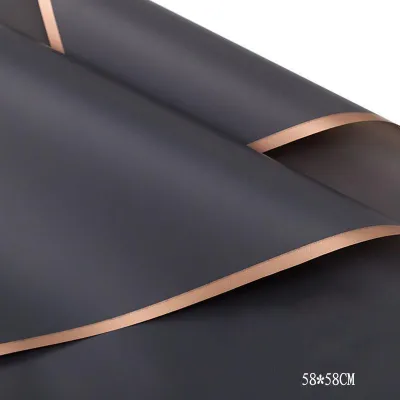
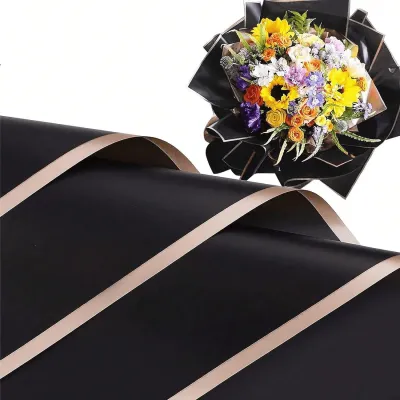
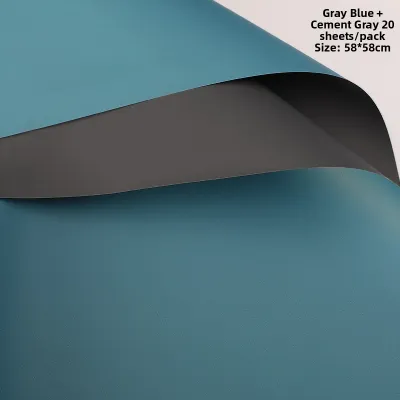
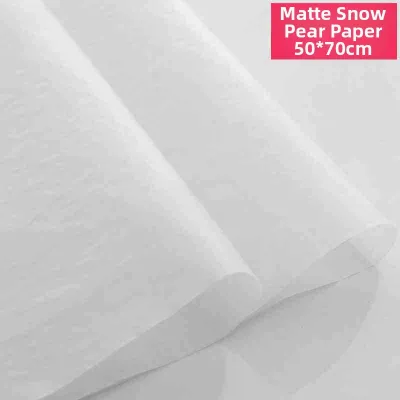
Prices are valid at publication and may change. Please refer to the product page for the latest price.
Before committing to a specific wrapper, it is helpful to perform a quick manual test of the material’s properties. You can check its water resistance by placing a few drops of water on a scrap piece to see if it beads up or sinks in, which helps you decide if an inner waterproof layer is necessary. Additionally, crumple a small corner of the sheet to observe its crease recovery; some papers retain sharp folds easily, which is excellent for structured pleating, while others resist creasing and are better suited for soft, rounded drapes.
Alongside the wrapper, you will need reliable securing tools to keep the structure intact. Floral tape is indispensable for binding the stems together, while waterproof tape is ideal for securing damp layers or water bags. A pair of sharp scissors is necessary for trimming both the stems and the wrapping sheets; always handle these blades with care, cutting away from your body on a flat, stable surface. You will also want a selection of decorative ribbons, such as satin or grosgrain, to conceal the structural tape and add a polished finishing touch.
Before cutting your wrapping sheets, always check their dimensions against the size of your bouquet. Standard pre-cut wrapper sheets often measure around 50 by 50 centimeters or 60 by 60 centimeters. For a small, single-stem or three-stem bouquet, a single sheet cut into smaller panels may suffice. For a medium to large bouquet, you will typically need three to five full-sized sheets to create adequate overlap, volume, and a supportive collar around the blooms. Ensuring your sheets are large enough prevents the wrapper from looking skimpy or failing to cover the stems fully.
Preparing the Flowers and Stems
A successful wrap begins long before you touch the paper; proper stem preparation is critical for a stable and long-lasting arrangement. Start by laying your flowers on a clean workspace and trimming the stems to an even length using your sharp scissors. Remove all lower foliage, thorns, and small offshoots from the bottom half of each stem. Leaving leaves below the binding point creates unnecessary bulk, makes the bouquet difficult to hold, and encourages bacterial growth and rot if the stems are placed in water or wrapped in a damp pouch.

Once the stems are clean, group them into your desired arrangement and secure them tightly at their natural waist. Use floral tape or sturdy twine to bind the stems together, wrapping firmly but gently to avoid crushing the delicate vascular systems of the plants. This step creates a single, solid handle that keeps the flowers from shifting while you apply the wrapper. Binding the stems first ensures that your carefully planned arrangement remains perfectly in place, allowing you to focus entirely on folding and positioning the paper.
Before moving on to the wrapper, hold the bound bouquet at eye level to check its overall balance, symmetry, and shape. Look at the arrangement from the top and the sides to ensure there are no awkward gaps or protruding stems. The height of the blooms should form a pleasing dome or a stepped, one-sided profile, depending on your intended style. Correcting any structural imbalances at this stage is much easier than trying to adjust individual flowers once the wrapper is taped down.
Step-by-Step Guide to Wrapping the Bouquet
Wrapping a bouquet is a systematic process that requires a steady hand and a clear sequence of steps. The key to a professional finish lies in maintaining consistent tension on the wrapper while keeping the stems aligned. If you hold the paper too loosely, the layers will slide and lose their shape; if you grip too tightly, you risk tearing the material or crushing the stems. By working methodically through folding, positioning, and securing, you can build a balanced frame that showcases your flowers beautifully.
Folding and Positioning the Wrapper Sheets
To create a sense of depth and luxury, you should layer and stagger your wrapper sheets rather than wrapping them in a single, flat layer. Start by taking your first sheet of bouquet wrapper and folding it slightly off-center, creating two overlapping points at the top. Lay this sheet flat on your workspace with the points facing upward and outward. Place your secured bouquet on top of the sheet, positioning the blooms so they sit just below the top edges of the paper. This background layer acts as a frame, establishing the height and width of your presentation.
Next, take additional sheets and fold them using a similar asymmetrical technique, then position them around the sides and front of the bouquet. By staggering these sheets at different angles and slightly lower heights, you build a tiered, three-dimensional effect that gives the bouquet volume. As you place each sheet, adjust the collar height carefully. The wrapper should rise high enough to support and frame the outer blooms, protecting them from wind and handling, but it must never hide or crush the flowers. The blooms should remain the clear focal point of the arrangement.
Securing the Wrapper Around the Stems
Once your wrapper sheets are positioned to your satisfaction, you must gather the material neatly at the bouquet’s binding point. This area, often called the natural waist, is located where you previously taped the stems. Gently pleat and fold the wrapper material inward, pressing it against the stems. Avoid twisting or crumpling the paper haphazardly; instead, use deliberate, accordion-style pleats to create a clean, tailored look that tapers elegantly toward the handle.
Before locking the wrapper in place, hold the bouquet up and check for symmetry from both the front and the back. Ensure the pleats are distributed evenly around the stems and that the paper layers have not shifted out of alignment. Once you are satisfied with the balance, wrap a piece of floral tape or waterproof tape tightly around the pleated waist, pressing it firmly to secure all the layers of paper to the stems. This step locks the wrapper in place, preventing it from sliding up or down during transport.
Adding Finishing Touches with Ribbons and Bows
The final step in wrapping your bouquet is to conceal the functional tape at the waist and add an elegant decorative element. Choosing the right ribbon is essential for a cohesive look; the ribbon’s width, texture, and color should complement both the bouquet wrapper and the flowers. For instance, a wide, double-faced satin ribbon in a matching or contrasting pastel shade adds a classic, luxurious feel. Alternatively, a textured grosgrain or a sheer organza ribbon can introduce subtle contrast and modern flair to your design.
To apply the ribbon, cut a generous length and wrap it tightly over the floral tape, ensuring no tape remains visible. You can tie a classic shoelace bow, a sophisticated double-loop bow, or a simple, clean knot with long, trailing tails. Once the bow is secure, use your sharp scissors to trim the ribbon ends at a clean 45-degree angle or in a neat V-shape to prevent fraying. This small detail instantly elevates the presentation, making the bouquet look like it came straight from a professional florist shop.
Common Mistakes to Avoid When Wrapping Bouquets
Beginners often struggle with wrapper placement, either positioning the paper too high or too low. Placing the wrapper too high can crowd and crush delicate petals, hiding the flowers from view and trapping moisture that leads to premature wilting. Conversely, wrapping too low leaves the blooms unsupported, making the arrangement look top-heavy and unbalanced. Aim to position the top edge of your wrapper just a few centimeters above the outer blooms to provide frame and support without overshadowing them.
Another frequent error is loose binding, which allows the wrapper sheets to slip, sag, or completely unravel when the bouquet is held or transported. This usually happens when beginners are hesitant to squeeze the paper tightly at the waist for fear of damaging the stems. Remember that the stems are already secured with floral tape, which provides a solid core; you can safely press and tape the wrapper firmly at this exact point without harming the flowers. Consistent tension during the taping process is key to a durable wrap.
Finally, it is crucial to match your wrapper material to the moisture level and weight of your bouquet. Using standard, non-waterproof paper wrappers directly against wet stems or a water pouch will cause the paper to absorb moisture, leading to unsightly soggy patches, tears, and structural collapse. If your flowers require a water source or have damp stems, always use a waterproof barrier, such as cellophane or a plastic stem bag, to isolate the moisture before applying your decorative outer paper.
Frequently Asked Questions (FAQ)
How do I keep the bouquet wrapper from getting soggy?
To prevent your decorative wrapper from absorbing water and becoming soggy, always create a waterproof barrier between the wet stems and the outer paper. You can wrap the damp stem ends in a small plastic bag, cellophane, or a dedicated floral water pouch secured with waterproof tape. Before assembling the bouquet, gently pat the stems dry with a paper towel to remove any excess water droplets, ensuring that no moisture comes into direct contact with porous paper layers during the wrapping process.
Can I reuse a bouquet wrapper for a different arrangement?
Whether you can reuse a bouquet wrapper depends entirely on its material and condition. Inspect the wrapper for deep creases, tears, staple holes, or water stains; if the material is heavily creased or damp, it will not drape beautifully and should be discarded. Non-porous materials like matte OPP sheets or plastic-based wrappers can often be wiped down with a dry cloth and smoothed flat for reuse. However, delicate decorative papers and thin kraft papers are generally single-use, as they lose their crispness and structural integrity once folded and taped.
Community discussion
Share your experience or ask a question. Comments are reviewed before publication.