
Tamiya Extra Thin Cement delivers seamless, strong joints on plastic model kits by using solvent welding to chemically fuse the plastic parts together, rather than relying on a sticky physical layer. Achieving this clean look requires a fundamental shift in how you assemble parts: you must dry-fit and press the pieces together first, then use capillary action to draw the watery solvent into the seam.
This approach eliminates the messy squeeze-out and thick glue lines associated with traditional tube cements. When applied correctly, the thin liquid flows precisely where it is needed and evaporates rapidly, leaving behind a solid plastic-to-plastic weld that requires minimal sanding. By mastering a few basic preparation steps and application techniques, you can elevate the quality of your scale models and achieve professional, paint-ready surfaces.
Why Extra Thin Cement Works Differently Than Standard Glue
Standard model adhesives contain dissolved polystyrene resins in a solvent carrier, creating a thick, sticky paste. While this paste is useful for filling large gaps, it also leaves a raised residue that requires extensive sanding and can easily ruin fine surface details if it oozes out during assembly.
Products mentioned in this guide
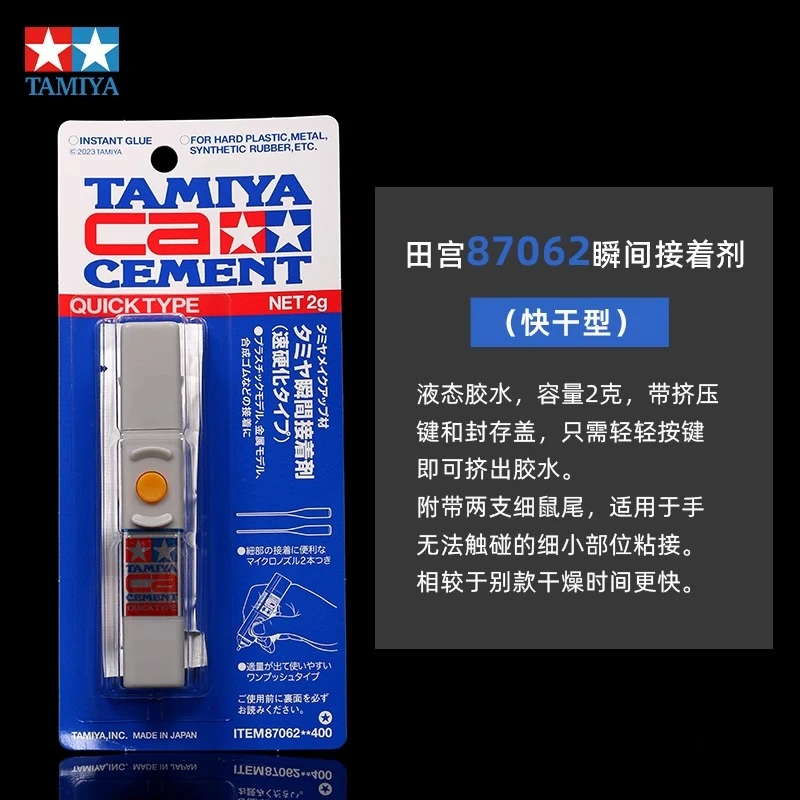

Prices are valid at publication and may change. Please refer to the product page for the latest price.
In contrast, Tamiya Extra Thin Cement contains no added resins and is a highly volatile mixture of organic solvents formulated to melt polystyrene on contact. Because it is as thin as water, it relies entirely on capillary action—the physical phenomenon where liquid naturally flows into narrow spaces against gravity and surface tension.
This chemical difference dictates a completely different assembly sequence. With traditional glue, you apply the adhesive to one mating surface and then press the parts together. With extra thin cement, you must hold the parts tightly together in their final positions before introducing the solvent. The liquid is then touched to the seam, where it instantly zips along the joint, melts a microscopic layer of plastic on both sides, and fuses them into a single, continuous piece as it evaporates.
Essential Tools and Part Preparation
The bottle itself is your primary tool, featuring an ultra-fine pointed brush attached to the underside of the cap. To support this system, you will also need high-quality single-blade hobby nippers to cut parts cleanly from the sprues, a sharp hobby knife to shave away remaining gate remnants, and various grits of sanding sticks (from 400 to 1000 grit) to smooth down mating surfaces. Tweezers are indispensable for holding tiny parts securely during alignment.

Dry-fitting is the absolute foundation of a successful solvent weld. Because extra thin cement does not fill gaps, any space between the parts will prevent the capillary action from working and result in a weak or failed bond. You must test-fit the components repeatedly, checking for warped plastic, misaligned locating pins, or mold flash that prevents a flush fit.
Surface preparation is equally vital for a clean reaction. Plastic model kits are often coated with a microscopic layer of mold release agent from the manufacturing process, and your fingers can deposit natural oils that act as a barrier to the solvent. Gently washing the sprues in warm, soapy water and drying them thoroughly before assembly ensures maximum chemical adhesion. Additionally, use a dry brush or compressed air to remove any plastic dust left over from sanding, as these particles can mix with the cement and create a grainy texture in your seam.
Step-by-Step Guide to Applying Extra Thin Cement
Positioning the Parts for a Tight Seam
Begin by holding the two prepared parts together exactly as they should look in the finished model. Apply firm, even pressure along the entire length of the joint to ensure there are no visible gaps. If the parts are large or complex, you can use low-tack modeling tape or spring clamps to maintain this pressure, freeing up your hands to apply the cement.
Pay close attention to where you place your fingers during this step. Avoid holding the parts directly on or immediately adjacent to the seam line. Because the solvent is highly volatile and seeks out narrow spaces, it will easily wick under your fingertips if they are too close to the joint. This not only transfers the melted plastic to your skin, leaving permanent, unsightly fingerprint impressions on the model, but can also cause mild skin irritation.
Applying the Cement via Capillary Action
Unscrew the cap of the cement and lift the built-in brush. Before bringing it to the model, gently touch the side of the brush shaft and tip against the inside neck of the bottle to wipe away excess liquid. The brush should be damp but not dripping wet; an overloaded brush will release a large puddle of solvent that will immediately flood the surface and melt surrounding details.
Touch the very tip of the fine brush directly to the seam line at a 45-degree angle. Do not drag or paint the brush along the joint; simply hold it steady at one point. You will see the clear liquid instantly draw out of the brush and zip along the microscopic gap between the parts.
For longer seams, lift the brush and touch it to a new spot further down the line, allowing the wet fronts to meet naturally. Never brush the solvent over the flat, open surfaces of the model. The formulation is designed to dissolve polystyrene rapidly, and any contact with exposed face plastic will immediately soften the molded details, panel lines, or rivets.
Curing and Avoiding Surface Damage
Once the cement has run through the joint, maintain your firm grip or clamp pressure on the parts for at least 30 to 60 seconds. This initial window is critical because the solvent is evaporating rapidly, and the melted plastic is beginning to cool and re-harden into a single fused structure. Any movement during this phase can shear the fragile, semi-molten bond, leading to misalignment or a weak joint.
After releasing the pressure, set the sub-assembly aside and do not touch, squeeze, or test the joint strength for at least several hours. Although the surface solvent evaporates quickly, the plastic deep within the joint remains soft and chemically active for a longer period. Handling the seam too early can easily warp the parts or leave permanent fingerprint indentations that are incredibly difficult to repair.
For a truly seamless joint, you can deliberately press the parts together with slightly extra force immediately after applying the cement. This squeezes out a tiny bead of melted plastic along the seam. Once fully cured for 24 hours, this raised plastic bead can be scraped away with a hobby knife and sanded flush, completely eliminating the seam line without the need for plastic putty.
Troubleshooting Common Application Mistakes
Melted Surface Details
If you accidentally spill or over-apply the cement, causing it to run onto highly detailed areas, resist the urge to wipe it off immediately. Touching the wet, melted plastic with a finger, cloth, or cotton swab will smear the softened surface and permanently ruin the details. Instead, let the model sit undisturbed for a full 24 hours until the plastic has completely cured and re-hardened. Once fully dry, you can carefully sand the affected area smooth using progressive grits of sanding sticks, and use a plastic scriber or hobby knife to restore any lost panel lines or rivets.
Weak or Gapping Joints
If you find that the parts do not hold together or separate easily after curing, the culprit is usually a poor initial fit or insufficient cement. If the gap between the parts is wider than a fraction of a millimeter, the capillary action cannot bridge the distance, and the solvent will evaporate into the air without melting the opposing plastic. To fix this, inspect the mating surfaces again, sand down any obstructing locating pins, and ensure a perfectly flush fit before re-applying a slightly more generous amount of cement.
Frosty or Cloudy Marks
Sometimes, a white, frosty residue can appear along the seam line or on clear parts after the cement dries. This is often caused by trapped solvent vapors, particularly when working in humid environments, cold rooms, or poorly ventilated spaces where the air cannot carry the evaporated solvent away quickly enough. In highly humid climates like Singapore, the rapid evaporation of the solvent can cool the surrounding air below the dew point, causing microscopic moisture droplets to condense on the wet surface. To mitigate this, try to assemble your models in an air-conditioned room where the humidity is controlled, or use a small desk fan to keep the air moving and accelerate clean evaporation.
Brush Degradation
Over months of heavy use, the synthetic fibers of the built-in brush can become frayed, bent, or clogged with melted plastic residue from touching active joints. If the brush tip loses its fine point, it becomes difficult to control the exact flow of cement, leading to accidental spills. You can clean the brush by wiping it gently on a lint-free paper towel soaked in a small amount of clean lacquer thinner, or you can transition to using a dedicated, high-quality fine-tipped synthetic detail brush (such as a size 0 or 00) dipped directly into the bottle.
Safe Handling and Storage for Longevity
Working with solvent-based cements requires a strong focus on personal safety and workspace ventilation. Tamiya Extra Thin Cement contains volatile organic compounds that emit strong, distinct chemical fumes. Always work in a spacious room with an open window, or use a dedicated hobby paint spray booth or desk fan to actively pull the fumes away from your face. Prolonged inhalation of these concentrated vapors can lead to headaches, dizziness, or respiratory irritation.
Because the solvent is highly volatile, it evaporates extremely rapidly when exposed to air. To prevent your bottle from drying out and to maintain the correct chemical balance of the mixture, get into the habit of screwing the cap back onto the bottle immediately after every single application. Never leave the bottle sitting open on your workbench while you assemble the next set of parts, as even a few minutes of exposure will noticeably reduce the volume and alter the performance of the remaining liquid over time.
Store your cement bottle in an upright position in a cool, dry place away from direct sunlight, open flames, or localized heat sources like desk lamps or heaters. High temperatures can cause the volatile solvent to expand, leading to pressure buildup inside the glass bottle or rapid evaporation if the seal is not perfectly airtight. Keeping the bottle upright also prevents the liquid from constantly contacting the rubber seal inside the cap, extending the overall lifespan of the packaging.
Additionally, protect your workspace surface by placing a ceramic tile, silicone mat, or glass cutting plate under your assembly area. A single accidental spill of extra thin cement can instantly dissolve the grid lines on a self-healing cutting mat or ruin the finish of a wooden desk, so having a solvent-resistant barrier is a highly recommended safety measure.
Frequently Asked Questions (FAQ)
Can I use extra thin cement on ABS, resin, or 3D-printed parts?
Tamiya Extra Thin Cement is formulated specifically to react with polystyrene plastic, which is the standard material used in most commercial model injection kits. It works by chemically dissolving this specific polymer; it does not have the chemical profile required to melt or bond other materials like polyurethane resin, metal, or common 3D-printed filaments like PLA and PETG.
Before attempting to join parts, check your kit’s instruction manual or the markings on the plastic sprues to verify the material type. If you are working with resin, ABS, or 3D-printed parts, you must use a different adhesive class, such as cyanoacrylate (super glue) or a two-part epoxy. These adhesives rely on a physical surface bond rather than solvent welding, making them suitable for mixed-material assemblies.
Community discussion
Share your experience or ask a question. Comments are reviewed before publication.