
Using sewing templates for embroidery is one of the most effective ways for beginners to achieve clean, professional-looking designs without needing advanced freehand drawing skills. By acting as a precise guide on your fabric, these templates allow you to focus entirely on mastering your stitches. Whether you choose to trace a reusable plastic stencil or stitch directly through a stick-on water-soluble sheet, understanding the proper transfer, tensioning, and removal techniques is the key to embroidery success.
To get the most out of your sewing templates, you must match the template material to your fabric type and project goals. This step-by-step guide walks you through selecting your supplies, transferring your design, executing clean stitches, and safely removing the template to reveal a beautiful finished piece.
What You Need: Tools and Materials for Template Embroidery
Before starting your first project, gathering the correct combination of tools and materials ensures a smooth crafting experience. The type of sewing templates you select will dictate your transfer method and final finishing steps.
Products mentioned in this guide
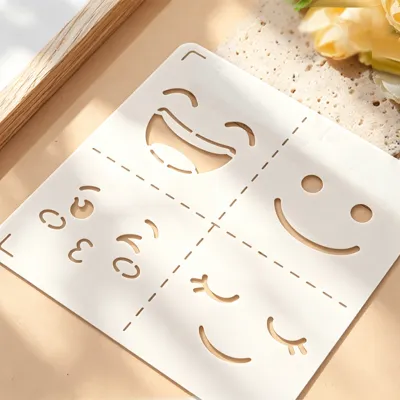
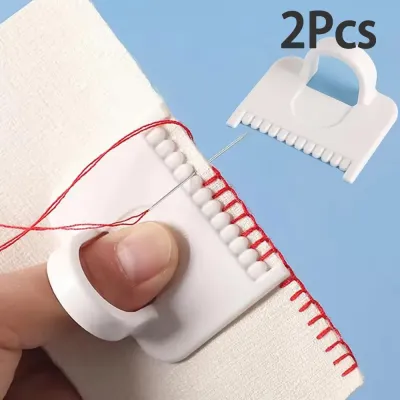
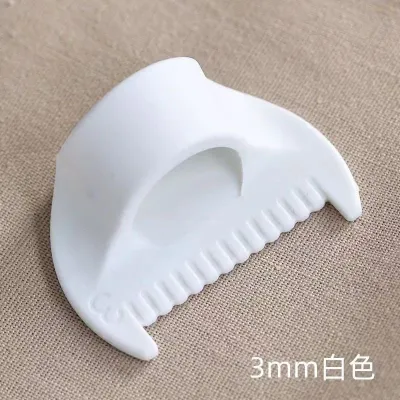
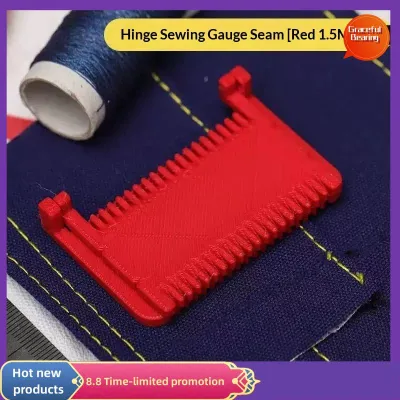
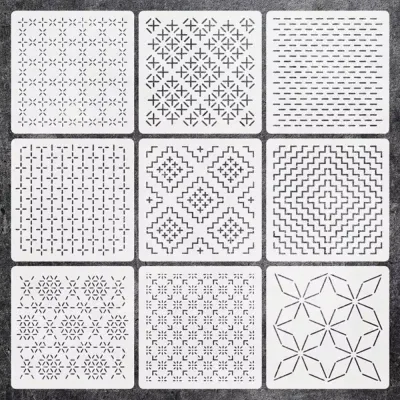
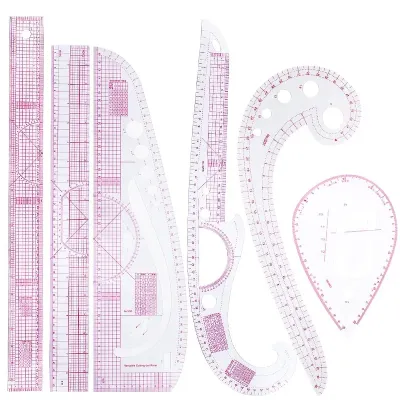
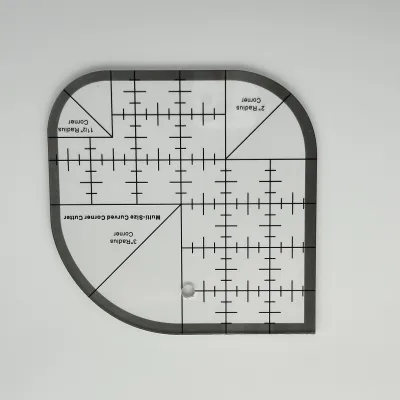
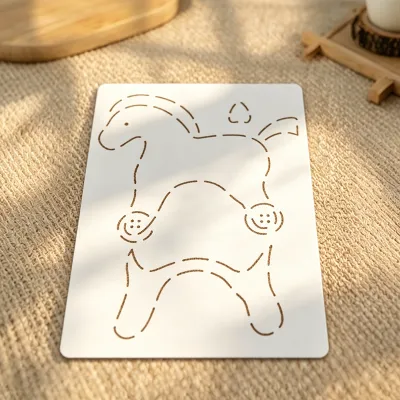
Prices are valid at publication and may change. Please refer to the product page for the latest price.
- Water-Soluble Stabilizers: These paper-like sheets allow you to print or draw a design directly onto them, stick or baste them to your fabric, and dissolve them completely in water once your stitching is complete. Because they leave no trace behind, they are highly recommended for dark or textured fabrics where traditional tracing is difficult.
- Tear-Away Backing: This non-woven, paper-like material is placed behind or on top of the fabric. Once you finish stitching through both the fabric and the template, you gently tear the paper away. It provides excellent structural support for lighter fabrics.
- Adhesive Sticky Templates: These peel-and-stick sheets adhere directly to the front of your fabric. They are incredibly beginner-friendly because they eliminate the shifting that often happens with pins or basting stitches.
- Reusable Plastic or Paper Stencils: These are rigid templates featuring cut-out design lines. You place them over your fabric and trace the pattern using a temporary marking pen. They are highly durable and cost-effective for repeating patterns.
Selecting the right fabric is equally critical for beginners. Non-stretchy, medium-weight woven fabrics such as 100% cotton (like calico or quilting cotton) or medium-weight linen are ideal. These fabrics hold hoop tension beautifully, do not warp under the weight of adhesive templates, and easily support the physical stress of needle punctures.
Finally, assemble your basic embroidery toolkit. You will need a sturdy embroidery hoop (wooden or plastic with a reliable tension screw) to hold your fabric taut. Keep a set of sharp crewel needles (sizes 7 to 9 are excellent for beginners) on hand, as their medium-sized eyes accommodate multiple strands of embroidery floss easily. You will also need high-quality six-strand cotton embroidery floss, small and sharp embroidery scissors for precision snipping, and a temporary transfer tool such as a water-erasable pen.
How to Transfer or Position Your Sewing Template
Getting your design from the template onto your fabric requires patience and precision. A misplaced or distorted template will result in uneven stitches and a warped final design.

Attaching Adhesive, Water-Soluble, or Tear-Away Templates
If you are using a stick-on, printable water-soluble template, start by cutting out your design, leaving a small margin of excess stabilizer around the border. Peel away the protective paper backing to expose the adhesive side. Gently position the template on the front of your fabric, starting from the center and smoothing it outward to the edges.
For non-adhesive templates, such as standard tear-away sheets or non-sticky water-soluble stabilizers, you must secure the sheet manually to prevent shifting. You can apply a light mist of temporary fabric adhesive spray to the back of the template, following the manufacturer’s ventilation and safety instructions. Alternatively, you can secure the template by hand-stitching long, loose basting stitches around the outer perimeter of the design to lock it to the fabric.
Regardless of the template type, always verify that the template lies completely flat against the fabric surface. Any trapped air bubbles, folds, or wrinkles will cause the fabric to bunch up under your stitches, resulting in permanent puckering once the template is removed.
Tracing Reusable Plastic or Paper Templates
When working with reusable plastic stencils or printed paper templates, you will need to trace the design lines directly onto your fabric. Start by placing your paper template on a flat, well-lit surface. For the best visibility, use a dedicated LED light pad, or simply tape your paper template to a bright, sunlit window pane.
Layer your fabric directly over the template. The light source will shine through the fibers, making the design lines visible. Use a water-erasable or heat-erasable fabric pen to trace the lines carefully onto the fabric. Always perform a quick test with your marking pen on a small scrap piece of the same fabric first to ensure the ink washes or irons out completely without leaving a permanent stain.
To prevent the fabric or the stencil from sliding during this process, secure them together. Use low-tack painter’s tape to secure the corners of both the template and the fabric to your light source, or use fine sewing pins to clip the layers together securely before you begin tracing.
Securing the Fabric in the Hoop
Once your template is attached or traced, it is time to mount the fabric into your embroidery hoop. Loosen the screw on the outer hoop and separate the two rings. Place the inner, solid ring on a flat, hard surface, and drape your fabric over it, ensuring the design is centered.
Press the outer ring down over the fabric and the inner ring, sandwiching the material between them. Tighten the tension screw slightly. Gently and evenly pull the excess fabric around the edges of the hoop to tension the embroidery surface.
Your goal is to achieve a “drum-tight” tension, where the fabric makes a clean, hollow sound when tapped with your finger. However, be careful not to pull so aggressively that you warp the template lines or tear delicate water-soluble sheets. Once the fabric is perfectly taut and the design remains undistorted, tighten the hoop screw firmly with your fingers.
Step-by-Step Embroidery Process Using the Template
Stitching through a template is highly satisfying, but it requires a slightly different approach than stitching on bare fabric. The template adds an extra layer of thickness, which changes how your needle and thread behave.
First, prepare your embroidery floss. Cut a length of thread measuring roughly 45 to 50 centimeters; longer threads are highly prone to knotting and fraying as they rub against the template material. Separate the individual strands of your six-strand floss by pulling them out one by one. For beginners, using two or three strands offers a great balance of line visibility and control.
Thread your crewel needle. To avoid bulky knots on the back of your fabric—which can create lumps under your finished piece—consider starting your work with the “loop method” if you are using an even number of strands. If you are using an odd number of strands, leave a small tail of thread on the backside of your fabric and secure it by stitching over it with your first few structural stitches.
As you begin embroidering, follow the template lines with consistent stitch lengths. When working on straight lines, you can use slightly longer stitches of about 4 to 5 millimeters. When navigating tight curves or circular details, shorten your stitch length to 2 or 3 millimeters. Shorter stitches allow you to follow curved contours smoothly, preventing your lines from looking blocky or angular.
Thread tension is critical when working with templates. Pull each stitch until the thread rests completely flat against the template surface, but do not pull so hard that the fabric or template puckers inward. Conversely, stitching too loosely will leave floppy loops on the front of your work that can easily snag and ruin your design later.
For clean outlines, stick to classic beginner-friendly stitches such as the backstitch, split stitch, or stem stitch. When you encounter a sharp corner, end your stitch precisely at the apex of the angle. Sink your needle to the back of the fabric, then bring it up exactly at the start of the new direction to maintain a crisp, sharp point.
Finally, maintain awareness of your hoop’s physical boundaries. Avoid stitching too close to the outer wooden or plastic edge of the hoop, as your needle can strike the frame, damaging both your needle tip and your template. Periodically check the back of your work to ensure you have not accidentally caught loose backing fabric or stitched your embroidery to your clothing.
Removing the Template and Finishing Your Project
Once your stitching is complete, removing the template safely is the final step to revealing your clean, finished embroidery. The removal method depends entirely on the type of template you used.
Removing Water-Soluble and Tear-Away Templates
To remove water-soluble templates, prepare a bowl of clean, lukewarm water. Avoid using boiling water, as extreme heat can cause certain delicate fabrics to shrink or cause low-quality embroidery threads to bleed. Submerge your finished embroidery completely in the water and let it soak for 10 to 15 minutes. Gently agitate the water with your fingers to help dissolve the stabilizer.
Once the template has dissolved, rinse the fabric thoroughly under cool, running tap water. This step is essential; if any dissolved stabilizer residue remains in the fabric fibers, it will dry into a stiff, sticky film that attracts dust. Lay the wet embroidery flat on a clean, dry towel to air-dry naturally.
If you used a tear-away template, place a finger firmly over your embroidery stitches near the edge of the template to support them. With your other hand, gently tear the paper stabilizer away in small, manageable sections. For tiny, stubborn fragments of paper trapped in dense stitching, use a pair of fine tweezers to pluck them out carefully.
If you encounter highly stubborn areas where the paper is locked tightly under the stitches, do not yank on it. Instead, use small, sharp embroidery scissors to carefully snip the template paper as close to the stitches as possible, taking care not to cut your embroidery threads.
Erasing Traced Lines and Final Pressing
If you traced your design using a temporary marking pen, you must erase the visible lines. For water-erasable ink, dab the lines gently with a damp cotton bud or rinse the entire piece in cool water. If you used a heat-erasable pen, run a warm iron near the fabric. Always test your erasure method on a scrap piece of fabric first to ensure the ink disappears completely and does not leave a ghost image.
Once your embroidery is clean and dry, it is time for the final pressing. Lay a clean, fluffy bath towel on your ironing board to act as a padded surface. Place your finished embroidery face-down on top of the towel.
Press the backside of the fabric using a warm iron set to the appropriate temperature for your fabric type. Pressing face-down into a soft towel is a professional secret; it flattens the surrounding fabric and removes hoop creases while allowing the three-dimensional texture of your embroidery stitches to sink into the towel without being crushed.
To finish your project, you can trim the excess fabric from the back of the hoop if you plan to display it as hoop art. Alternatively, leave a margin of fabric to wrap around a mounting board for traditional framing.
Common Beginner Mistakes and How to Avoid Them
Learning to use sewing templates involves a small learning curve. Being aware of common pitfalls can save you time and prevent ruined projects.
Fabric puckering is the most common issue beginners face. It occurs when your fabric is too loose in the hoop, or when you pull your embroidery thread too tightly. To prevent this, always ensure your fabric is drum-tight before you start, and maintain a relaxed, even tension with your stitching hand. If you notice puckering mid-project, stop, adjust your hoop tension, and ensure your stitches are resting flat rather than pulling.
Using the wrong water temperature when dissolving water-soluble templates can also cause issues. In warm, humid climates like Singapore, storing water-soluble templates in airtight containers is highly recommended to prevent them from absorbing atmospheric moisture and becoming sticky before use. When dissolving them, stick to lukewarm water; cold water will not dissolve the adhesive fully, leaving a sticky residue, while hot water can damage delicate fibers.
Another mistake is stitching too densely over tear-away stabilizers. If your stitches are packed too tightly, the tear-away paper becomes completely locked under the thread, making it impossible to tear away cleanly. For highly dense, filled-in designs, always opt for a water-soluble stabilizer instead of a tear-away backing.
Finally, be mindful of thread fraying. Stitching through thick, adhesive sewing templates increases the friction on your embroidery floss, which can cause it to shred or tangle. To minimize this, use shorter thread lengths (around 40 centimeters) and consider running your thread through a beeswax thread conditioner to smooth the fibers before threading your needle.
Frequently Asked Questions (FAQ)
Can I reuse plastic sewing templates for embroidery?
Yes, rigid plastic sewing templates and thick paper stencils are fully reusable. Because you only use them as a physical stencil to trace design lines onto your fabric with a temporary pen, the template itself never gets stitched through or wet. Simply wipe your plastic templates clean after use and store them flat in a dry drawer to prevent warping.
What is the best fabric for beginners using embroidery templates?
The best fabrics for beginners are non-stretchy, medium-weight woven fabrics such as 100% cotton (like quilting cotton or calico) and medium-weight linen. These fabrics provide a stable, warp-resistant surface that holds up beautifully under the weight of adhesive templates and maintains excellent tension in the embroidery hoop. Avoid stretchy knits or sheer fabrics when you are first starting out.
Community discussion
Share your experience or ask a question. Comments are reviewed before publication.