
Using magnetic tape is one of the most versatile, modular, and satisfying ways to clean up a cluttered workspace. Unlike permanent screws or messy plastic zip ties, magnetic organization allows you to reposition cables, mount tools, and swap out desk accessories on the fly. By applying a magnetic strip to your desk frame and pairing it with small metal collars or magnetic clips, you can create an invisible routing path that keeps cords completely out of sight.
To achieve a clean, long-lasting setup, you must select the right materials and prepare your surfaces correctly. This guide will walk you through choosing the correct tape specifications, installing it step-by-step, mounting lightweight accessories, and maintaining the adhesive bond over time.
What You Need Before Starting
Before purchasing your materials, it is essential to understand the different types of magnetic tape available. Flexible magnetic tape typically comes in rolls and is highly customizable, allowing you to cut it to any length with standard stationery scissors. For heavier applications, rigid magnetic strips or thick, anisotropic magnetic tapes offer significantly higher pull-force, making them better suited for mounting tools or securing thick power cables under a desk.
Products mentioned in this guide
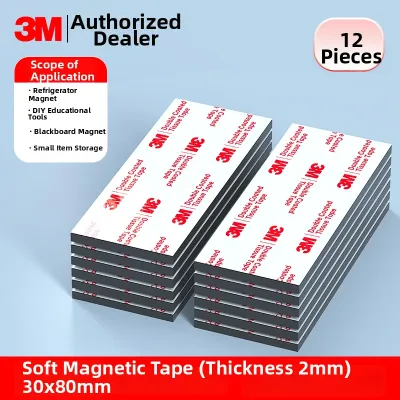

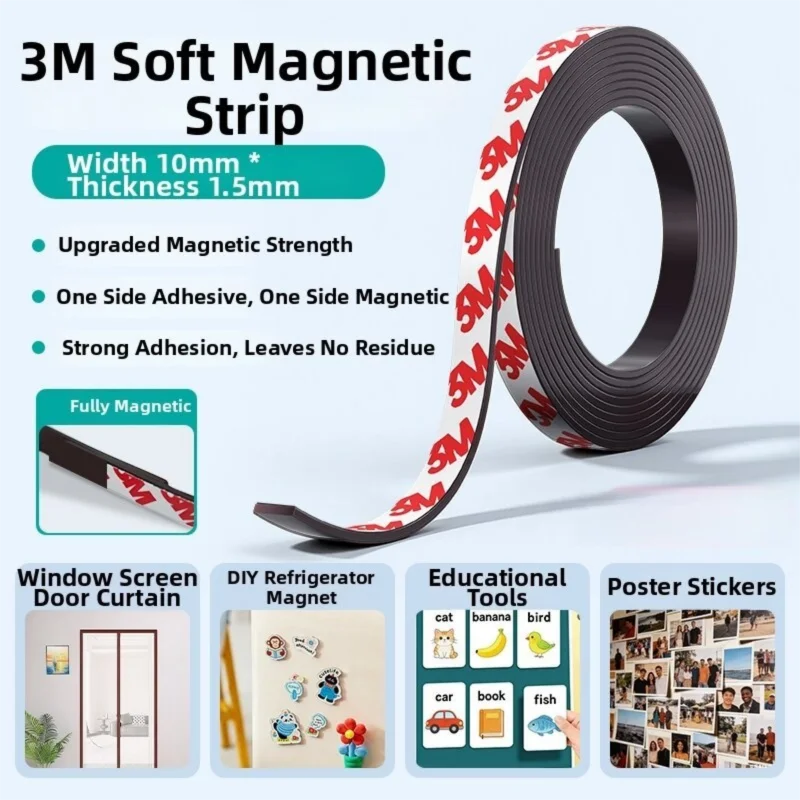
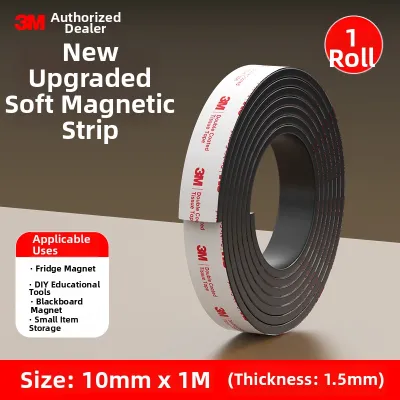
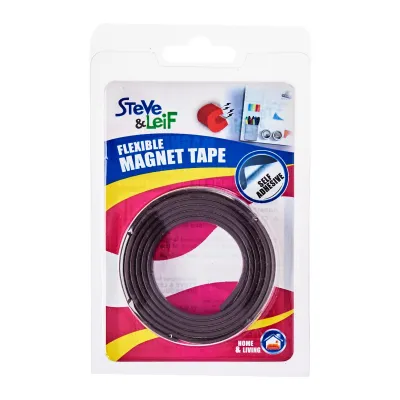
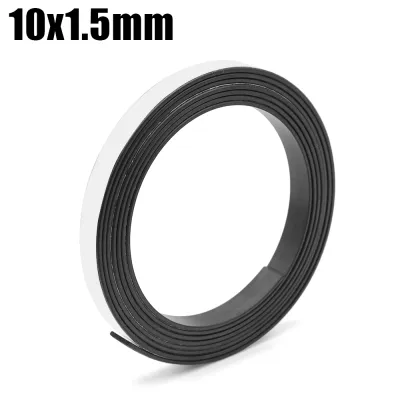
Prices are valid at publication and may change. Please refer to the product page for the latest price.
Always check the manufacturer’s weight ratings and pull-force specifications before starting your project. Pull-force is usually measured in grams per square centimeter or ounces per inch, indicating how much weight the magnet can hold vertically before sliding. For basic cable management, a standard tape with a pull-force of 20 to 30 grams per square centimeter is sufficient, but heavier metal tools will require heavy-duty variants rated for much more.
Environmental factors also play a major role in how well the tape performs. In humid climates, such as in Singapore, standard rubber-based adhesives can soften and degrade over time, causing the tape to peel away from the desk. To prevent this, look for magnetic tapes featuring high-quality acrylic-based adhesive backings, which offer superior resistance to moisture and temperature fluctuations.
Proper surface preparation is the final key to a successful installation. Dust, oils, and wood polish create a barrier that prevents the adhesive from bonding securely to your desk. Clean the application area thoroughly using a microfiber cloth dampened with isopropyl alcohol, ensuring you test a small, hidden spot first to confirm it does not damage your desk’s finish. Allow the surface to dry completely before applying the tape.
Step-by-Step Guide to Managing Cables
To begin routing your cables, map out the exact path they will take along your desk. Measure the length of your desk legs, the underside of the desktop, or the back edge of your monitor stand where cables naturally fall. Use a ruler or a flexible measuring tape to determine the exact lengths of magnetic tape you need, then cut the tape using heavy-duty scissors or a utility knife on a protective cutting mat.

When applying the tape, peel away a small section of the adhesive backing at one end and press it firmly against the prepared desk surface. Slowly work your way down the strip, peeling the backing as you go and pressing firmly with your thumb to smooth out any air bubbles. To ensure the strongest possible bond, press down along the entire length of the tape for at least thirty seconds, and allow the adhesive to cure for 24 hours before hanging any heavy cables.
Once the magnetic strip is securely in place, you need to prepare your cables to stick to it. For thin cords like phone chargers or keyboard cables, you can wrap a small piece of flexible magnetic tape directly around the cord, ensuring the magnetic side faces outward. Alternatively, you can slide small, steel cable collars or dedicated magnetic cable clips onto your cords, which will snap securely to the magnetic tape strip on your desk.
After attaching your cables, test the magnetic hold by gently pulling and moving them as you would during daily use. If you use a height-adjustable standing desk, raise and lower the desk fully to ensure there is enough slack in the cables and that the magnetic connection does not break during transition. Adjust the positioning of the cable clips along the magnetic strip to eliminate any unwanted tension.
Mounting Small Tools and Desk Accessories
Beyond cable management, magnetic tape is an excellent solution for keeping frequently used tools within arm’s reach while keeping your desktop clear. Items made of ferromagnetic metals, such as steel scissors, metal rulers, tweezers, and binder clips, will naturally cling to a strong magnetic strip. This setup is particularly useful for craft stations, sewing desks, or technical workspaces where quick access to small tools is essential.
To organize these items, create dedicated magnetic zones on your desk setup. You can run a continuous horizontal strip along the front edge of a shelf, mount a vertical strip on the side of a metal desk drawer, or place a small patch directly onto your monitor stand. Grouping similar tools together on these designated zones makes it easy to grab what you need and return it to its place instantly.
Always verify that the weight of each accessory falls safely within the rated capacity of your magnetic tape. If an item is too heavy, it will slide down the strip or fall off entirely, potentially damaging your desk or the tool itself. If you want to mount non-magnetic items, like plastic remote controls or wooden pen holders, you can stick a small piece of matching magnetic tape or a lightweight steel disc to the back of the item first.
Adjusting and Maintaining Your Magnetic Setup
Over time, you may need to adjust your desk layout or remove the magnetic tape entirely. To peel off adhesive-backed tape without damaging wood, laminate, or painted finishes, work slowly and avoid ripping the tape upward at a sharp angle. Instead, peel it back flat against itself at a 45-degree angle, applying steady, gentle pressure to allow the adhesive to release cleanly.
If the adhesive is stubborn or has been in place for years, applying gentle heat can make removal much safer. Use a hairdryer on a low or medium setting to warm the tape for a few seconds, which softens the adhesive backing and allows it to slide off easily. Avoid using high heat on plastic desks or delicate wood veneers, and clean up any remaining sticky residue with a mild, adhesive-safe cleaning solution.
To maintain a strong magnetic grip, keep the exposed face of the tape clean. Dust, lint, and micro-debris can accumulate on the magnetic surface, creating a physical gap that reduces the magnetic pull-force. Wipe the magnetic strip down periodically with a dry, lint-free microfiber cloth to remove buildup and ensure your cable clips and tools continue to hold securely.
Regularly inspect the edges of the tape and the overall strength of the adhesive backing, especially in humid environments. If you notice the edges starting to lift or curl, it is best to trim the loose section or replace the strip entirely before the weight of your cables pulls the rest of the tape down. Checking the setup every few months ensures your cable management remains neat and reliable.
Troubleshooting Common Magnetic Tape Issues
If you find that your magnetic tape is not holding items securely, the issue is often related to the texture of the mounting surface. Uneven wood grain, textured powder-coated metal, or matte plastic finishes limit the surface area contact for the adhesive, leading to premature peeling. To resolve this, you can apply a layer of heavy-duty, double-sided mounting tape designed for textured surfaces first, then apply the magnetic tape directly onto that smooth backing.
Another common issue is cables sliding down vertical magnetic strips due to gravity and the slick plastic coating of the cords. To improve grip on heavy or slippery cables, try using textured magnetic clips or wrapping a small piece of high-friction silicone tape around the cable collar. This added friction prevents the clip from sliding down the vertical magnetic track while still allowing you to pull the cable away easily when needed.
Finally, if a magnetic strip seems to have lost its holding power, check if the tape has become demagnetized. This can happen if the tape is exposed to extremely strong neodymium magnets or high heat over extended periods. When a strip no longer holds lightweight items or the adhesive backing has completely dried out, it is time to replace that section with a fresh piece of tape to restore your desk’s organization.
Frequently Asked Questions (FAQ)
Can magnetic tape damage my desk surface?
The magnetic field itself will not harm your desk, but the adhesive backing can potentially leave residue or lift delicate finishes if removed improperly. Solid wood, metal, and high-quality laminates are generally safe, but cheap paper veneers or poorly bonded paint can peel when the tape is removed. To minimize risk, always test a tiny piece of the tape on an inconspicuous area of your desk, such as the underside, and use gentle heat or an adhesive remover when peeling it off.
Is magnetic tape strong enough to hold heavy power adapters?
Standard magnetic tape is generally not strong enough to support heavy power bricks or large multi-plug extension cords, especially when mounted vertically or upside down under a desk. These heavy items exert constant downward shear force that exceeds the pull-force of flexible magnets. For heavy power adapters, it is much safer to use mechanical under-desk cable trays, screw-in brackets, or heavy-duty hook-and-loop fasteners designed specifically for high-weight loads.
Community discussion
Share your experience or ask a question. Comments are reviewed before publication.