
A cluttered desk can disrupt your focus and slow down your daily workflow. While traditional desk organizers take up valuable desktop real estate, magnet tape offers a highly flexible, damage-free alternative by utilizing the unused metal surfaces around your workspace. By turning the steel frames, legs, and panels of your desk into functional storage zones, you can clear your desktop and keep essential tools within arm’s reach.
Using magnet tape effectively requires understanding how different materials interact. Because magnetic strength and adhesive bonds depend heavily on the weight of your items and the texture of your desk, a systematic approach ensures your setup remains secure. This guide covers everything you need to know to plan, apply, and troubleshoot a magnetic desk organization system.
What You Need Before Starting
Before purchasing your materials, select the right type of magnet tape for your specific desk accessories. Magnet tape typically comes in two varieties: adhesive-backed and non-adhesive. For organizing a desk, adhesive-backed tape is generally the most practical choice, as it allows you to attach non-magnetic items like plastic trays, wooden pen cups, or cable organizers directly to metal surfaces.
Products mentioned in this guide
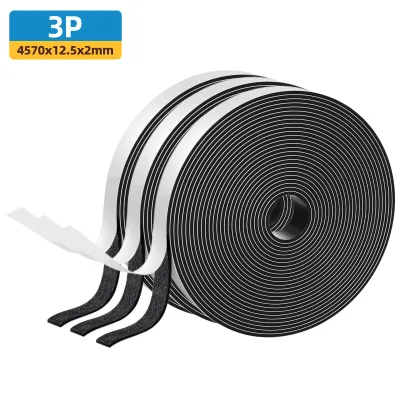
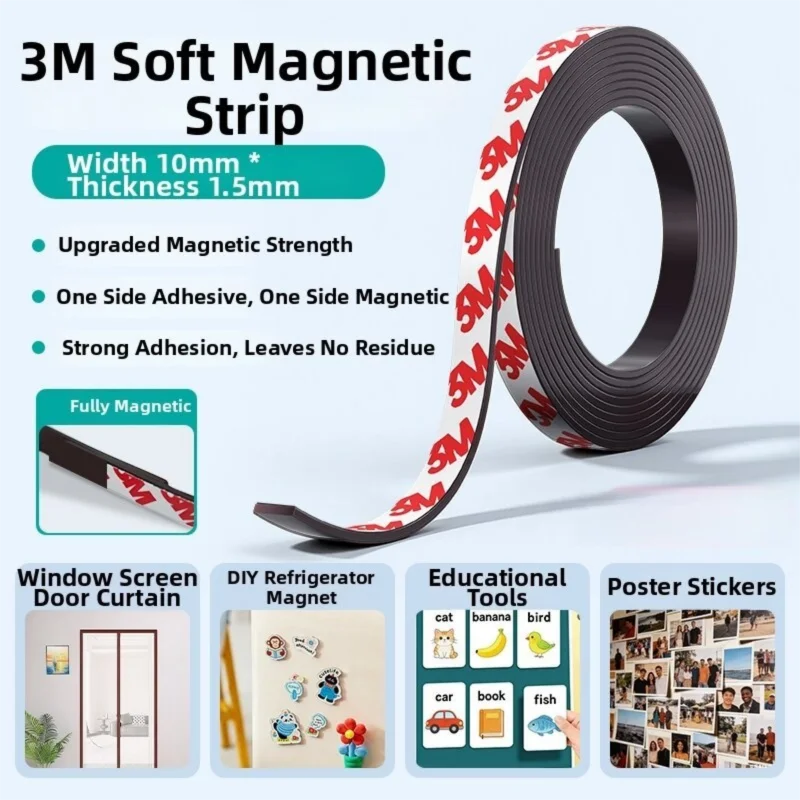
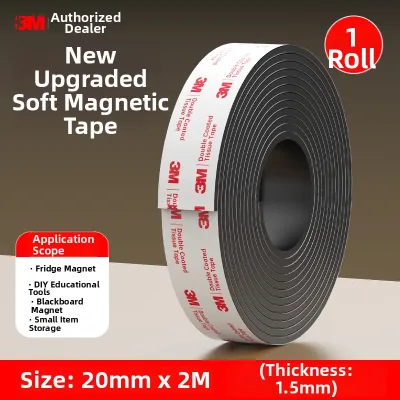
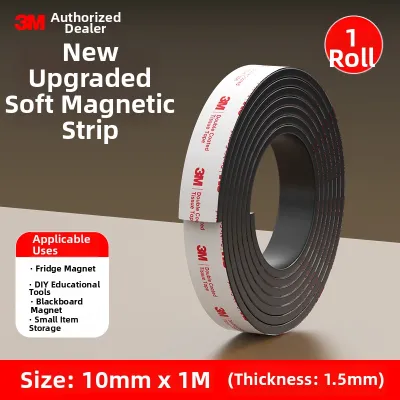
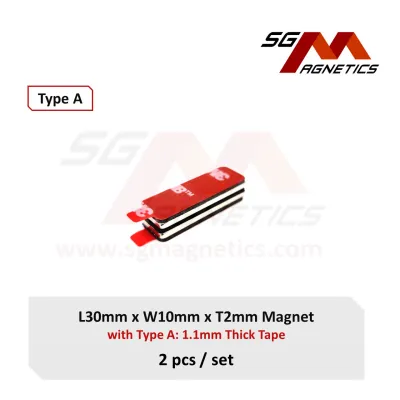
Prices are valid at publication and may change. Please refer to the product page for the latest price.
The width and thickness of the tape directly influence its holding power. Thicker tapes contain more magnetic material and offer a stronger pull, making them suitable for heavier items like power strips. Standard widths ranging from 12mm to 25mm are highly versatile, fitting neatly onto the back of most office accessories without overlapping the edges.
You will also need a few basic tools to ensure a clean and precise application. Gather a pair of sharp scissors or a utility knife to cut the tape, a measuring tape to determine the correct lengths, and cleaning supplies. Isopropyl alcohol and a clean microfiber cloth are essential for preparing the surfaces, as any lingering dust or oil will compromise the adhesive bond.
Finally, identify the magnetic surfaces available in your workspace. Steel desk frames, metal pegboards, and magnetic whiteboards are excellent candidates. To avoid frustration, verify that your desk components are actually magnetic by testing them with a simple household magnet before you begin, as some modern office furniture is constructed from non-magnetic aluminum or specific grades of stainless steel.
Step-by-Step Guide to Applying Magnet Tape
Achieving a long-lasting bond requires careful preparation of both the accessory and the mounting surface. Begin by wiping down the back of your accessory and the metal desk surface with isopropyl alcohol. This step removes manufacturing residues, finger oils, and dust that prevent the pressure-sensitive adhesive from making full contact. Allow both surfaces to dry completely before proceeding.

Next, measure the flat surface on the back of the accessory where the tape will be applied. Use your measuring tape to determine the exact length needed, and cut the magnet tape cleanly using your scissors or utility knife. Take care not to stretch the tape while measuring or cutting; rubberized magnetic materials can slowly contract after being stretched, which causes the adhesive to peel away at the corners over time.
Once cut, carefully peel away the protective paper backing from the adhesive side of the tape. Avoid touching the exposed adhesive with your fingers, as skin oils can weaken the bond. Align the tape with the back of the accessory and press down firmly, working your way from one end to the other to ensure there are no trapped air bubbles.
The final and most critical step is allowing the adhesive to cure. Most pressure-sensitive adhesives require time to build a maximum bond with the surface. Leave the accessory flat on your desk for at least 24 hours before attaching it to any metal surface. Hanging the item too quickly puts immediate shear stress on the fresh adhesive, which often leads to premature failure.
Practical Desk Organization Ideas Using Magnet Tape
Magnetic mounting allows you to reclaim underutilized “dead space” around your desk that would otherwise go to waste. The metal legs, under-desk support beams, and side panels of your workstation can easily be transformed into active storage areas. This approach keeps your desktop clear while keeping your most-used items easily accessible.
One of the greatest advantages of using magnet tape is the ability to create a modular, non-permanent organization system. Unlike screws or heavy-duty mounting tapes that damage surfaces, magnetic attachments let you slide, reposition, and swap accessories instantly. This flexibility is ideal for adapting your workspace to changing tasks throughout the day.
Managing Cables and Power Bricks
Tangled cords and heavy power adapters can quickly make a workspace feel chaotic. You can route loose cables along the back of metal desk legs by attaching small strips of magnet tape to plastic cable clips. This keeps charging cables tucked out of sight but easy to grab when needed.
For larger items like power bricks and surge protectors, wider and thicker magnet tape is necessary to support the weight. Apply multiple parallel strips of tape along the flat side of the power brick to distribute the load evenly. Mount the brick directly to the metal crossbars under your desk to free up valuable legroom and keep cords off the floor.
Always verify the weight of your power brick against the tape manufacturer’s rated holding capacity before mounting. Because power cables are frequently pulled or adjusted, the mounting system must withstand both the static weight of the brick and the dynamic force of plugging in devices.
Mounting Lightweight Accessories and Tool Holders
Frequently used stationery items like pens, scissors, and rulers can be kept within arm’s reach by mounting lightweight holders to metal desk dividers or side panels. Simply apply a strip of magnet tape to the back of a plastic pen cup or a small wooden tray to mount it securely to any ferromagnetic surface.
You can also apply magnet tape to the back of lightweight storage bins to create a customizable, floating organizer wall. This setup is particularly useful for storing small office supplies like paperclips, sticky notes, and USB drives. Because the bins are magnetic, you can easily pull an entire bin down to your desktop while working and snap it back into place when finished.
When mounting these accessories, place the magnet tape as high as possible on the back of the container. If the center of gravity is too far forward or too high, the container will tilt away from the metal surface, reducing the magnetic contact area and causing the item to slide downward.
Creating Modular Storage on Metal Frames
If your desk features a steel frame or a built-in metal grid, you can combine magnet tape with lightweight metal shelves or hooks to build a highly customized storage array. This allows you to design a bespoke shelving system tailored specifically to your daily workflow without the need for drilling or permanent modifications.
As your storage needs change, you can adjust the height and placement of your magnetic bins or shelves instantly. Because the tape remains attached to the accessory rather than the desk, the desk frame stays clean and free of sticky residue.
Before frequently repositioning heavy magnetic items, verify that your desk frame’s coating or paint is durable enough to withstand sliding friction. To protect the finish, lift the accessory directly off the frame to reposition it rather than sliding it along the metal.
Safety, Weight Limits, and Surface Care
To ensure a safe and reliable setup, always adhere strictly to the weight limits specified by the magnet tape manufacturer. Do not rely on guesswork or assume a tape can hold an item just because it feels secure initially. Avoid using magnet tape to mount heavy, fragile, or expensive equipment such as computer monitors or external hard drives, as a sudden drop could cause permanent damage.
Protecting your desk’s finish requires a cautious approach when applying adhesive-backed tapes. Before applying tape to a highly visible area of your desk, test a small, hidden section first. This simple check ensures that the adhesive can be removed in the future without peeling away delicate paint, powder coatings, or wood veneers.
Environmental conditions in your workspace can also play a significant role in adhesive performance over time. In warm or highly humid environments, such as typical tropical climates like Singapore’s, standard adhesives can soften and lose their grip more quickly. Periodically inspect your mounted accessories to ensure the adhesive backing is not peeling away from the item.
Troubleshooting Common Magnet Tape Issues
If your mounted items are sliding down the metal surface, the metal surface may be too smooth, the magnet tape too thin, or the accessory too heavy. To resolve this, try increasing the surface area of the magnet tape, switching to a thicker tape grade, or applying a small strip of high-friction rubber tape to the back of the accessory to prevent sliding.
When the adhesive backing fails and peels away from the accessory, it is usually a sign of surface contamination or improper curing. Ensure you thoroughly clean the accessory with isopropyl alcohol before applying fresh tape, and always allow the adhesive to cure for a full 24 hours before subjecting it to any weight.
A weak magnetic pull is often caused by a lack of direct contact between the magnet and the metal surface. Thick layers of paint, plastic coatings, or decorative wood veneers on your desk frame can significantly reduce the magnetic force. If you encounter a weak pull, ensure there are no obstructions between the magnet and the metal.
Frequently Asked Questions (FAQ)
Can I use magnet tape to mount a computer monitor?
No, magnet tape is generally unsuitable for heavy, expensive electronics like computer monitors. Monitors are subject to significant shear forces and weight demands that exceed the holding capacity of standard magnet tapes. To ensure your monitor is secure and to prevent costly damage, always use dedicated monitor arms or VESA mounts designed specifically for structural support.
Will magnet tape leave a residue on my metal desk?
Whether magnet tape leaves a residue depends on the type of adhesive used, the finish of your metal desk, and how long the tape has been applied. If you need to remove the tape, any remaining sticky residue can usually be cleaned safely using a plastic scraper and a mild adhesive remover. Always check your desk manufacturer’s care instructions before applying chemical cleaners.
Does magnet tape work on all types of metal?
No, magnet tape only adheres magnetically to ferromagnetic metals, which include iron, steel, and cobalt. It will not stick to non-magnetic metals such as aluminum, copper, brass, or certain grades of stainless steel commonly used in modern furniture. If your desk frame is made of aluminum, you will need to use adhesive-backed mounting solutions instead.
Community discussion
Share your experience or ask a question. Comments are reviewed before publication.