
Using magnetic tape to organize cables and accessories on a metal desk transforms a cluttered workspace into a highly functional, modular environment. By leveraging the ferromagnetic properties of a steel desk, you can create a completely customizable routing system without drilling holes or leaving permanent adhesive residue on your furniture. This method relies on applying flexible, adhesive-backed magnetic strips to your cords, power bricks, and lightweight desk accessories, allowing them to snap securely to the desk frame, legs, or underside. It offers the ultimate flexibility: as your hardware setup changes, you can slide, detach, and reposition your cables instantly.
What You Need Before Starting
Before purchasing materials or cutting tape, you must verify that your desk is compatible with magnetic organization. Not all metal desks are magnetic; while steel and iron frames provide excellent magnetic attraction, desks made from aluminum, stainless steel, or metal-look laminates will not hold a magnet. To test this, take a simple household magnet and place it against various parts of your desk, including the legs, the underside of the desktop, and the main work surface. If the magnet slides off or feels weak, the metal content is insufficient, and magnetic tape will not function as a mounting solution unless you apply matching magnetic strips to both surfaces.
Once you confirm your desk is ferromagnetic, you need to select the correct type of magnetic tape. Magnetic tape generally comes in two varieties: isotropic and anisotropic. Isotropic tape is standard, flexible magnetic tape that is magnetized on one side and has an adhesive backing on the other; it is highly flexible and easy to cut, making it perfect for lightweight cables and small plastic items. Anisotropic tape is manufactured with aligned magnetic particles, providing a significantly stronger magnetic pull that is ideal for heavier accessories, metal tools, or thick cables that exert spring-like tension. Additionally, pay attention to the tape’s thickness and width; wider tape provides more surface area, which directly increases both the magnetic hold and the adhesive contact area.
Products mentioned in this guide
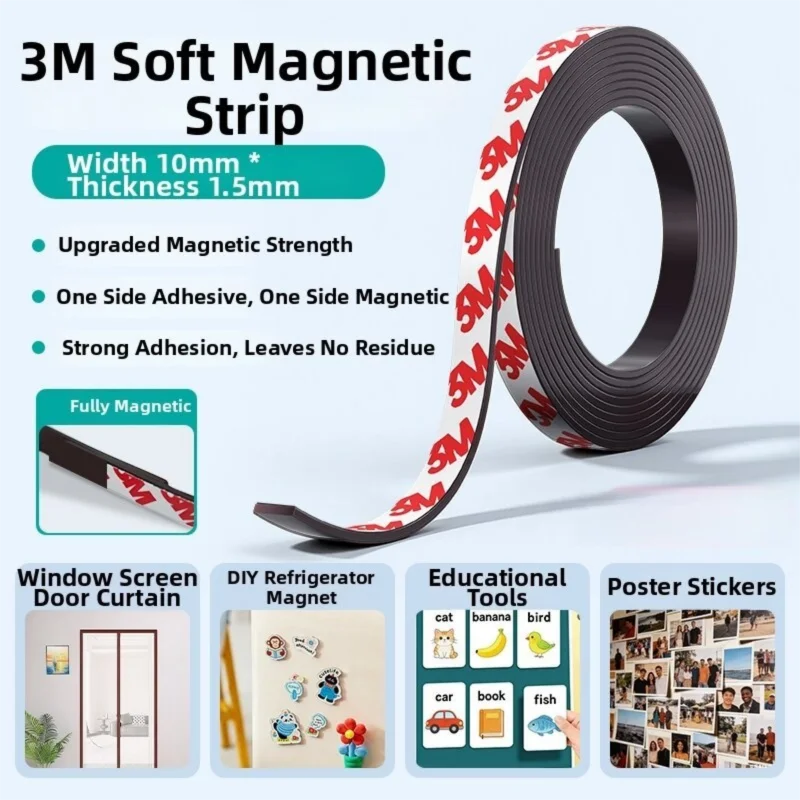
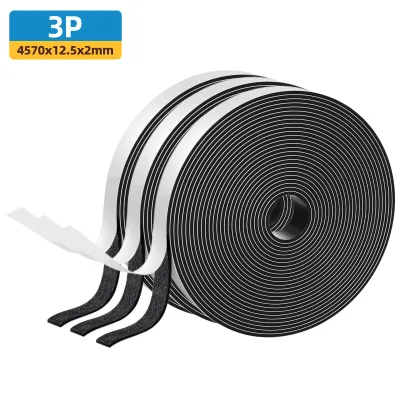
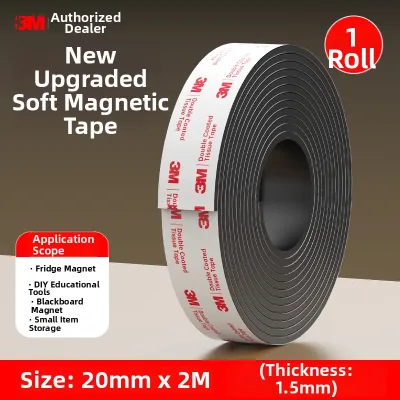
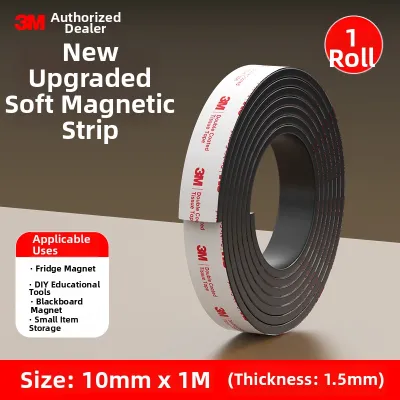
Prices are valid at publication and may change. Please refer to the product page for the latest price.
You will also need a few basic preparation and cutting tools to ensure a clean, long-lasting installation. Gather a high-quality microfiber cloth and isopropyl alcohol to clean all surfaces before application. Standard household scissors are usually sufficient for cutting thin magnetic tape, but a sharp utility knife and a metal ruler will help you achieve clean, square edges on thicker, heavy-duty tapes. Having a pencil or masking tape on hand is also useful for marking out your cable paths and mounting points before peeling off the adhesive backing.
Step-by-Step Guide to Routing Cables
The foundation of a successful cable management system is proper surface preparation, as the adhesive backing on magnetic tape requires a clean, oil-free surface to bond permanently. Cable jackets, especially those made of flexible PVC, rubber, or braided nylon, often accumulate dust, skin oils, and plasticizers over time, which can cause adhesives to peel off prematurely. Dampen your microfiber cloth with isopropyl alcohol and thoroughly wipe down the sections of the cables where you plan to apply the tape. Do the same for the areas of the metal desk where the magnets will rest, removing any manufacturing oils, dust, or fingerprints, and allow all surfaces to air-dry completely for several minutes.

Next, measure the diameter of your cables and plan the size of your magnetic strips. For thin cables, such as USB cords or headphone wires, small square tabs of magnetic tape measuring roughly one to two centimeters are sufficient. For thicker cables, such as heavy power cords, monitor cables, or bundled wires, you will need longer strips of tape—typically three to five centimeters—to counteract the natural stiffness of the cable. Cut the magnetic tape to the desired lengths using your scissors or utility knife, ensuring the cuts are clean and straight to prevent the corners from lifting over time.
When applying the tape to the cable, peel off the protective paper backing, taking care not to touch the exposed adhesive with your fingers, as skin oils will weaken the bond. Align the tape strip along the length of the cable rather than wrapping it around the circumference; keeping the tape flat ensures maximum contact between the magnetic surface and the flat metal desk. Press the tape firmly onto the cable jacket, applying consistent pressure with your thumb along the entire length of the strip for at least thirty seconds. This pressure-sensitive adhesive requires physical force to flow into the microscopic textures of the cable jacket and establish a strong bond. For the best results, let the adhesive cure undisturbed for several hours, or ideally a full day, before subjecting it to magnetic pull or cable tension.
Once the adhesive has fully cured, you can begin routing your cables along the metal desk. Snap the magnetic sections of the cables onto the steel frame, running them along the inside of the desk legs or underneath the desktop to keep them completely out of sight. Test the setup by moving your devices—such as sliding your keyboard or adjusting your monitor—to ensure there is enough slack in the cables and that the magnetic hold is strong enough to resist the movement. If a cable pulls away from the desk, it indicates either a tight bend radius putting too much spring tension on the magnet, or that the cable requires an additional magnetic point to distribute the weight. Adjust the placement of your magnetic strips accordingly until the cables remain securely in place during normal use.
Mounting Small Tools and Desk Accessories
Beyond cable management, magnetic tape allows you to mount lightweight tools and desk accessories directly to your metal desk, freeing up valuable drawer and surface space. Common items suitable for magnetic mounting include plastic pen cups, rulers, remote controls, small calculators, and lightweight trays. Before applying the tape, assess the weight of the accessory and compare it to the holding power of your magnetic tape. As a general rule, heavier items require a larger surface area of magnetic tape to distribute the load and prevent the item from sliding down vertical surfaces due to gravity.
To apply the tape, identify flat, non-functional areas on the back or bottom of the accessory. It is crucial to avoid covering battery compartments, buttons, labels, or moving parts that you may need to access later. If the back of the accessory is slightly curved or recessed, standard flat magnetic tape may not make sufficient contact; in these cases, you can layer pieces of tape to build up the thickness, or choose a thicker foam-backed magnetic tape that conforms to minor surface irregularities. Cut the tape to fit the flat zones of the accessory, peel the backing, and press it firmly into place, holding it for thirty seconds to secure the adhesive bond.
Before fully trusting the magnetic mount, perform a gentle test to ensure the accessory is stable and will not slide or detach during daily use. Place the item on the desired spot on your metal desk, such as the side of a steel drawer cabinet or the front face of a desk leg. Gently tap or nudge the accessory to simulate accidental bumps; if it slides downward or tilts easily, the magnetic force is insufficient for the item’s weight. You can resolve this by adding more strips of magnetic tape to increase the contact area, or by switching to a high-strength anisotropic magnetic tape. For items that are frequently handled, such as a remote control, ensure the magnetic hold is strong enough to keep the base secure while allowing you to pull the item away without peeling the tape off the accessory itself.
Troubleshooting and Maintenance Tips
Even with careful planning, you may encounter challenges such as a weak magnetic hold, peeling adhesive, or the need to reconfigure your setup. A weak magnetic hold is often caused by factors other than the tape itself, such as a thick powder coating, heavy paint layers, or a laminate veneer on your metal desk. These coatings create an “air gap” between the magnet and the underlying steel, which exponentially reduces the magnetic attraction. If your desk has a thick finish, standard magnetic tape may struggle to hold; you can overcome this by using a stronger, thicker anisotropic tape, or by applying a matching strip of magnetic tape directly to the desk surface, aligning the opposite poles (“north and south”) so they pull together with maximum force.
Adhesive failure on cables is another common issue, particularly with cables made of silicone, rubber, or low-surface-energy plastics that naturally resist adhesives. If the magnetic tape repeatedly peels off a cable despite proper cleaning, you can use an intermediary mounting method. Apply the magnetic tape to a small plastic cable tie mount or a plastic cable clip, and then secure that clip to the cable. Alternatively, you can wrap a tight layer of high-adhesion electrical tape or heat-shrink tubing over the cable first, and then apply the magnetic tape to that new, more adhesive-friendly surface.
Over time, you may need to remove or reposition your magnetic tape, which requires careful handling to avoid damaging your desk’s finish or your accessories. To remove magnetic tape, gently peel it back from one corner at a very shallow angle; pulling straight up can bend or damage thin metal panels or tear plastic casings. If the adhesive is stubborn, use a hair dryer on a low, warm setting to gently heat the tape for ten to fifteen seconds, which softens the adhesive and allows it to release cleanly. Any remaining sticky residue can be easily dissolved by applying a small amount of isopropyl alcohol or a mild, citrus-based adhesive remover to a microfiber cloth and rubbing the area gently until the surface is smooth and clean.
Frequently Asked Questions (FAQ)
Can magnet tape damage my metal desk or cables?
Magnetic tape is generally very safe to use on metal desks and standard cable jackets, as the magnetic field itself is too weak to cause any structural or electrical damage. However, physical damage can occur if you drag a magnet across a painted or powder-coated desk surface, as trapped dust or metal particles underneath the tape can act as an abrasive and scratch the finish. To prevent this, always lift the magnetic cables or accessories to reposition them rather than sliding them along the metal surface. On the cable side, the adhesive backing is safe for standard PVC and nylon jackets, but it is always wise to test a small, inconspicuous section of the cable first to ensure the adhesive does not react with or discolor the material over time.
How do I remove magnet tape without leaving residue?
Removing magnetic tape cleanly requires a patient approach to ensure the adhesive backing does not tear or leave a stubborn film behind. Start by lifting one edge of the tape with your fingernail or a flat plastic tool, such as an old credit card, and peel it back slowly at a sharp angle. If the tape resists, apply gentle heat from a hair dryer on its lowest setting to soften the adhesive layer before peeling. Once the tape is removed, any leftover residue can be wiped away by dampening a microfiber cloth with isopropyl alcohol or a dedicated adhesive remover, rubbing in gentle circular motions until the metal desk or accessory surface is completely clean and restored.
Community discussion
Share your experience or ask a question. Comments are reviewed before publication.