
Organizing a workspace is essential for productivity, especially in compact home offices or study corners in Singapore where desk space is at a premium. Utilizing the metal frames of standing desks, steel modesty panels, or metal drawer units offers an excellent way to clear clutter. Magnet adhesive provides a damage-free, highly customizable solution to mount cable clips, pen holders, and small trays directly onto these metal surfaces. By understanding how to properly prepare, apply, and cure these adhesives, you can build a streamlined, modular desk setup that keeps your essential stationery within arm’s reach.
Assessing Your Metal Desk and Accessories
Before purchasing any materials, you must verify that your desk components are actually ferromagnetic. Many modern office desks feature aluminum frames or specific stainless steel alloys that do not attract magnets. You can easily test this by taking a standard household magnet and placing it against the target surface. If the magnet clings firmly, the surface is suitable for magnetic mounting; if it slides off or shows no attraction, you will need to find an alternative mounting location.
Next, evaluate the physical characteristics of the accessories you plan to mount. Lightweight items like plastic cable organizers, silicone cord holders, and small acrylic pen cups are ideal candidates for magnet adhesive. Larger or heavier items, such as metal document trays or fully loaded power strips, require a much higher magnetic pull force to stay secure. Overloading a weak magnet can cause your accessories to slide down the desk frame, potentially damaging your items or the desk finish.
Products mentioned in this guide
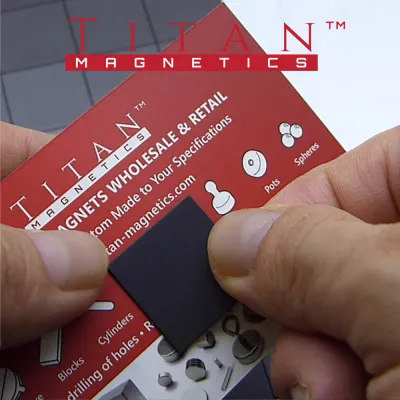
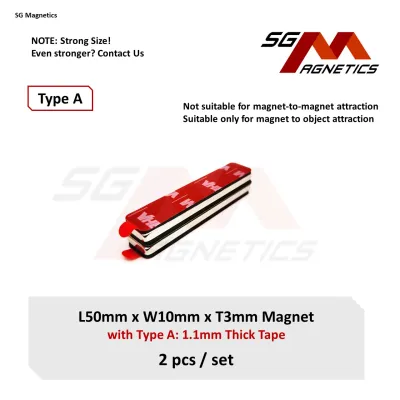
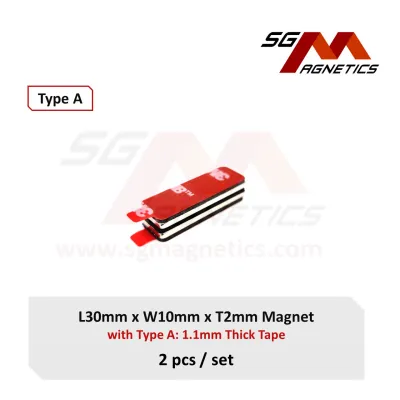
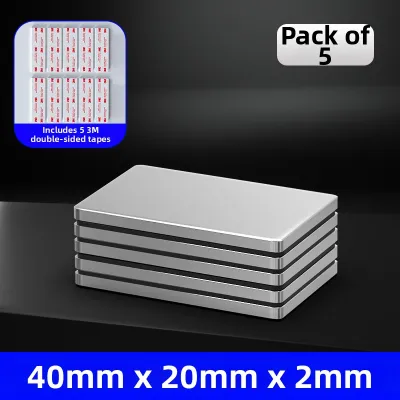
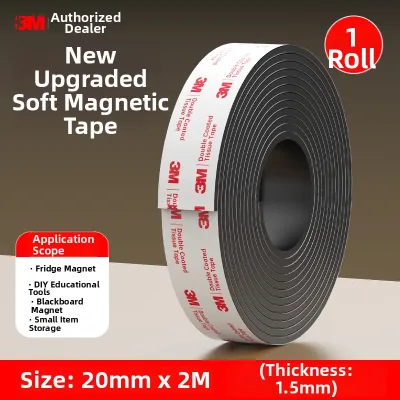
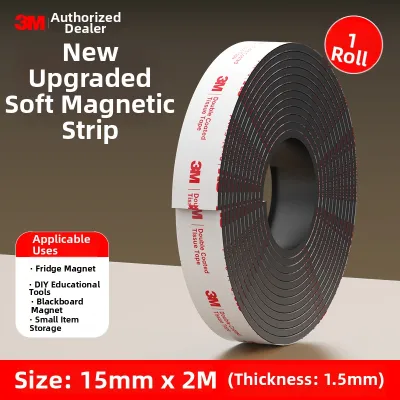
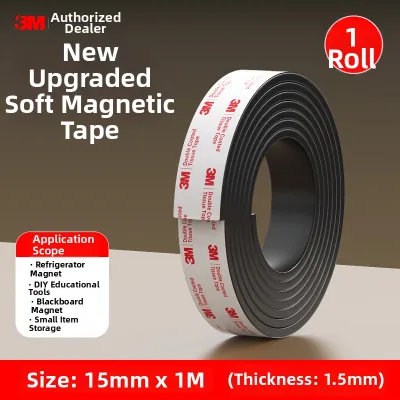
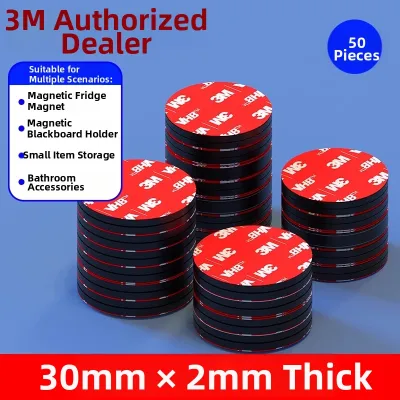
Prices are valid at publication and may change. Please refer to the product page for the latest price.
Always check the manufacturer labels on both your desk and the adhesive products. Look for specifications regarding maximum weight capacities and recommended surface types. Some adhesives are formulated specifically for smooth plastics, while others bond better to wood or metal. Ensuring compatibility between the accessory material, the adhesive backing, and the magnetic strength prevents unexpected failures.
Gathering the Right Tools and Materials
To achieve a clean and reliable installation, you need to select the right format of magnet adhesive. These products generally come in three main styles: flexible magnetic tape rolls, pre-cut magnetic dots, and heavy-duty magnetic strips. Tape rolls are highly versatile because you can cut them to custom lengths, making them perfect for long cable channels. Magnetic dots work well for small, lightweight items like individual cable clips, while thick, heavy-duty strips are best for wider organizers that require a stronger grip.

Proper surface preparation requires specific cleaning supplies to ensure a strong chemical bond. Gather a bottle of 70% isopropyl alcohol and a clean, lint-free microfiber cloth. Avoid using standard household glass cleaners or soapy water, as these often leave behind thin chemical films that prevent the adhesive from bonding fully to the surface.
Finally, assemble your measuring and cutting tools. A standard ruler or measuring tape helps you match the adhesive size to the accessory base. Use a pair of sharp utility scissors or a craft knife to make clean, straight cuts. When using sharp blades, always cut on a stable, protected surface and slice away from your body to prevent accidental slips. Keep these cutting tools out of reach of children and pets during your project.
Preparing the Metal Surface for Adhesion
The longevity of any adhesive bond depends heavily on the cleanliness of the receiving surface. Dust, airborne grease, and natural skin oils accumulate quickly on desk frames, creating a barrier that prevents the adhesive from making direct contact with the metal. Dampen your microfiber cloth with isopropyl alcohol and thoroughly wipe down the exact area where you plan to mount your accessories.
After cleaning, allow the metal surface to dry completely. In warm, humid climates like Singapore, moisture can easily linger on metal surfaces or become trapped beneath the adhesive layer. Trapped moisture not only weakens the adhesive bond over time but can also lead to localized rust or oxidation on steel frames. Waiting a few minutes ensures that the alcohol has fully evaporated, leaving a bone-dry, pristine surface.
Take a close look at the finish of your metal desk. Smooth, factory-applied powder coatings and high-gloss paints generally provide excellent adhesion. However, heavily textured, matte, or powder-coated finishes with a rough grain reduce the contact area for the adhesive, leading to a weaker bond. If the paint on your desk is already peeling, cracked, or showing signs of rust, avoid applying adhesive directly to those areas, as the weight of the accessory could pull the remaining paint off the metal.
Step-by-Step Application and Curing Process
Begin by measuring the base of the accessory you want to mount. Cut a piece of magnet adhesive that matches these dimensions precisely. It is important to avoid any overhanging edges; if the adhesive strip is wider than the accessory, the exposed sticky side will collect dust, lint, and hair, which gradually compromises the edges and causes the strip to peel away.
Once cut, carefully peel away the protective paper backing from the adhesive side of the magnet. Avoid touching the exposed adhesive with your bare fingers, as skin oils will instantly reduce its stickiness. Align the strip with the base of your accessory, then press down firmly. Apply even, continuous pressure across the entire length of the strip for at least 30 seconds to activate the pressure-sensitive adhesive.
Ensure you have oriented the materials correctly before pressing them together. The sticky adhesive side must bond directly to the non-magnetic accessory (such as a plastic cable clip or wooden tray), leaving the dark, magnetic face exposed. This exposed magnetic side will face outward, allowing it to cling to the metal desk frame.
Do not rush to mount your accessories immediately after application. Pressure-sensitive adhesives require a specific curing period to reach their maximum bonding strength. While the bond might feel secure right away, hanging heavy items too early can cause the adhesive to fail. Refer to the manufacturer’s instructions for exact curing times, which typically range from 24 to 72 hours. Keep the accessory on a flat surface during this curing phase to allow the chemical bond to mature undisturbed.
Mounting, Testing, and Safe Removal
After the adhesive has fully cured on your accessory, you can mount it to your metal desk. Gently place the magnetic side against the metal surface and observe how it holds. Test the grip by gradually adding your items, such as inserting cables into a clip or placing pens into a holder. If the accessory slides or tilts, the magnetic pull may be insufficient for the weight, or the metal desk frame may be too thin to support a strong magnetic field.
While the adhesive backing is permanent, the magnetic connection itself is completely modular. You can slide, reposition, or remove the accessory from the metal desk as often as you like without causing any wear to the desk surface. However, if you need to reposition the adhesive backing on the accessory itself, do not attempt to peel it off and reuse it, as this will destroy the adhesive layer.
If you eventually decide to remove the magnet adhesive from an accessory or a painted desk component, use safe removal techniques to prevent scratches. Slide a piece of dental floss or thin nylon thread behind the adhesive layer and use a gentle sawing motion to cut through the foam backing. For stubborn residues, apply gentle heat using a hairdryer on a low setting to soften the adhesive, making it easier to peel away. Avoid using metal scrapers, razor blades, or harsh chemical solvents that can scratch or discolor the desk finish.
Once the bulk of the adhesive is removed, clean up any remaining sticky residue. A small amount of isopropyl alcohol or a dedicated adhesive remover applied to a microfiber cloth will dissolve the leftover glue. Wipe the area clean and dry it thoroughly to restore the original look of your desk or accessory.
Troubleshooting Common Adhesion Issues
If you notice your mounted accessories sliding down the metal surface, the issue is usually a mismatch between the weight of the item and the magnetic surface area. You can resolve this by increasing the amount of magnet adhesive applied to the back of the accessory, which distributes the weight over a larger magnetic field. Alternatively, reduce the load by removing unnecessary items from the organizer.
Peeling edges on the adhesive backing are typically caused by improper surface preparation, uneven pressure during application, or exceeding the weight limit. If an edge begins to lift, it will continue to peel as dust gets trapped underneath. The best solution is to peel the entire strip off, clean both the accessory and the desk surface again, and apply a fresh piece of magnet adhesive using firm, even pressure.
In some cases, magnet adhesive may not be the right solution for your specific setup. If you are dealing with exceptionally heavy items, highly textured powder-coated steel, or non-magnetic aluminum frames, the bond may repeatedly fail. When troubleshooting reveals that magnetic mounting is insufficient, consider switching to alternative damage-free methods, such as heavy-duty suction cups, clamp-on desk organizers, or silicone-based gel pads designed for easy removal.
Frequently Asked Questions (FAQ)
Can magnet adhesive damage the paint or finish on my metal desk?
The magnetic side of the strip is completely safe and will not damage your desk’s paint or finish. However, if you apply the adhesive backing directly to a painted metal surface, there is a risk of damage during removal. If the paint is already chipped, thin, or poorly bonded to the metal, peeling the adhesive off can pull the paint away. To prevent this, always test a small, hidden area of your desk first, or stick the adhesive side to your accessories and let only the magnetic face touch the desk.
How long should I wait before hanging heavy organizers on the magnetic mount?
You should wait for the adhesive to cure completely before subjecting it to any weight. While some light cable clips can be used after a few hours, heavier organizers require a full cure. Most manufacturers recommend waiting 24 to 72 hours for the pressure-sensitive adhesive to establish a permanent bond with the accessory. Loading the mount too early can cause the adhesive to stretch and peel away from the accessory base.
Is magnet adhesive reusable once it has been applied to an accessory?
The magnetic component of the strip is infinitely reusable and can be moved around your metal desk as needed. However, the adhesive backing is designed for single-use application. Once you peel the adhesive off an accessory, the sticky layer loses its structural integrity and will not bond securely a second time. If you want to move the magnet to a different accessory, you must scrape off the old adhesive and apply a fresh piece of double-sided mounting tape.
Community discussion
Share your experience or ask a question. Comments are reviewed before publication.