
Gouache paint is a favorite medium among designers and illustrators due to its rich opacity, vibrant pigments, and signature matte finish. Unlike watercolor, which relies on transparent washes, gouache allows you to build solid blocks of color that mimic the clean look of digital vector art. Achieving a perfectly flat, streak-free surface requires a systematic approach to material selection, paint preparation, and application. By mastering these traditional techniques, you can create physical artwork that transitions seamlessly into digital design layouts.
Choosing the Right Paper, Brushes, and Palette for Flat Colors
To achieve a smooth, opaque finish, your choice of painting surface is critical. Heavyweight paper of at least 300 gsm prevents buckling and warping when wet paint is applied. Hot-press paper is highly recommended for design projects because its smooth, untextured surface allows the brush to glide effortlessly, preventing paint from pooling in textured crevices. Ensure the paper is well-sized, as this controls water absorption and keeps the pigment sitting evenly on the surface.
Your brushes must be capable of holding a consistent amount of moisture and releasing paint evenly. Soft synthetic brushes, such as those made from synthetic sable, offer the ideal balance of flexibility and spring. Flat or chisel-edge brushes are perfect for laying down broad, uniform color blocks and establishing clean borders, while round brushes with sharp points handle fine details. Avoid stiff bristle brushes, which can scratch the paint layer and leave visible brush marks.
Products mentioned in this guide
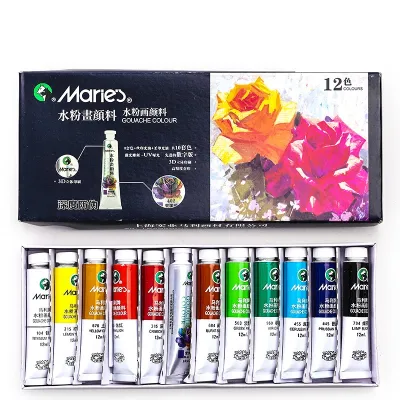
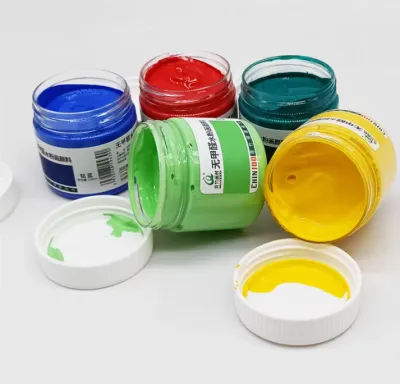
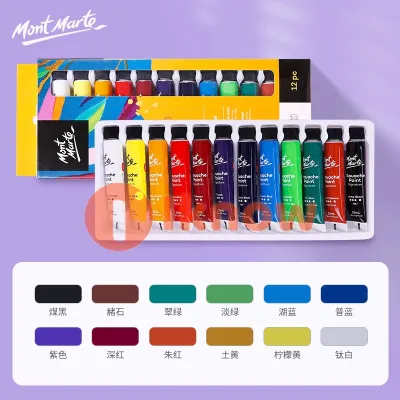
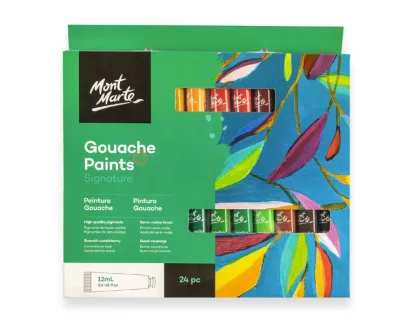
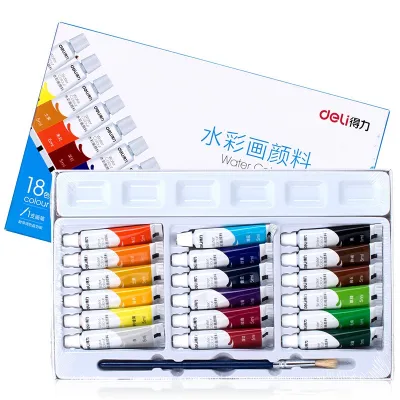
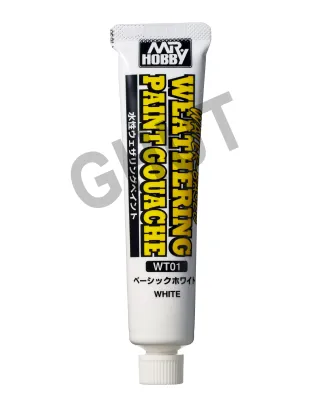
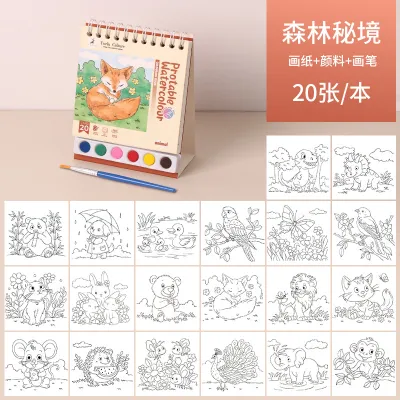
Prices are valid at publication and may change. Please refer to the product page for the latest price.
The palette you use also plays a significant role in maintaining paint consistency. Non-porous surfaces like ceramic plates, glass sheets, or heavy-duty plastic palettes are ideal because they do not absorb water from your mixture. Ceramic and glass are particularly effective at keeping the paint wet for longer periods, making it easier to work with custom color mixes without them drying out prematurely.
Preparing Line Art and Mixing Paint for Smooth Application
Before applying any paint, you must prepare your design surface carefully. Heavy graphite pencil lines can easily smudge and blend into wet gouache, ruining the purity of light colors. Sketch your design lightly using a hard pencil, such as a 2H, or transfer your layout using light-colored transfer paper. Alternatively, trace your design using a light box to keep the final painting surface free from eraser damage, which can alter how the paper absorbs moisture.

The water-to-paint ratio is the single most important factor in achieving a flat, streak-free finish. Straight from the tube, gouache is too thick and will leave heavy, uneven ridges. If you add too much water, the paint becomes transparent and patchy. Aim for a smooth, creamy consistency similar to heavy cream or melted ice cream; the paint should flow easily from your brush while remaining completely opaque.
When working on illustrations that require large areas of a single color, always mix more paint than you think you will need. Matching a custom color later is incredibly difficult because gouache shifts in value as it dries—light colors typically dry darker, while dark colors dry lighter. Mixing a generous batch in a small, airtight container ensures color uniformity across your entire design project.
Applying Paint for Clean, Opaque, and Streak-Free Layers
To begin painting, load your brush by dipping it into the mixed paint, ensuring the bristles are evenly coated but not filled up to the metal ferrule. Gently wipe any excess paint on the edge of your palette. An overloaded brush will pool and create thick ridges on the paper, while an underloaded brush will run dry mid-stroke, leaving scratchy, uneven textures.
When applying the paint, work systematically to maintain a “wet edge” across the paper. Always paint from wet areas into dry areas, keeping your brush strokes overlapping slightly. If you paint next to an area that has already started to dry, the moisture from your brush will reactivate the dry paint, resulting in dark seams or patchy textures. Work quickly and deliberately to cover each color block in a single, continuous session.
For clean, vector-style edges, you can rely on precise brush control or masking techniques. Low-tack artist’s tape is excellent for masking off straight borders; press the edges down firmly to prevent paint from bleeding underneath, and peel it away slowly once the paint is dry. For organic shapes, practice pulling the flat edge of a chisel brush along your pencil lines, maintaining consistent hand pressure to keep the borders sharp and defined.
Troubleshooting Cracking, Streaking, and Reactivation Issues
If your paint cracks as it dries, the layer was applied too thickly. Gouache is brittle when dry, so thick applications will inevitably fracture. To resolve this, dilute your paint slightly more or apply multiple thin layers instead of one heavy coat. If you are using student-grade paint that lacks sufficient binder, adding a tiny drop of gum arabic medium to your mixture can improve flexibility and adhesion.
Streaky or patchy coverage is usually caused by an uneven water-to-paint ratio or inconsistent brush pressure. If you notice streaks after the paint dries, do not try to patch them while the paint is wet. Let the layer dry completely, then apply a second, slightly thicker layer perpendicular to the direction of your first strokes. This cross-hatching technique fills in thin spots and evens out the overall color value.
Because gouache is water-soluble, applying a new layer over a dry one can easily reactivate the bottom color, causing them to bleed together. To prevent this, ensure the base layer is entirely dry. When layering, use a soft brush loaded with plenty of paint, and apply it with a light, swift stroke. Avoid scrubbing or repeatedly brushing over the same spot, which will inevitably disturb the underlying paint.
Scanning and Digitizing Your Illustration for Design Projects
Once your painting is completely dry, use a flatbed scanner to capture the artwork. Scan the illustration at a minimum of 300 DPI, or 600 DPI if you plan to enlarge the design. Avoid using a camera under standard room lighting, as this can introduce uneven gradients and shadows across the matte paint surface. Set your scanner to a high-quality color profile to capture the true depth and saturation of the pigments.
Open the scanned file in your preferred image editing software to perform a basic digital cleanup. Use levels or curves adjustments to clean up the background, turning the paper white into a pure digital white while keeping the painted colors vibrant. You can use selective color tools to minimize any paper texture that shows through the flat color blocks, ensuring a clean, digital-first appearance.
Save your finalized digital file in a lossless format, such as a TIFF or PSD, to preserve all color and detail. If your design project requires scalable graphics, import the high-resolution raster file into vector illustration software. You can use the automatic image tracing tool optimized for flat colors, or manually trace the shapes with the pen tool to convert your traditional painting into clean, infinitely scalable vector paths.
Frequently Asked Questions (FAQ)
Can I mix gouache with watercolor for flat illustrations?
Yes, you can mix them because they share a gum arabic binder, but doing so will alter the opacity of your paint. Adding watercolor to gouache increases transparency, making it much harder to achieve the solid, flat-color blocks required for design projects. For clean, vector-like illustrations, it is best to use pure gouache to maintain maximum opacity and a consistent matte finish.
How do I reactivate dried gouache on my palette?
To reactivate dried gouache, add a few drops of clean water to the palette and let it sit for a minute to soften the paint. Use a palette knife or a stiff brush to thoroughly mix and grind the dried paint back into a smooth, creamy paste. Be careful not to add too much water, as this will make the paint transparent. If the reactivated paint feels thin, mix in a tiny drop of gum arabic to restore its original binding strength and opacity.
Community discussion
Share your experience or ask a question. Comments are reviewed before publication.