
Using an LED writing board—often referred to as an LED light pad or light box—is one of the most effective ways to accelerate your artistic development. By projecting a clean, adjustable light through layers of paper, this tool allows you to clearly see and replicate underlying reference images. Far from being a simple copying tool, a light board serves as an active learning aid that helps build muscle memory, refine line control, and deconstruct complex anatomical and perspective structures. Whether you are a student working in a compact study space in Singapore or an experienced hobbyist looking to clean up rough sketches, mastering this tool can elevate your creative workflow.
To get the most out of your practice sessions, you must understand how to pair the board with the right papers, drawing tools, and physical techniques. This guide covers everything from initial setup and step-by-step tracing workflows to advanced practice exercises that will help you transition your traced work into confident freehand drawing skills.
Essential Tools and Materials for Your Setup
Setting up a highly functional drawing station begins with choosing the right hardware and matching it with compatible stationery. The synergy between your light source, paper weight, and drawing media directly impacts both the ease of tracing and the quality of your final artwork.
Products mentioned in this guide
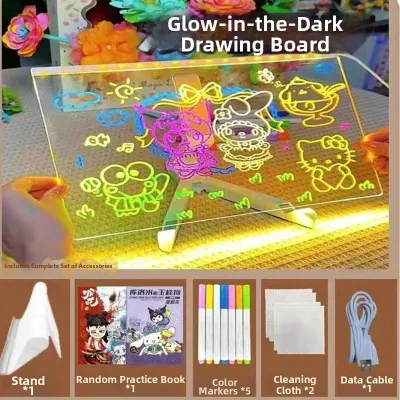
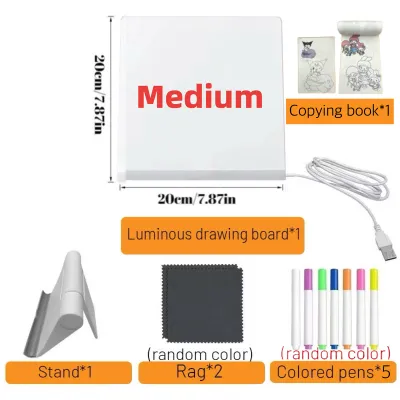
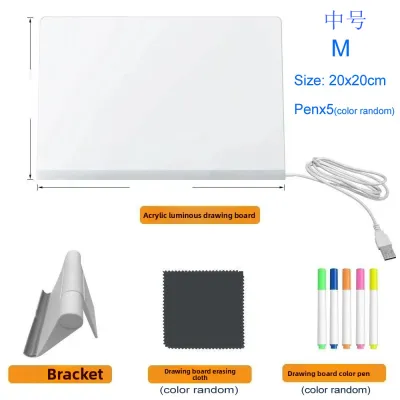
![[SG STOCK] Reusable LED Drawing Board DIY Luminous Acrylic Message Memo Note Pad Night Light Kids Writing Gift发光画板](https://img.lazcdn.com/g/p/4f49319070b36c6e7ba9cbce60944690.jpg_400x400q80.jpg_.webp)
Prices are valid at publication and may change. Please refer to the product page for the latest price.
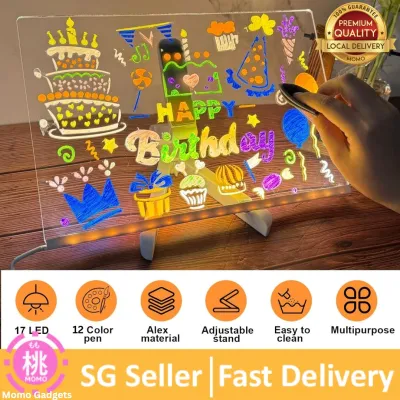
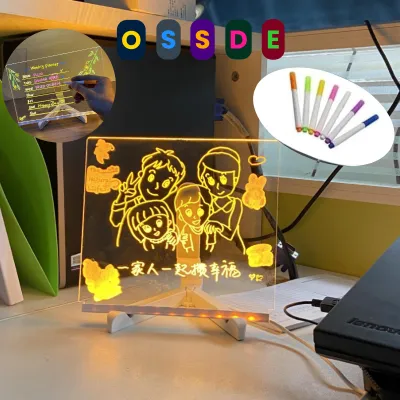
- The LED Writing Board: These devices are typically categorized by standard paper dimensions, with A4 (approximately 210 x 297 mm) and A3 (approximately 297 x 420 mm) being the most common. An A4 board is highly portable and fits comfortably on smaller desks, making it excellent for quick studies. An A3 board offers a larger workspace for expansive landscape drawings or architectural layouts. Look for a model that features adjustable brightness levels—either step-less dimming or multiple preset levels—so you can customize the light output to match your paper thickness and ambient room lighting.
- Paper Selection: Paper weight, measured in Grams per Square Metre (GSM), dictates how much light can pass through the sheets. Standard printer paper (around 70 to 80 GSM) or dedicated tracing paper (typically 50 to 60 GSM) are ideal choices because they allow the LED light to easily illuminate the reference lines underneath. Conversely, heavy cardstock (160 GSM and above) or thick watercolor paper (300 GSM) will block the light, rendering the board ineffective. Before committing to a project, hold your chosen paper up to the turned-on board to verify that you can clearly see the reference details through it.
- Reference Materials: Your reference can be a printed line drawing, a high-contrast photograph, or a custom template. If you are using a printed reference, ensure the lines are dark and clear. While some artists attempt to trace directly from digital screens, a physical printout placed on an LED board provides a more stable, pressure-resistant surface that protects your digital devices from scratches.
- Securing Tools: To prevent your papers from shifting mid-drawing, you must secure them firmly. Low-tack masking tape, Japanese washi tape, or specialized drafting dots are excellent choices because they hold the paper securely but peel off easily without tearing the fibers. Flat binder clips can also be used along the edges of the board, provided they do not obstruct your drawing hand.
- Drawing Implements: Choose drawing tools that glide smoothly over the paper surface without requiring heavy downward pressure. For pencil work, smooth graphite pencils in the HB to 2B range are highly recommended. Avoid extremely hard pencils (such as 4H or 5H), as their sharp, rigid tips can dent the paper and scratch the underlying acrylic surface. If you prefer inking, opt for fine-liners or felt-tip pens with quick-drying, bleed-resistant ink.
Step-by-Step Guide to Tracing on an LED Writing Board
To achieve clean, accurate results while protecting your equipment, follow a systematic approach to setting up, layering, and executing your drawing.

Step 1: Environment and Power Setup
Place your LED writing board on a flat, stable, and ergonomic desk. Connect the board to a reliable power source using its USB cable; using a portable power bank is a convenient option if you prefer drawing away from wall outlets. Adjust the ambient lighting in your room so it is comfortably dim. This reduces glare on the board’s acrylic surface, making the backlit reference much easier to see. Turn on the board and set the brightness to a low-to-medium level before placing any paper down.
Step 2: Layering and Securing
Lay your printed reference image face-up on the center of the active light area. Secure the top two corners of the reference to the board using small pieces of low-tack tape. Next, place your blank drawing paper directly over the reference, aligning it precisely. Secure the top edge of this drawing paper with tape as well. By taping only the top edges, you create a hinge system. This allows you to lift the drawing sheet at any time to check your progress without losing your registration alignment.
Step 3: The Tracing Technique
Hold your pencil or pen with a relaxed, comfortable grip. Avoid pressing down heavily on the board, as excess pressure can damage the internal light-diffusing layers of the panel. Use light, confident, continuous strokes rather than short, sketchy lines. Because the humid climate in Singapore can cause hands to perspire, place a clean scrap piece of paper under your drawing hand. This simple barrier prevents your hand from smudging completed sections, keeps moisture off the paper, and allows your wrist to glide smoothly across the surface.
Step 4: Adjusting for Complex References
As you work, you may encounter areas of your reference that are highly detailed or dark. Gradually increase the board’s brightness to illuminate these dense sections. If you are tracing simple, high-contrast line art, lower the brightness to prevent eye strain. Finding the optimal light balance ensures you can see fine details clearly without forcing your eyes to adjust to an overly intense light source.
Step 5: Verification and Cleanup
Before removing any tape, gently lift the bottom edge of your drawing paper while keeping the top taped edge firmly in place. Inspect your drawing against a dark background to verify that you have successfully transferred all the necessary lines. Once you are satisfied, slowly peel the low-tack tape away from the board and paper at a shallow angle. This slow, careful removal prevents paper tears and minimizes adhesive residue on the acrylic panel.
Active Drawing Practice: Moving Beyond Simple Tracing
An LED writing board is far more than a tool for copying; it is a powerful training device. By shifting your focus from passive tracing to active analysis, you can use the board to deconstruct complex artistic concepts and rapidly improve your freehand drawing abilities.
Studying Anatomy and Proportions
Instead of simply tracing the outer contour lines of a human figure or animal photograph, use the light board to analyze the underlying structure. Overlay a clean sheet of paper and sketch the simplified skeletal framework, the orientation of the shoulders and pelvis, the center line of balance, and the basic geometric volumes (such as spheres, cylinders, and boxes) that make up the body. Once you have mapped out this structural breakdown, turn off the light board or slide the reference photo out. On a fresh sheet of paper, attempt to draw the final muscle volumes and details freehand, using your traced structural guide as a reference. This practice loop builds a deep, intuitive understanding of three-dimensional form.
Analyzing Perspective and Composition
Place a complex architectural photograph or a landscape scene on your board. Use a ruler and a fine-liner to trace the horizon line, locate the vanishing points, and map out the primary perspective grid lines. Physically tracing these invisible mathematical lines trains your eyes to recognize how objects scale, tilt, and distort as they recede into the distance. You can also use this technique to overlay composition grids, such as the rule of thirds or the golden spiral, over masterworks to analyze how professional artists organize their visual elements to guide the viewer’s eye.
Refining Line Weight and Inking
If you have a rough, messy pencil sketch filled with construction lines, eraser marks, and correction strokes, the light board is the perfect tool for creating a pristine final version. Place your rough sketch on the board, overlay a sheet of premium drawing paper, and turn on the light. Because you can see your original sketch clearly through the top sheet, you can focus entirely on executing clean, confident ink lines without the distraction of underlying pencil marks. Practice varying your line weight intentionally: use thicker lines for foreground elements, areas in deep shadow, and outer contours, while using thinner lines for fine details, textures, and highlights. This separation of the planning and execution phases yields highly polished, professional results.
Common Mistakes, Limitations, and Eye Care
To ensure your drawing sessions remain productive, safe, and enjoyable, you must be aware of common practice pitfalls, equipment limitations, and proper physical ergonomics.
- The "Crutch" Trap: Relying exclusively on tracing for your final artwork without practicing freehand drawing can stunt your long-term artistic growth. If you only copy outlines, you miss out on learning how to translate real-world three-dimensional objects onto a two-dimensional page. Always balance your tracing exercises with active freehand sketching, life drawing, and observational practice.
- Paper and Media Limitations: The acrylic surface of an LED writing board is durable but susceptible to physical and liquid damage. Avoid using sharp tools, such as metal styluses or hard drafting compasses, directly on the paper over the board. Additionally, keep wet media like heavy watercolor washes, gouache, or wet inks away from the device. Because ink and paper performance vary based on humidity and composition, always perform a quick trial on a scrap piece of paper first to verify drying speed and bleed resistance. This prevents wet ink from seeping through the paper and staining the board or the reference. If liquid seeps into the unsealed edges of the board, it can permanently damage the internal electronic components.
- Eye Strain Prevention: Staring directly at a backlit surface for hours can cause digital eye strain, headaches, and dry eyes. To mitigate this, implement the 20-20-20 rule: every 20 minutes, look away from your board at an object at least 20 feet (about 6 meters) away for at least 20 seconds to allow your eye muscles to relax. Never use the board in a pitch-black room; ensure your workspace has comfortable ambient lighting to reduce the high contrast between the bright screen and your surroundings.
- Surface Maintenance: Dust, oils from your hands, and graphite powder can accumulate on the acrylic screen over time. Clean the surface regularly using a dry or slightly damp microfiber cloth. For stubborn smudges, use a tiny drop of mild dish soap diluted in water. Strictly avoid using harsh chemical solvents like acetone, isopropyl alcohol, or abrasive household scrubbers, as these will chemically react with the acrylic, leaving a permanently cloudy, scratched surface that ruins the light diffusion.
Frequently Asked Questions (FAQ)
Can I use watercolor or heavy cardstock on an LED writing board?
Heavy cardstock and thick watercolor papers (typically 160 GSM to 300 GSM) are generally too dense for standard LED writing boards, as their thick fibers block the light and make it impossible to see your reference image. Furthermore, wet media like watercolor require significant amounts of water, which poses a severe risk of warping your paper and seeping into the unsealed edges of the electronic light pad. For watercolor projects, it is highly recommended to trace your clean outline onto lighter, compatible paper first, and then transfer that outline to your watercolor paper using graphite transfer paper.
Is tracing considered cheating in art?
Tracing is not cheating; it is a standard, highly efficient technique used by professional animators, illustrators, and designers worldwide to transfer sketches, speed up workflows, and maintain stylistic consistency. The ethical boundary depends entirely on how the technique is applied. Tracing another artist’s copyrighted work and presenting it as your own original creation is unethical. However, using tracing as a deliberate learning tool to study anatomy, analyze perspective grids, or clean up your own rough sketches is a highly respected and effective educational practice.
How do I remove stubborn tape residue from the acrylic surface?
To safely remove sticky residue left behind by tape, apply a small amount of mild dish soap or an acrylic-safe adhesive remover to a clean microfiber cloth and gently rub the affected area in circular motions. Once the residue is gone, wipe the surface with a slightly damp cloth to remove any soap film, then dry it thoroughly. Never use rubbing alcohol, nail polish remover (acetone), or abrasive scrubbing pads on your board, as these harsh chemicals and materials will permanently cloud, crack, or scratch the light-diffusing acrylic panel.
Community discussion
Share your experience or ask a question. Comments are reviewed before publication.