
Using a yarn winder properly transforms loose hanks and messy skeins into neat, stackable, centre-pull cakes that feed smoothly during your knitting or crochet projects. Achieving a stable cake requires matching your winding speed and tension to the specific weight and fibre profile of your yarn. By securing your equipment correctly, threading the yarn along a clear path, and adjusting your physical technique for delicate lace or heavy bulky yarns, you can prevent tangles, avoid stretching fragile fibres, and protect your winder from mechanical strain.
Setting Up Your Yarn Winder and Workspace
A stable workspace is the foundation of successful yarn winding. Begin by selecting a sturdy, flat table or countertop with a clean edge that allows the winder’s clamp to grip securely. Tighten the clamp until the unit does not wobble when you turn the crank handle, but avoid over-tightening, which can crack plastic housings or damage delicate wooden table finishes. Placing a thin piece of felt or a silicone coaster between the clamp and the wood can provide grip while protecting the furniture.
Once the base is secure, inspect the moving parts of your yarn winder. Verify that the yarn guide and tension arm are fully extended and locked into their designated positions. Check that the central spindle is clean, properly aligned, and free of any residual fibres, dust, or manufacturing oils that could snag your yarn. A misaligned guide or a loose spindle will cause the yarn to wind unevenly, leading to lopsided cakes that collapse as soon as they are removed from the machine.
Products mentioned in this guide
![[SG] Yarn Winder Knitting Yarn Ball Winder for Crocheting & Knitting – Manual Wool Yarn Cone Ball Winder Quick Quiet Yarn](https://img.lazcdn.com/g/p/531a319b10be5c4a78de7aff819397f8.jpg_400x400q80.jpg_.webp)
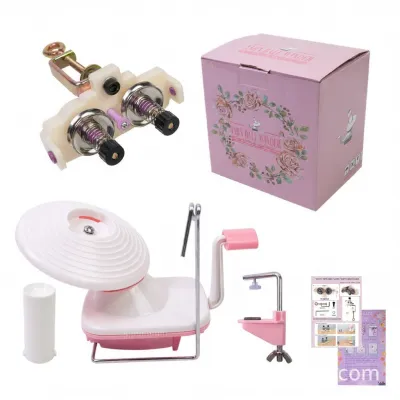
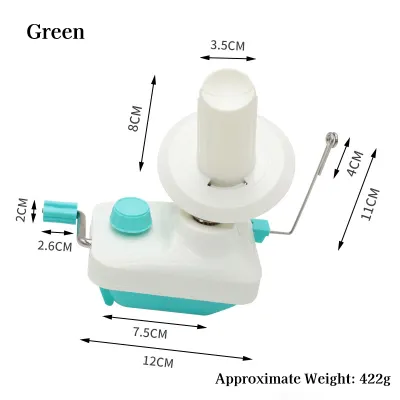
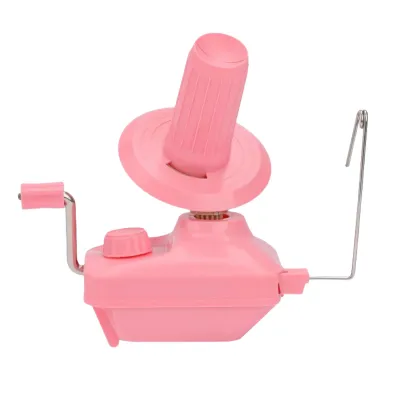
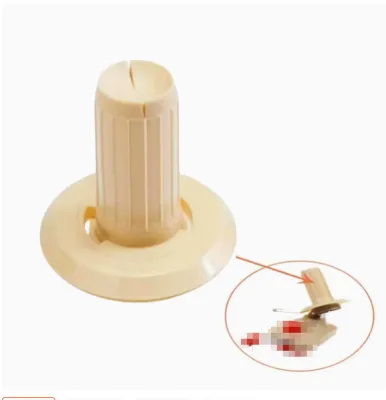
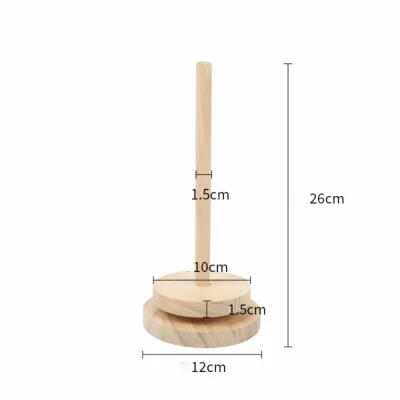
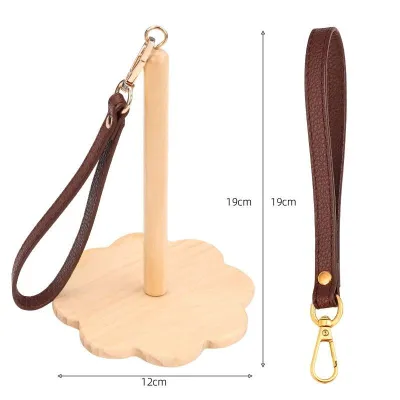
Prices are valid at publication and may change. Please refer to the product page for the latest price.
Next, position your yarn source to ensure an uninterrupted feed. If you are winding from a hank, place it onto a yarn swift, adjusting the swift’s diameter so the loop is held under light, even tension. Position the swift approximately one to two feet away from the winder, ensuring the path between the two tools is completely clear of obstacles. If you are winding from an existing commercial skein or ball, place it in a smooth bowl or on a clean floor space where it can roll freely without catching on table legs or rug fibres.
Step-by-Step Guide to Winding a Centre-Pull Cake
To begin winding, locate the outer end of your yarn and thread it through the loop of the tension guide arm. Pull several inches of yarn through the guide and secure the tail firmly into the notch or slot at the top of the winder’s central spindle. Leave about three to four inches of the tail hanging out of the top so it does not get swallowed up or wound over as the cake builds.

Hold the yarn tail lightly against the spindle with one hand while using your other hand to slowly turn the crank handle clockwise. Rotate the handle at a gentle, deliberate pace for the first ten to fifteen revolutions to establish a firm, secure core around the base of the spindle. This initial foundation is critical; if the core is wound too loosely, the entire cake will lack structural integrity and may fall apart from the inside out once removed.
Once the core is established, you can transition to a steady, moderate winding pace. Keep your eyes focused on the yarn as it travels from the source, through the tension guide, and onto the rotating spindle. The yarn should lay down in a consistent, crisscross pattern, building up evenly along the entire height of the spindle. If you notice the yarn slipping off the top edge or pooling heavily at the bottom, stop cranking immediately to check if the yarn guide has shifted or if your feeding angle is too steep.
As you reach the end of the skein, slow down your cranking speed to prevent the final tail from whipping through the tension guide, which can cause sudden tangles or snap delicate fibres. Once the entire length is wound, hold the cake gently with one hand and cut the yarn if necessary, leaving a short tail. Tuck this outer tail securely under one of the outer wraps of the cake to prevent it from unravelling. Carefully lift the completed cake straight up off the spindle, keeping your finger on the centre-pull tail to ensure it remains easily accessible.
Adapting Your Technique for Different Yarn Weights and Fibres
Yarn winding is not a one-size-fits-all process because different fibres and thicknesses react uniquely to tension and speed. A technique that produces a stable cake with sturdy medium-weight acrylic might stretch out delicate silk or jam the gears when applied to a thick, textured wool. Whether you are working with a budget-friendly acrylic skein costing S$5 or a luxury hand-dyed merino hank, adjusting your physical approach based on the material in your hands preserves the yarn’s natural elasticity and ensures a smooth winding experience.
Handling Fine, Lace, and Delicate Fibres
Fine yarns, such as lace-weight threads, mohair, silk, and high-twist merino, require a gentle touch and a highly controlled winding speed. Turning the crank too quickly can generate static electricity or cause these thin, slippery fibres to jump out of the tension guide. A slower, deliberate pace allows you to monitor the feed closely and react instantly if a tiny knot or snag emerges from the swift.
Excessive tension is the primary enemy of delicate, elastic fibres. If the tension guide pulls too tightly, it can permanently stretch the yarn, stripping away its natural loft, bounce, and drape before you even begin knitting. To prevent this, guide the yarn lightly through your fingers before it enters the winder, ensuring there is just enough resistance to keep the line from sagging, but not enough to stretch the fibre.
Additionally, pay close attention to the physical structure of the cake as it forms on the spindle. Fine yarns have a tendency to slip down into the centre cavity or slide off the bottom of the spindle, creating a tangled mess. If you observe the cake starting to bulge unevenly or collapse inward, reduce your winding speed further and check that the yarn guide is properly perpendicular to the spindle base.
Managing Bulky, Chunky, and Textured Yarns
Thick, bulky, and highly textured yarns, such as bouclé, chenille, or single-ply art yarns, present the opposite challenge. These fibres occupy space quickly and can catch on narrow tension guides or rub against the winder’s metal arms. Ensure the yarn feeds smoothly by manually guiding it if the winder’s built-in tension arm is too restrictive for the yarn’s thickness.
When winding bulky yarn, maintain a relaxed, consistent pace to avoid packing the fibres too tightly onto the spindle. An overly dense cake compresses the yarn, which can temporarily alter its gauge and make it difficult to achieve accurate stitch measurements during your project. The cake should feel springy and slightly yielding when squeezed gently; if it feels as hard as a stone, the tension is too high.
It is also important to recognize the physical limits of your specific yarn winder model. Standard home winders are typically designed to hold cakes weighing between 100 to 200 grams of medium-weight yarn. A full skein of bulky or chunky yarn will quickly exceed this volume, causing the outer layers to spill over the sides of the spindle and tangle in the rotating gears below. To prevent mechanical strain and messy tangles, plan to split large or exceptionally thick skeins into two smaller, manageable cakes.
Troubleshooting Common Yarn Winding Issues
Even with careful preparation, issues can arise during the winding process, but most can be resolved with quick adjustments. One of the most frustrating problems is “yarn barf,” which occurs when a large, tangled clump of yarn pulls out from the centre of the cake during use. This usually happens when the initial core is wound too loosely, the centre tail is lost, or the yarn is pulled too aggressively. To prevent this, always ensure the first few wraps around the spindle are snug, and pull the centre tail out gently and vertically when you begin working.
Lopsided or cone-shaped cakes are another common issue, often resulting from inconsistent cranking speeds or a loose winder setup. If you crank the handle in sudden bursts, the tension fluctuates, causing some layers to wrap tightly and others to drape loosely. Ensure your table clamp is securely tightened, maintain a steady rhythm, and verify that the yarn guide arm is fully extended and locked so it does not wobble during operation.
If you ever hear your yarn winder make a grinding, clicking, or popping sound, or if the handle suddenly becomes difficult to turn, stop cranking immediately. Forcing the handle can permanently strip the plastic gears inside the mechanism. These symptoms usually indicate that stray fibres, lint, or a loose strand of yarn have slipped beneath the rotating cone and wrapped around the internal gear shaft. Carefully inspect the underside of the spindle, clear away any caught fibres with a pair of tweezers, and ensure the gears turn freely before resuming.
Cleaning and Maintaining Your Yarn Winder
Regular maintenance keeps your yarn winder operating smoothly and prevents fibre buildup from damaging the internal gears. After completing a winding session, take a moment to clear away any lint, dust, or stray fibre snippets that have accumulated on the spindle, tension arm, and base. A soft-bristled brush is excellent for sweeping out hard-to-reach crevices without scratching the plastic.
Periodically check the manufacturer’s instructions for your specific winder model regarding lubrication and deep cleaning. Some high-end wooden or heavy-duty plastic winders may require a drop of clear machine oil on the metal gear shafts to maintain silent, smooth rotation, while others are designed to run completely dry. Never apply household oils, cooking sprays, or harsh chemical solvents, as these can degrade plastic parts, attract more dust, and transfer unwanted residues onto your precious yarn.
When your projects are complete, store your yarn winder in a dry, temperature-stable environment away from direct sunlight. In humid climates like Singapore, keeping the winder in a closed drawer, plastic storage bin, or its original box protects metal components from rust and prevents plastic housings from becoming brittle. Taking these simple steps ensures your tool remains a reliable companion for many knitting and crocheting adventures to come.
Frequently Asked Questions (FAQ)
Can I wind a centre-pull cake without a yarn swift?
Yes, it is entirely possible to wind a centre-pull cake without a yarn swift, though it requires extra care to prevent tangles. If you do not have a swift, you can drape the open hank of yarn over the back of a smooth chair, around your knees, or have a helper hold the loop around their outstretched hands. The key is to maintain a slow, steady winding speed and manually feed the yarn to ensure it does not snag or pull unevenly as it unravels from the loop.
Why does my yarn cake collapse when I pull from the centre?
A yarn cake typically collapses when the tension used during winding was too loose, or if the yarn itself is highly elastic and slippery. When the inner walls of the cake lack sufficient tension to support themselves, removing the spindle leaves a hollow space that easily caves inward as the yarn is pulled. To prevent this, ensure your initial core wraps are snug, maintain consistent tension throughout the winding process, and store your completed cakes flat on a shelf rather than stacking them vertically.

Community discussion
Share your experience or ask a question. Comments are reviewed before publication.