
A rolled hem foot is a specialized sewing machine attachment that folds the raw edge of the fabric under itself as you stitch, creating a narrow, clean, and professional finish. To use a rolled hem foot for the first time, you must prepare the fabric edge with a small manual fold, feed this fold into the spiral scroll of the foot, and guide the fabric at a consistent angle while maintaining light tension. This technique eliminates the need for tedious manual folding and pressing, allowing you to achieve a delicate, narrow hem on lightweight garments, scarves, and home decor items.
While the process sounds simple, mastering the rolled hem foot requires understanding how the fabric interacts with the metal scroll. Beginners often encounter issues like fabric slipping out of the guide, uneven hem widths, or puckered stitches. By setting up your machine correctly, choosing the right foot size for your fabric weight, and practicing a few key hand-placement techniques, you can consistently produce clean, professional edges on your first try.
Choosing the Right Rolled Hem Foot and Fabric
Selecting the appropriate presser foot size is the first step toward achieving a flawless rolled hem. Rolled hem feet are categorized by the width of the finished hem they produce, typically ranging from 2mm to 6mm. A 2mm or 3mm foot is ideal for very lightweight, sheer fabrics such as chiffon, organza, and silk, where a delicate, barely-visible edge is desired. For medium-weight fabrics like cotton lawn, linen, or light chambray, a 4mm or 6mm foot provides enough clearance for the thicker material to roll smoothly through the scroll without jamming.
Products mentioned in this guide
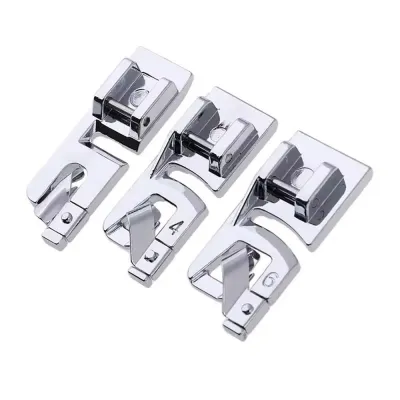
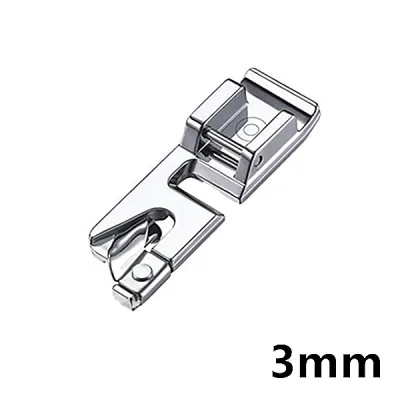
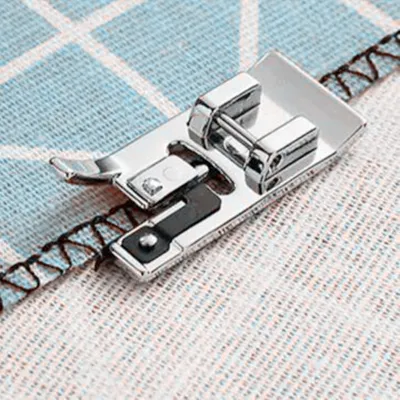
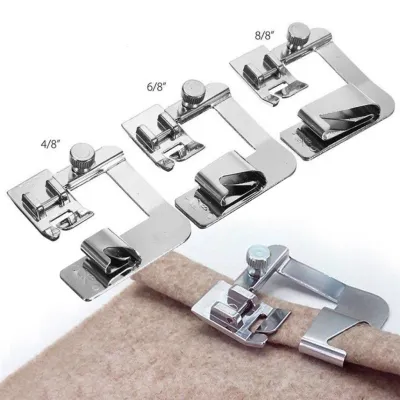
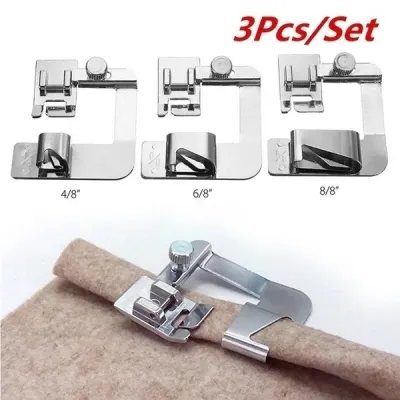
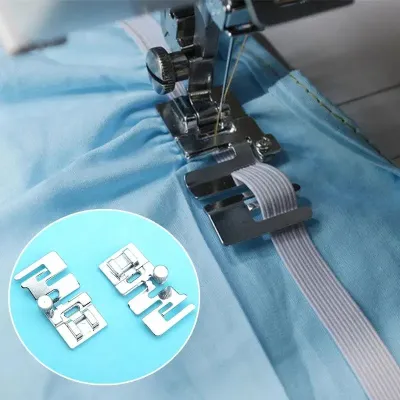
Prices are valid at publication and may change. Please refer to the product page for the latest price.
Before purchasing a rolled hem foot, you must verify its compatibility with your sewing machine’s shank type. Most modern domestic sewing machines use snap-on feet, which easily clip onto the machine’s ankle. However, older or specialized machines may require a screw-on foot designed specifically for low-shank or high-shank configurations. Checking your machine’s manual or measuring the distance from the thumb screw to the needle plate when the presser foot is down will help you identify the correct shank style.
Fabric compatibility is equally critical for successful rolled hemming. Lightweight to medium-weight woven fabrics are the easiest to work with because they hold a crease and slide easily through the metal scroll. Extremely heavy fabrics, such as denim, canvas, or thick wool, are too bulky to fit into the narrow spiral of a standard rolled hem foot and will cause the machine to jam. Similarly, highly stretchy knits or slippery synthetics can easily distort, slip out of the guide, or pucker during the stitching process.
Your initial machine settings must also be adjusted to match the fabric and foot selection. A standard straight stitch is the most common choice for a rolled hem, but a narrow zigzag stitch can also be used, especially on slightly stretchy or delicate fabrics where a bit of give is needed. Set your stitch length to a moderate setting, typically between 2.0mm and 2.5mm. A stitch length that is too short can perforate and weaken delicate fabrics, while a stitch length that is too long may fail to hold the rolled edge securely in place.
Preparing Your Fabric and Machine Setup
Proper preparation of both your fabric and your sewing machine is essential to prevent frustration and ensure a smooth sewing experience. Start by trimming the edge of your fabric to remove any frayed threads, loose fibers, or uneven cuts. A clean, straight edge is vital because any stray threads can easily get caught in the spiral scroll of the foot, leading to unsightly thread nests or causing the fabric to bunch up and jam inside the mechanism.

To help the fabric transition smoothly into the foot at the beginning of your seam, press a preliminary fold into the first few centimeters of the fabric edge. Fold the raw edge under by the width of your chosen hem foot, then fold it under a second time to conceal the raw edge completely. Use an iron to press this starter fold flat. This pressed section acts as a guide, making it much easier to feed the fabric into the spiral scroll when you begin stitching.
Choosing the correct needle and thread combination is another critical factor in achieving a balanced stitch. For lightweight fabrics, use a fine universal or microtex needle, such as size 60/8 or 70/10, to avoid leaving large holes in the material. Pair this with a high-quality, lightweight thread, such as a 50wt or 60wt polyester or cotton thread. Heavy threads will add unnecessary bulk to the narrow hem, making it difficult for the fabric to roll properly and potentially causing tension issues.
Before sewing your actual project, always perform a test stitch on a scrap piece of the exact same fabric. This trial run allows you to observe how the fabric rolls through the foot and verify that your machine’s tension is balanced. If the fabric puckers, try loosening the upper thread tension slightly. If the hem looks loose or the stitches are uneven, adjust the tension or stitch length until the seam lies flat and the roll is uniform.
Step-by-Step Technique for Threading and Stitching
To begin stitching, place your prepared, pre-folded fabric starter section under the presser foot, aligning the needle with the inner folded edge. Lower the needle manually using the handwheel to secure the fabric in place, then lower the presser foot. Sew two or three securing stitches to anchor the thread. If your machine tends to swallow delicate fabrics at the start of a seam, hold the needle and bobbin thread tails firmly behind the foot as you take these first few stitches to provide gentle forward traction.
With the needle down in the fabric, raise the presser foot. Take the raw edge of the fabric just in front of the foot and gently feed it upward and backward into the spiral scroll of the rolled hem foot. You may need to wiggle the fabric slightly to ensure it slides completely into the curve of the metal guide. Once the fabric is properly threaded into the scroll, lower the presser foot back down onto the fabric.
As you begin to sew, your hand placement and feeding technique will determine the consistency of the hem. Use your left hand to guide the finished hem behind the presser foot, maintaining a very light tension to keep the fabric moving smoothly. Use your right hand to hold the raw edge of the fabric about two to three inches in front of the foot. Hold the fabric edge at a slight upward and leftward angle, allowing the scroll to naturally fold the raw edge under as it feeds into the needle.
Maintaining a steady, moderate sewing speed is crucial for keeping the fabric aligned within the scroll. If you sew too quickly, you may lose control of the feeding angle, causing the fabric to slip out of the guide or bunch up. When approaching seams or thicker areas of the garment, slow down significantly. You can trim the seam allowance diagonally inside the hem to reduce bulk, and use your fingers or a stiletto tool to manually guide the thicker section through the scroll to prevent the machine from stalling.
Troubleshooting Common Hemming Issues
Puckering or wavy edges are common issues that beginners encounter, usually caused by incorrect tension or improper fabric handling. If your hem looks wavy or stretched out, you may be pulling the fabric too tightly as you feed it into the machine. Let the machine’s feed dogs do the work, using your hands only to guide the angle of the fabric. Additionally, check your presser foot pressure; if it is too high, it can stretch delicate fabrics, so consult your machine’s manual to adjust it if necessary.
If you notice uneven hems or raw edges peeking out from the underside of the stitch line, the fabric is likely slipping out of the scroll. This happens when the fabric is not fed into the foot at a sufficient angle to the left. To correct this, gently guide the fabric slightly further to the left to ensure the scroll has enough material to fold. Conversely, if too much fabric is fed in, the hem will overflow, creating a bulky, messy stitch line. Adjust your feeding angle until the fabric fills the scroll perfectly without spilling over.
Thread jams and skipped stitches can quickly ruin a delicate hem, but they are usually easy to resolve. Start by completely re-threading both the upper thread and the bobbin, ensuring the thread passes through all tension discs correctly. Clean out any lint or dust from the bobbin case and under the needle plate, as debris can interfere with stitch formation. Finally, inspect your needle; a slightly bent, dull, or incorrect needle size is a frequent cause of skipped stitches and should be replaced immediately.
Finishing and Pressing for a Professional Look
Once you reach the end of your hem, you must secure the stitches properly to prevent them from unraveling over time. Avoid using your machine’s automatic reverse stitch function at the very edge of lightweight fabrics, as the backward motion can easily push the delicate material down into the needle plate, causing a severe jam. Instead, sew directly to the end of the fabric, leave long thread tails, and pull the upper thread to the back of the fabric to tie the threads off manually before trimming.
The final step to achieving a truly professional finish is pressing the completed hem. Set your iron to the appropriate temperature and steam setting for your specific fabric type, using a pressing cloth if you are working with delicate materials like silk or polyester. Press along the stitch line with gentle, downward pressure rather than sliding the iron back and forth, which can stretch the hem out of shape.
When pressing, be careful not to flatten the natural, rounded roll of the hem completely. The beauty of a rolled hem lies in its soft, dimensional appearance, so a light touch with the iron is all that is needed to set the stitches and smooth out any minor waves. Once pressed, allow the fabric to cool completely on your sewing table to set the shape of the hem permanently.
Frequently Asked Questions (FAQ)
Can I use a rolled hem foot on stretchy knit fabrics? (FAQ)
Using a standard rolled hem foot on highly stretchy knit fabrics is generally not recommended because the stretchy fibers tend to pull, distort, and slip out of the spiral scroll, resulting in a wavy, stretched-out edge. If you want to attempt a rolled hem on a knit fabric, use a narrow zigzag stitch to allow the hem to stretch with the fabric, or use a specialized stretch rolled hem foot designed to handle knit materials. Additionally, applying a water-soluble stabilizer to the edge of the fabric before sewing can temporarily stiffen the knit, making it behave more like a woven fabric during the hemming process.
How do I hem corners with a rolled hem foot? (FAQ)
Hemming sharp 90-degree corners with a rolled hem foot can be challenging because the foot requires a continuous feed of fabric to maintain the roll. To navigate a corner, sew down one side of the fabric until you are close to the corner, then stop with the needle down in the fabric. Raise the presser foot, pivot the fabric, and manually fold the new edge into the scroll before lowering the foot and continuing. For a cleaner and less frustrating result, many sewists prefer to use a traditional folded hem technique for the corners first, or sew the rolled hem on all sides and finish the corners manually with a needle and thread.
Community discussion
Share your experience or ask a question. Comments are reviewed before publication.