
Using a needle threader for embroidery is the most efficient way to guide thick, multi-strand floss through a narrow needle eye, but doing it incorrectly can easily shred your thread or snap the delicate wire of your tool. To thread your embroidery needle successfully every time, you must insert the threader’s wire loop completely through the needle eye, pass the thread through the loop, and pull the threader back out in a straight, level line. If you feel any resistance, stopping immediately and adjusting the alignment will prevent both thread damage and tool breakage. By mastering a few simple physical adjustments and choosing the right tool for your needle size, you can make your embroidery preparation seamless and frustration-free.
Understanding Your Needle Threader and Embroidery Needle
Before you begin threading, you must ensure that your needle threader and your embroidery needle are physically compatible. Embroidery needles, often called crewel needles, have long, narrow eyes designed to hold multiple strands of cotton or silk floss. However, the size of these eyes varies significantly depending on the needle number. A fine crewel needle has a much smaller opening than a large chenille or tapestry needle, meaning a standard threader may not fit every needle in your collection.
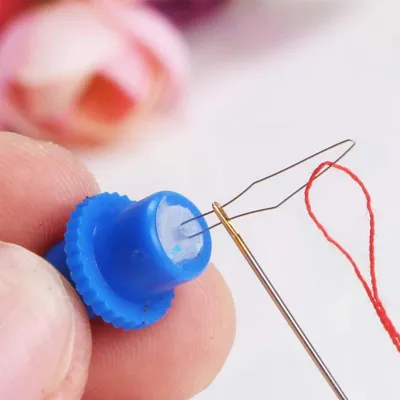
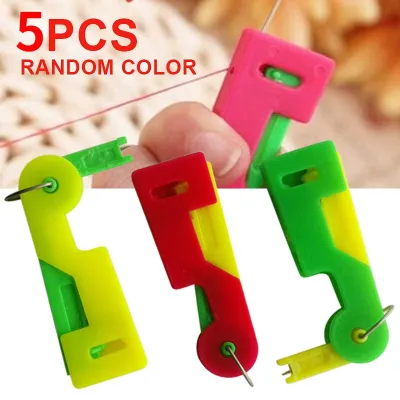
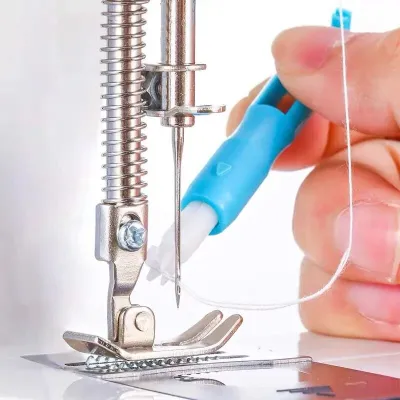
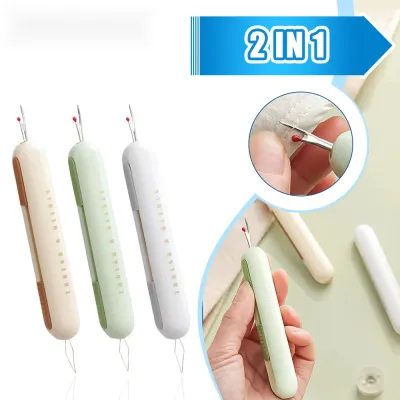
There are three primary types of needle threaders. Fine wire loop threaders feature a thin, flexible wire folded into a diamond shape and attached to a handle. Hook-style threaders consist of a flat piece of metal with a tiny hook at one or both ends to pull the thread through. Automatic threaders are plastic devices that use a built-in mechanism to push a tiny pin through the needle eye. For most embroidery projects, a classic wire loop threader offers the best flexibility, provided the wire thickness matches the needle eye.
Products mentioned in this guide
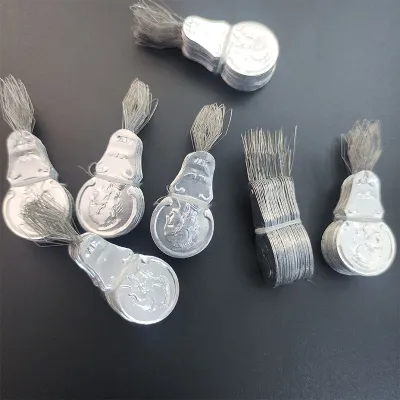
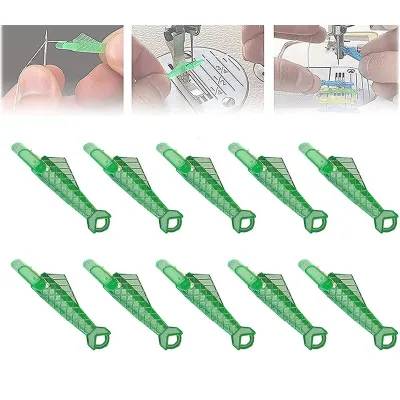
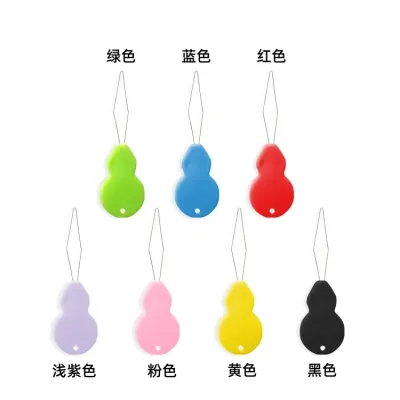
Prices are valid at publication and may change. Please refer to the product page for the latest price.
Matching the wire thickness to the needle eye is critical. If you force a thick wire loop through a very fine needle eye, the metal sides of the eye will pinch the wire, causing it to bend or snap. Before inserting the tool, inspect the wire loop closely for any existing bends or weak spots. A wire that is already warped is highly likely to catch on the needle eye and shred the embroidery floss. If you notice any structural damage, discard the threader and use a fresh one to protect your materials.
Preparing the Embroidery Thread for Threading
Properly preparing your embroidery thread before it touches the threader is a simple step that reduces friction and prevents fraying. Embroidery floss is typically made of six individual strands of cotton twisted together. When you cut this thread, the ends naturally want to untwist and splay outward. If you try to thread a splayed end, the individual fibers will catch on the needle eye or the threader wire, leading to immediate bunching and potential breakage.

To prepare your thread, always use sharp embroidery scissors to make a clean cut. Cutting the thread at a sharp 45-degree angle, rather than a blunt 90-degree cut, creates a pointed tip that enters the threader loop much more smoothly. If you are using multiple strands of floss, keep them perfectly aligned and parallel. Avoid twisting the strands together tightly, as this increases the overall diameter of the thread bundle and makes it harder to pull through the needle eye.
If your embroidery thread is particularly prone to fraying, or if you are working with delicate specialty threads like metallic or silk floss, you can condition the tip slightly. Running the very tip of the thread over a block of natural beeswax or a dedicated thread conditioner coats the loose fibers and binds them together into a single, stiff point. Be mindful of your fabric and thread material limits, as excessive wax can leave a residue on delicate textiles. A tiny drop of water on your fingertips can also temporarily flatten the thread tip.
Step-by-Step Guide to Threading the Needle
To thread your embroidery needle without damaging your materials, you must execute a smooth, continuous motion that minimizes tension on both the wire loop and the thread. Begin by holding the needle firmly between the thumb and forefinger of your non-dominant hand, keeping the eye clearly visible. Hold the handle of the wire loop threader in your dominant hand, gripping it gently near the base of the wire.
Slowly insert the tip of the wire loop directly through the eye of the needle. Push the threader forward until the entire wire loop has passed completely through the eye, leaving the handle resting against one side of the needle. The wide, flexible diamond shape of the wire will naturally compress as it passes through the narrow eye and then expand again once it emerges on the other side, creating a large, open target for your thread.
Next, take your prepared embroidery thread and pass the cut end through the expanded wire loop. You only need to pass about two to three centimeters of thread through the loop; there is no need to pull a long tail through at this stage. Ensure that all strands of the floss are lying flat and parallel inside the wire loop, without any twisting or overlapping that could artificially increase the thickness of the bundle.
Now, begin pulling the threader handle slowly back out of the needle eye. It is absolutely vital to pull the threader in a straight, level line that is perfectly parallel to the direction of the needle eye. Pulling at an angle forces the wire to scrape against the sharp inner edges of the needle eye, which can slice the thread or snap the wire. As the wire loop enters the needle eye, it will compress around the thread and gently draw it through.
As you pull, pay close attention to the physical feedback in your hands. If you feel any sudden resistance, stop pulling immediately. Do not attempt to force the threader through. Forcing a stuck threader is the primary cause of bent wires and shredded floss. Instead, gently back the threader out, check for any tangled strands or knots, and ensure that the thread bundle is not too thick for the needle eye before trying again. Once the thread loop has successfully cleared the eye, release the thread from the wire loop.
Common Mistakes That Bend or Break the Threader
Many embroidery enthusiasts find themselves constantly replacing broken needle threaders due to a few common, easily correctable mistakes. The most frequent error is attempting to force thick yarn, heavy pearl cotton, or metallic threads through a fine wire loop threader. Metallic threads are wrapped in a thin foil layer that is highly abrasive; pulling this material through a tight space under tension will quickly saw through a delicate wire loop or shred the decorative foil coating.
Another common mistake is pulling the threader at an upward, downward, or sideways angle instead of keeping it parallel to the needle. When you pull at an angle, the wire loop is forced to bend over the hard, sharp metal rim of the needle eye. This creates a concentrated stress point right where the wire meets the handle, leading to rapid metal fatigue. Over time, or even on the first try with a tight fit, this stress will cause the wire to snap completely off the handle.
Overloading the wire loop with too many strands of floss at once is also a major cause of failure. While an embroidery needle eye might physically look large enough to accommodate six strands of floss, the wire loop itself takes up valuable physical space inside that eye. When you double the thread through the wire loop, you are actually trying to pull twelve strands of floss through the eye at the same time. Always calculate this doubling effect when choosing your needle size and threader, and opt for a larger needle if you must work with a high number of strands.
Tool Maintenance and Alternative Threading Methods
Taking proper care of your needle threader will significantly extend its lifespan and save you from mid-project frustration. Because the wire loops are incredibly delicate, they should never be tossed loosely into a sewing basket or accessory pouch where heavy scissors or rulers can crush them. Store your threaders flat in a dedicated compartment, a small tin, or magnetically attached to a needle minder. Keeping the wire straight and free from accidental bends prevents the metal from developing micro-fractures that lead to sudden snapping.
If you find yourself working with a needle eye that is slightly too small for your threader wire, you can use a finer needle as a temporary guide. Insert the fine needle into the eye of your target embroidery needle, then use the fine needle’s point to gently open or guide the wire loop through. However, if the fit is consistently too tight, it is a clear sign that you need to switch to a needle with a larger eye or use a thinner threader designed specifically for fine work.
When a needle threader is unavailable or simply will not fit your chosen needle, the traditional fold-and-pinch method serves as an excellent, tool-free backup. To perform this method, drape the embroidery floss tightly over the shaft of your needle, pulling it down firmly on both sides to create a sharp, compressed fold in the thread. Pinch this folded point tightly between your thumb and forefinger until only a tiny sliver of the folded thread is visible. Slide the needle off the thread, then bring the eye of the needle directly down over the pinched fold, using the stiffness of the compressed fibers to push the thread through the eye.
Frequently Asked Questions (FAQ)
Why does my needle threader keep breaking at the wire loop?
Your needle threader likely keeps breaking due to metal fatigue caused by pulling the tool at an angle rather than straight through the needle eye. When you pull at an angle, the wire scrapes against the sharp inner edges of the eye, creating friction and stress at the connection point near the handle. Additionally, attempting to pull too many strands of floss or a thread that is too thick for the needle eye forces the wire to stretch and snap. To prevent this, always pull in a perfectly parallel line and ensure your needle eye has enough clearance for both the wire and the doubled thread.
Can I use a standard sewing needle threader for thick embroidery yarn?
No, you should avoid using a standard fine wire sewing needle threader for thick embroidery yarn or heavy pearl cotton. Standard threaders are designed for thin sewing threads and fine wire clearances; forcing thick yarn through them will instantly overload the loop and snap the wire. For heavier embroidery materials, you should switch to a specialized yarn threader, which features a much wider, sturdier metal hook or a thick plastic loop designed to handle heavy fibers. Alternatively, select a tapestry or chenille needle with a significantly larger eye that can accommodate the yarn without requiring a delicate wire tool.
Community discussion
Share your experience or ask a question. Comments are reviewed before publication.