
Lamination preserves important documents, classroom materials, and office signs, but a single mistake can warp, bubble, or permanently ruin your paper. To use a laminator machine cleanly on your first attempt, you must match your pouch thickness to the machine’s heat setting, ensure the document is entirely dry, and feed the sealed edge of the pouch into the machine first. Taking a few deliberate steps before, during, and after the lamination process eliminates the friction, static, and heat imbalances that cause common defects.
Preparation: Choosing the Right Pouch and Setting Up
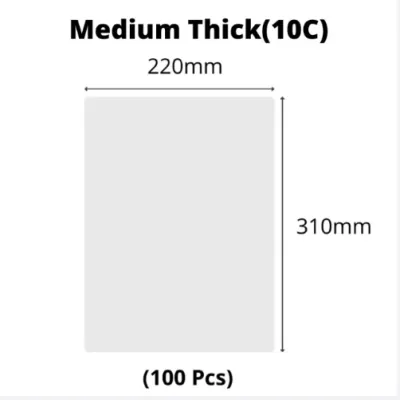
Achieving a flawless seal begins long before you plug in your laminator machine. You must first select a laminating pouch that matches both your document’s purpose and your machine’s physical capabilities. Laminating pouches are measured in microns (sometimes denoted as “mic” or “mil”). Common consumer pouch thicknesses include 75, 80, 100, 125, and 150 microns per flap. A thinner pouch (such as 75 or 80 microns) offers flexible protection suitable for standard office documents, while a thicker pouch (such as 125 or 150 microns) provides a rigid, heavy-duty shield ideal for menus, outdoor signage, or frequently handled reference sheets.
Before purchasing pouches, consult your laminator’s user manual to verify its maximum supported thickness. Passing a 150-micron pouch through a basic machine rated only up to 100 microns will result in incomplete melting, cloudiness, or a severe jam because the heating elements cannot reach the core of the thicker plastic.
Products mentioned in this guide
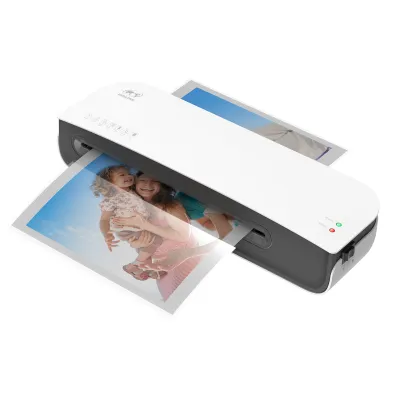
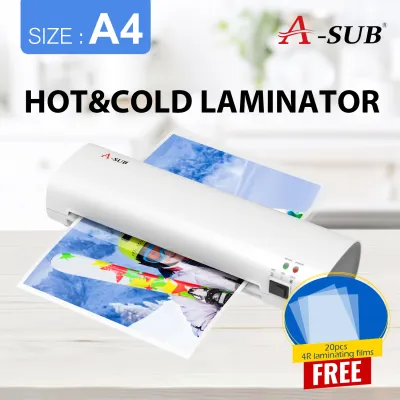
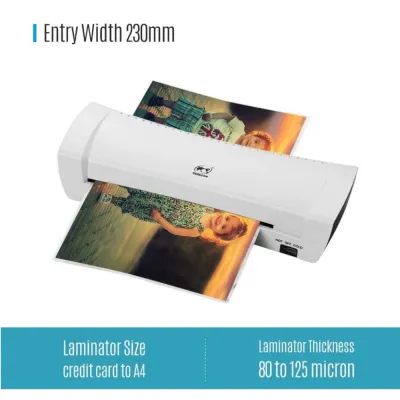
![[✅SG Ready Stock] Laminator A4 Laminating Machine Hot Cold Laminating Film Laminator Home School Office Supplies过塑机覆膜机](https://img.lazcdn.com/g/p/d8772e1b033d1181e4175e47b7bfdf6c.jpg_400x400q80.jpg_.webp)
Prices are valid at publication and may change. Please refer to the product page for the latest price.
Another critical factor is the moisture content of your paper, which is particularly challenging in Singapore’s tropical, high-humidity climate. When relative humidity levels consistently hover around 80% or higher, paper fibers rapidly absorb ambient moisture from the air. If you feed damp paper into a hot laminator, the intense heat instantly vaporizes this trapped moisture into steam. Because the steam cannot escape through the sealing plastic, it expands to form permanent, unsightly air bubbles. To prevent this, store your paper in airtight containers and ensure your document is completely dry before laminating. If a document feels slightly limp or damp to the touch, let it sit in an air-conditioned room or run a hair dryer on a low, cool setting over it for a few seconds before placing it in the pouch.
Properly positioning the document inside the pouch is the final preparatory step. Always place the document flat, centering it to leave a uniform border of at least 3 to 5 millimeters of exposed plastic around all edges. This border is vital because it allows the top and bottom adhesive layers of the pouch to melt directly to each other, creating an airtight, water-resistant seal. If you place the paper too close to any edge, the adhesive may leak outward onto the machine’s internal rollers. Over time, this baked-on adhesive residue attracts dust, creates friction, and causes future pouches to wrap around the rollers, leading to catastrophic jams.
Step-by-Step Guide to Laminating Your Documents
Operating a laminator machine requires patience and precise alignment. Begin by placing the machine on a flat, stable, and heat-resistant surface with ample clear space both in front of the entry slot and behind the exit tray. Plug in the power cord and turn the power switch on. If your machine features adjustable temperature controls, select the setting that corresponds exactly to the micron thickness of the pouch you are using. Setting the temperature too low prevents the adhesive from melting fully, while setting it too high can warp the plastic or scorch the paper.

Once you have selected the correct setting, wait for the machine to preheat fully. Most modern laminators feature an indicator light that changes color (often from red to green) or emits an audible beep when the internal rollers have reached the target temperature. Do not attempt to feed a document through while the machine is still warming up. Doing so results in a weak, cloudy seal because the adhesive did not reach its activation temperature.
When the ready signal activates, prepare to insert your loaded pouch. Always insert the sealed edge of the pouch into the feed slot first. The sealed edge acts as a structural guide, keeping the two sheets of plastic aligned and taut as they pass through the heated rollers. If you insert the open end first, air becomes trapped inside the pouch, pushing the paper out of alignment and causing the loose plastic flaps to fold over, warp, or wrap directly around the spinning rollers.
Gently guide the sealed edge into the center of the entry slot, keeping the pouch perfectly perpendicular to the machine. Let the rollers grip the pouch and pull it forward naturally. Never force, push, or pull the pouch through the machine, as manual tension disrupts the rollers’ constant speed, leading to uneven heat distribution, ripples, and physical distortion. As the laminated document exits the back of the machine, allow it to slide completely onto a flat surface. The plastic and adhesive remain hot and highly malleable immediately after exiting; picking up the document or letting it hang over the edge of the table will cause it to cool in a bent or curved shape. Let it rest undisturbed on a flat surface for at least one minute to cool and set permanently.
Troubleshooting Common Laminating Mistakes
Even with careful preparation, minor variations in paper type, ink density, or ambient temperature can cause visual defects. Understanding how to diagnose these issues allows you to adjust your technique before ruining valuable documents.
How to Prevent Bubbles and Cloudiness
If your finished document contains small pockets of air or has a hazy, milky appearance, the culprit is almost always temperature or moisture. Cloudiness indicates that the laminator’s rollers did not transfer enough heat to fully melt and clarify the solid adhesive. To resolve this, first verify that you selected the correct temperature setting for your pouch’s micron rating. If your machine is already on the correct setting but cloudiness persists, the heating element may need more time to stabilize; let the machine sit idle for an additional five minutes before running another test sheet. If the pouch is only partially sealed and not physically warped, you can sometimes run the document through the laminator a second time to apply the remaining heat needed to clear up the adhesive, provided your machine’s manual permits re-entry.
Bubbles, on the other hand, are typically caused by trapped moisture or air pockets. If you are laminating thick cardstock, textured paper, or documents with heavy ink coverage (such as full-bleed color prints), the paper fibers hold more air and moisture than standard copy paper. To prevent bubbles on these challenging mediums, ensure the ink is entirely dry and cured. For heavy cardstock, consider using a slightly higher temperature setting or a slower speed if your machine supports manual adjustments, which allows the rollers to press out the air more effectively.
How to Avoid Wrinkles and Jams
Wrinkles and physical creases occur when the plastic pouch does not feed evenly into the rollers, causing one side to travel faster than the other. This misalignment is frequently caused by feeding the pouch at an angle or failing to support the weight of a large document as it enters the slot. Always align the pouch squarely with the feed guides. If you are laminating small, loose items (like multiple flashcards or cut-out shapes) within a single large pouch, they can shift during feeding, causing the plastic to bunch up and wrinkle. To avoid this, maintain a minimum spacing of 10 millimeters between individual items, and consider using a laminating carrier sheet if recommended by your machine’s manufacturer.
Jams are the most disruptive lamination failure, often occurring when a pouch exceeds the machine’s maximum thickness capacity. Combining a thick, heavy-duty cardstock with a high-micron pouch can create a total thickness that the rollers cannot physically pull through. Before laminating, add the thickness of your paper to the double-thickness of your pouch flaps to ensure the total is well within the machine’s rated clearance. Never attempt to laminate folded documents, multiple layered sheets of paper, or rigid objects like cardboard, plastic cards, or metal clips, as these will instantly jam the rollers and can permanently strip the internal gears.
What to Do If Your Document Gets Jammed
If a pouch stops moving, begins to crumple inside the entry slot, or fails to emerge from the exit tray, you must act quickly to prevent permanent damage to both your document and the machine’s internal components. The intense heat inside the laminator will continue to melt the stationary plastic pouch, turning it into a sticky, destructive liquid that can fuse directly to the silicone rollers.
Immediately turn off the power switch and unplug the machine from the electrical outlet. This cuts power to the heating elements and stops the motor, preventing further melting and stopping the rollers from pulling the jammed pouch deeper into the machine.
Once the power is disconnected, look for an anti-jam release lever or a reverse function on your machine. Many modern laminators are equipped with a manual release lever (often labeled “ABS” or “Release”) located on the back or side. Pressing or sliding this lever mechanically separates the heated rollers, releasing their grip on the pouch. While holding the lever down, gently and slowly pull the jammed document back out through the entry slot. If your machine features a manual reverse switch or a hand crank, use it according to the manufacturer’s instructions to back the pouch out of the feed path.
Never use sharp objects such as scissors, knives, tweezers, or metal rulers to pry, cut, or scrape a jam out of the machine. The silicone coating on the internal rollers is delicate; a single scratch from a metal tool will ruin the rollers’ smooth surface, causing every future document to catch, wrinkle, or jam in that exact spot. Additionally, scraping hot, melted adhesive can damage the internal heating elements, creating a safety hazard or voiding your warranty.
If the pouch is wrapped tightly around the rollers and cannot be removed with gentle pulling while the release lever is engaged, do not apply excessive force. Forcing a stuck pouch can strip the plastic gears inside the motor drive. Instead, allow the machine to cool down completely, and consult the troubleshooting section of your manufacturer’s manual. If the jam remains inaccessible, contact the brand’s customer service or seek professional repair from an authorized stationery machine technician.
Maintenance Tips for a Longer-Lasting Laminator
Regular maintenance prevents the gradual buildup of adhesive and dust that leads to poor laminating quality and mechanical failures. Implementing a few simple care habits will keep your machine operating smoothly for years.
The most effective maintenance practice is to clean the rollers regularly using a dedicated laminator cleaning sheet or a clean, heavy piece of uncoated cardstock. As pouches pass through the machine, minute amounts of squeezed-out adhesive inevitably transfer to the rollers. To clean this off, turn on your laminator and let it reach operating temperature. Feed the cleaning sheet or cardstock through the machine several times without a pouch. The porous, uncoated surface of the paper will absorb and lift away the warm, semi-liquid adhesive residue from the rollers. Perform this cleaning step after every ten to fifteen laminating cycles, or immediately after laminating a document where adhesive leaked beyond the edges.
Proper storage of your unused laminating pouches is equally important for maintaining lamination quality. Store your pouches flat in their original packaging in a cool, dry place away from direct sunlight, air conditioning drafts, or high-humidity areas. If pouches are stored upright or subjected to weight, they can warp or curl, making them difficult to feed straight. Furthermore, exposed pouches can absorb ambient moisture or static dust, both of which introduce bubbles and blemishes during the heating process.
Finally, always allow your laminator machine to cool down completely before covering, packing, or storing it in a cabinet. The exterior housing and internal components retain heat long after the power is switched off. Storing a hot machine in a confined space can trap heat, potentially damaging the machine’s plastic casing or creating a fire hazard if placed near flammable materials like paper, cardboard, or synthetic fabrics.
Frequently Asked Questions (FAQ)
Can I laminate thermal paper or receipts?
No, you should not run thermal paper through a hot laminator machine. Thermal paper, which is commonly used for retail store receipts, shipping labels, and movie tickets, is coated with a heat-sensitive chemical dye. When subjected to the high temperatures of a thermal laminator, the entire surface of the thermal paper will instantly react and turn completely black, permanently erasing the printed text or images. If you need to preserve a thermal receipt, make a high-quality photocopy on standard paper first, and then laminate the photocopy. Alternatively, you can use self-adhesive cold lamination pouches, which seal using pressure rather than heat.
Is it safe to laminate original photographs?
Laminating irreplaceable original photographs is not recommended. The intense heat and chemical adhesives used in hot lamination can react with the photographic emulsion, causing the colors to bleed, fade, or yellow over time. Furthermore, hot lamination is a permanent, irreversible process; attempting to peel the plastic off later will tear the photographic paper and ruin the image. To protect valuable original photos, use acid-free archival sleeves, frame them behind UV-protective glass, or make a high-resolution digital print of the photo and laminate the print instead of the original.
How do I know if my laminator is hot enough?
Most modern laminator machines feature a built-in visual indicator, such as a light that transitions from red to green, or an audible beep to signal that the rollers have reached the correct operating temperature. If your machine lacks these indicators or if you suspect the temperature is inconsistent, you can perform a safe verification check. Place a scrap piece of standard paper inside a test pouch of the same thickness you plan to use, and run it through the machine. Examine the test pouch: if it emerges completely clear, smooth, and firmly sealed along all edges, the machine is hot enough. If it appears cloudy, wavy, or peels apart easily, the machine requires more preheating time or a higher temperature setting.
Community discussion
Share your experience or ask a question. Comments are reviewed before publication.