
Using a 3D relief art pen allows you to elevate flat architectural drawings and scale models into tactile, three-dimensional representations. By extruding controlled lines of dimensional material, you can replicate the physical depth of brickwork, the rugged face of natural stone, and the subtle pitting of cast concrete. This technique bridges the gap between traditional drafting and physical model making, offering a highly customizable way to present architectural concepts.
In a tropical climate like Singapore, where high ambient humidity can influence how materials dry, cool, and adhere, mastering the application process requires a systematic approach. Whether you are working with thermal extrusion pens that melt plastic filaments or liquid-based dimensional relief pens that cure chemically, understanding your tools and substrates is key. By carefully calibrating your extrusion speed, practicing specific hand movements, and allowing proper curing times, you can achieve professional-grade architectural textures on paper, board, or plastic bases.
Preparing Your Workspace and Base Materials
Before starting your project, you must verify that your 3D relief art pen, its consumable extrusion material, and your base surface are fully compatible. Relief pens generally fall into two categories: thermal pens that extrude thermoplastic filaments (such as PLA) and cold-extrusion pens that dispense dimensional acrylics, gels, or photopolymer resins. If you are using a thermal pen, your base material must be heat-resistant; heavy chipboard, thick illustration board, or plywood bases work well, whereas thin paper or delicate foam boards may warp or melt under the nozzle. For liquid-based relief pens, check the absorption rate of your paper or board, as highly porous surfaces can draw moisture out of the medium too quickly, leading to shrinkage or cracking.
Products mentioned in this guide
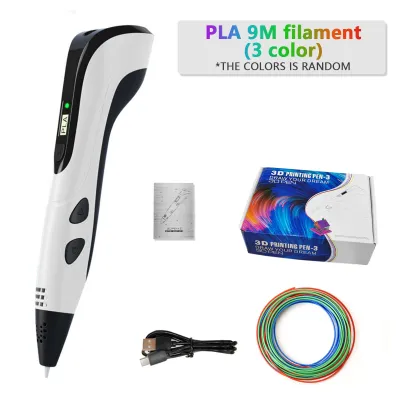
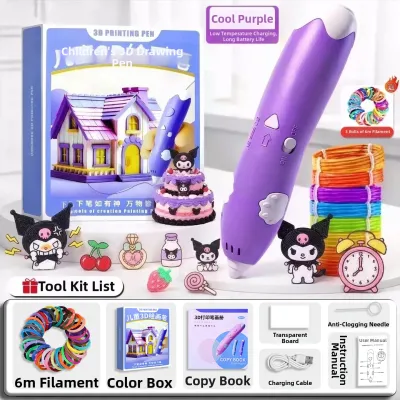
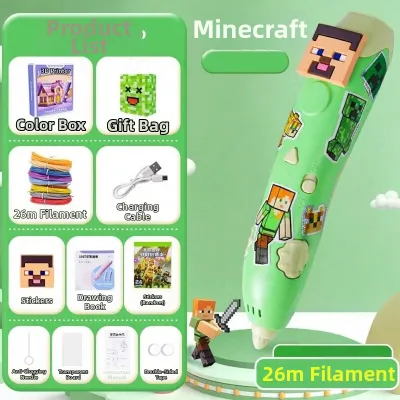
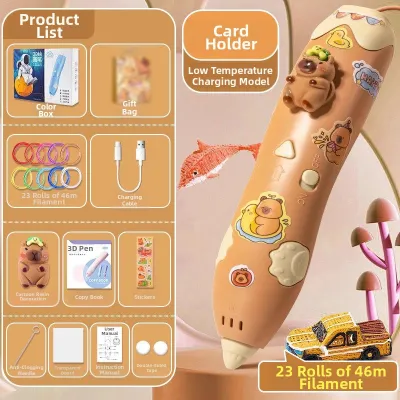
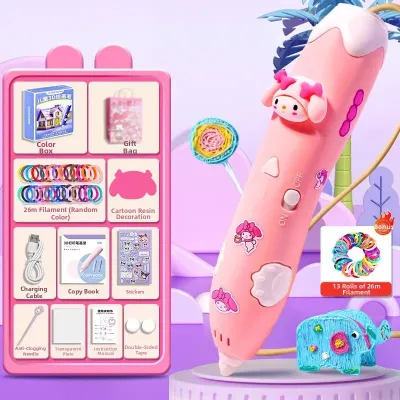
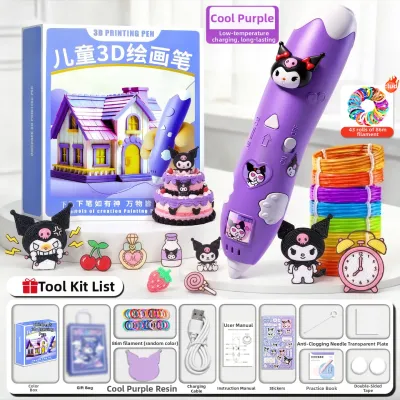
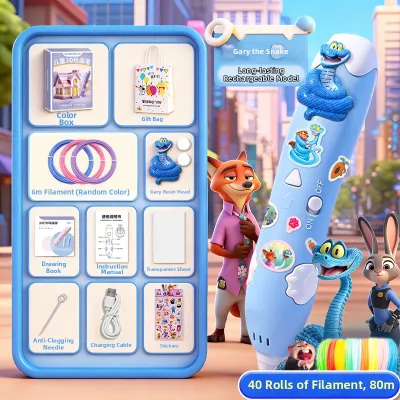
Prices are valid at publication and may change. Please refer to the product page for the latest price.
The size of your pen’s nozzle or tip directly dictates the scale of the architectural details you can produce. A fine nozzle (around 0.4mm to 0.6mm) is ideal for precise brick mortar lines and delicate window mullions, while a wider nozzle (0.8mm to 1.0mm) suits heavy stone masonry and structural concrete panels. Always inspect the tip before starting to ensure it is free of residual debris from previous sessions, as even minor blockages can cause uneven extrusion and ruin a complex pattern.
Setting up a dedicated, stable workspace is crucial for the precision required in architectural detailing. Choose a flat, level desk in a well-ventilated room, especially if you are working with thermal plastics or solvent-based relief mediums that release fumes during application. Adequate, shadow-free lighting—such as a balanced desk lamp positioned opposite your drawing hand—helps you clearly see the height and shadow cast by your extruded lines as you build them up.
To maintain realistic proportions throughout your work, gather high-resolution reference images of the specific brick, stone, or concrete patterns you intend to replicate. Keep these references visible on your workspace or a nearby screen to guide your scale calculations. Before applying any material to your final model, use a ruler to sketch a light pencil grid on your substrate, ensuring your simulated masonry lines align perfectly with the overall architectural geometry.
Applying Core Architectural Textures
The realism of your architectural textures depends heavily on how you manage the extrusion speed and layering of the relief material. Moving the pen too quickly results in thin, stretched lines that may break or lose their dimensional height, while moving too slowly causes the material to pool into thick, irregular blobs. Achieving a consistent texture requires finding a steady, rhythmic hand speed that matches the flow rate of your specific pen.

Always perform a series of test runs on a scrap piece of your base material before touching your main model. This trial allows you to observe how the extrusion behaves on that specific surface, checking for bleed resistance, drying speed, and overall adhesion. If the test line peels off easily after cooling or drying, you may need to lightly sand your base surface to create a better mechanical grip, or switch to a more compatible substrate.
Creating Brick and Masonry Patterns
To simulate realistic brickwork, begin by drawing the horizontal mortar grid lines with your 3D relief art pen. Keep your hand steady and maintain a constant distance from the surface, allowing the extruded material to lay down smoothly without being dragged by the nozzle. These horizontal lines establish the structural alignment of your masonry, so using a metal ruler as a non-contact guide can help keep them perfectly parallel.
Once the horizontal guidelines are in place, apply the vertical joints in short, controlled bursts of the relief material. For a standard running bond pattern, stagger these vertical lines precisely halfway between the joints of the rows immediately above and below. Pausing the extrusion slightly at the end of each vertical stroke helps prevent stringing as you lift the pen away from the surface.
Real brick walls are rarely perfectly uniform, so introducing subtle variations will make your model look far more authentic. You can mimic weathered or handmade bricks by slightly varying the extrusion height or gently tapping the warm or wet material with a textured tool, such as a stiff-bristled brush or a piece of coarse sponge. This breaks up the mechanical smoothness of the extruded lines, giving the individual bricks a natural, kiln-fired appearance.
Simulating Stone and Concrete Surfaces
Replicating natural stone masonry requires a departure from rigid grids in favor of organic, irregular shapes. To create a rough-cut ashlar or fieldstone wall, use a stippling or random dotting technique, building up clusters of varying heights and sizes. Hold the pen vertically and apply gentle, pulsing pressure to deposit small mounds of material, then use the side of the nozzle or a metal spatula to lightly flatten the tops of the stones while they are still malleable.
For cast concrete surfaces, the goal is to achieve a flat, uniform plane with subtle, realistic imperfections. Extrude thin, parallel bands of the relief material across the designated area, then immediately smooth them out using a plastic spreader or a palette knife before the medium begins to set. Once the surface is relatively flat, you can simulate concrete pores and pitted textures by lightly pressing a dry, coarse sea sponge or a stiff toothbrush into the semi-cured material.
Managing your pen’s extrusion flow is critical during these organic texturing processes to prevent unwanted clumping. If your pen features adjustable temperature or speed settings, lower the flow rate slightly when performing detailed stippling work to give yourself more control over each individual deposit. If you notice the material starting to build up on the outside of the nozzle, wipe it clean immediately with a heat-resistant silicone pad or a damp cloth to maintain a clean extrusion path.
Adding Structural Details and Refinements
Beyond surface textures, a 3D relief art pen is highly effective for constructing raised structural elements such as window frames, cornices, columns, and external pipework. To achieve the sharp, straight lines required for these architectural features, position a metal ruler slightly elevated above your substrate using small spacers, allowing the pen tip to glide along the edge without smearing the extruded material. This physical guide ensures your structural lines remain crisp and true to your architectural plans.
Building up significant height for features like window sills or decorative moldings requires a patient, layered approach. Instead of attempting to extrude a thick, heavy mass in a single pass—which often leads to sagging, bubbling, or loss of definition—apply multiple thin layers, allowing each pass to partially cool or set before adding the next. This layering technique builds a structurally sound internal core, ensuring your raised details maintain their sharp profiles and do not collapse under their own weight.
As you add these structural refinements, constantly step back to check their scale against your base textures and the overall model. A window frame or pipe fixture that is disproportionately thick can ruin the illusion of realism, making the entire model look amateurish. Keep your reference images close at hand and use a digital caliper or a scale ruler to verify that your extruded details match the intended scale of your architectural design.
Curing, Finishing, and Troubleshooting
Proper curing is essential to ensure your architectural textures remain durable and do not distort over time. Curing times vary widely depending on the chemical composition of your relief medium and your local environment; in Singapore’s humid climate, liquid-based acrylics and gels can take significantly longer to dry completely than they would in drier regions. Working in an air-conditioned room can help manage ambient moisture and stabilize drying times. Avoid the temptation to handle, paint, or modify your model prematurely, as touching semi-cured material can leave permanent fingerprints or flatten your carefully crafted textures.
Once the relief material has fully hardened, you can clean up any minor imperfections using precision craft tools. Use a sharp hobby knife or a fine chisel blade to trim away thin plastic strings, excess blobs, or uneven edges where the extrusion may have overshot your guidelines. When using sharp blades for trimming, always cut away from your body, work on a stable self-healing cutting mat, and keep your fingers well clear of the blade’s path to prevent accidental injury.
If you encounter poor adhesion where the extruded material lifts or peels away from your substrate, check for surface contaminants like dust, finger oils, or moisture. Wiping your base material with a clean, dry cloth or lightly scuffing it with fine-grit sandpaper before application can dramatically improve the mechanical bond. For stubborn materials, applying a thin layer of compatible primer or matte medium to the substrate beforehand can create a highly receptive surface for the relief pen.
Clogged nozzles are another common issue, usually caused by leaving a thermal pen idle while heated or allowing liquid mediums to dry inside the tip. Prevent this by following the manufacturer’s standby instructions, which may include purging a small amount of material before pausing or using a fine cleaning wire to clear the passage. If a layer collapses or sags during application, it is typically a sign of applying too much material too quickly; scrape the failed section clean while it is still soft, let the area dry, and rebuild the texture using thinner, more controlled layers.
Frequently Asked Questions (FAQ)
Can I paint over the 3D relief textures once they are dry?
Yes, you can paint over cured 3D relief textures, but you must first verify the chemical compatibility of your paint with the specific extrusion material. Thermoplastic filaments like PLA and cured acrylic relief mediums generally accept acrylic model paints very well, but some flexible or silicone-based relief gels may repel water-based paints. To ensure smooth coverage and prevent the paint from peeling, apply a thin coat of a high-quality matte primer designed for plastics or mixed media before adding your final colors.
Before committing to painting your entire architectural model, always test your primer and paint combination on a scrap piece of extruded material. Observe how the paint flows into the recessed mortar lines and clings to the raised stone textures, checking for any signs of bubbling, cracking, or poor adhesion. Once you confirm the test piece dries successfully without losing the underlying texture detail, you can confidently apply the same painting technique to your finished architectural model.
How do I prevent the pen tip from clogging during long detailing sessions?
Preventing clogs during extended detailing sessions requires active nozzle maintenance and adhering to proper standby protocols. For thermal extrusion pens, avoid leaving the pen powered on and idle for more than a few minutes, as prolonged heat without material flow causes the filament inside the nozzle to degrade and char, creating stubborn blockages. If your pen has a standby or sleep mode, activate it during breaks to lower the temperature, or manually feed a small amount of fresh filament through the nozzle to purge any overheated material before you pause.
For liquid-based or chemical-curing relief pens, keep a damp cloth or a silicone wiping pad nearby to regularly clean the exterior of the tip during use. If you need to pause your work for more than a minute, cap the pen immediately or place it in a designated airtight holder to prevent the air from drying out the material inside the nozzle. If you do experience a minor clog, use the manufacturer-recommended cleaning wire or a fine needle to gently clear the opening, taking care not to scratch or damage the internal walls of the nozzle.

Community discussion
Share your experience or ask a question. Comments are reviewed before publication.