
Transforming a cluttered workspace into a streamlined, productive environment is easily achievable using 3M magnetic strips. These versatile adhesive-backed strips allow you to lift everyday stationery, tools, and cables off your desk surface, utilizing vertical spaces like walls, monitor stands, or the sides of your desk. By establishing a dedicated magnetic zone, you can keep essential items within arm’s reach while maintaining a clean, minimalist aesthetic.
To achieve a secure and long-lasting setup, you must carefully match the adhesive backing to your desk’s material, prepare the surface thoroughly, and respect the weight limits specified by the manufacturer. Whether you are mounting lightweight metal rulers or organizing a tangle of charging cables, a systematic approach ensures your accessories remain firmly in place without damaging your furniture.
Planning Your Desk Organisation with Magnetic Strips
Before peeling off any adhesive backing, take a close look at your desk’s construction and layout. The material of your desk plays a critical role in how well the adhesive bond will perform over time. Smooth, non-porous surfaces like sealed wood, metal, glass, and high-pressure laminates are excellent candidates for adhesive mounting. Conversely, unsealed wood, heavily textured surfaces, or delicate paper veneers may not provide enough contact area for the adhesive, or they might suffer damage during eventual removal.
Products mentioned in this guide
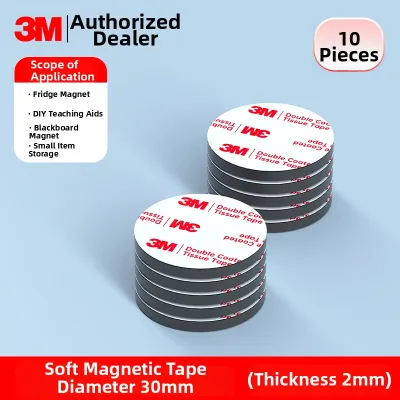
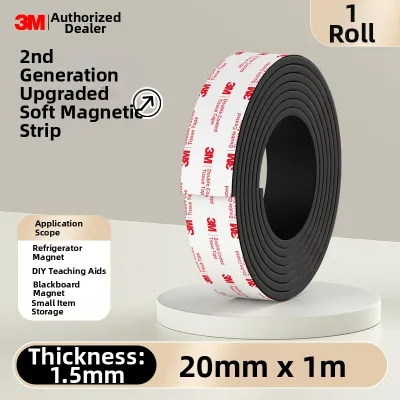
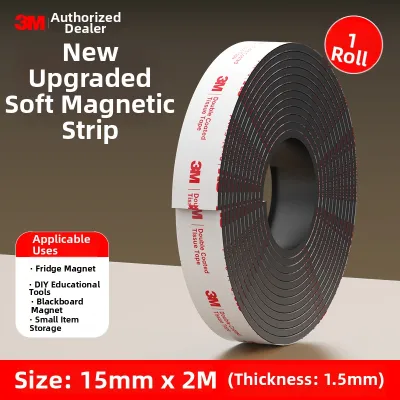
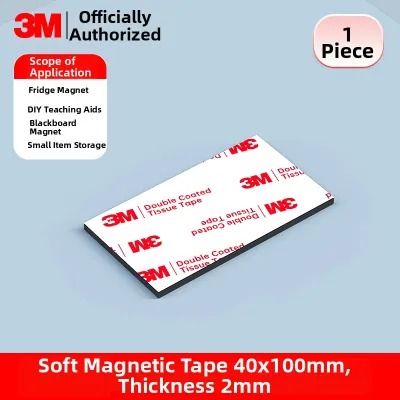
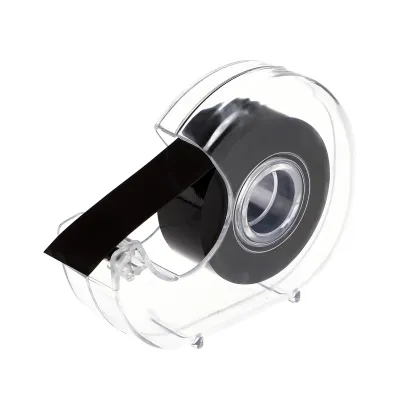
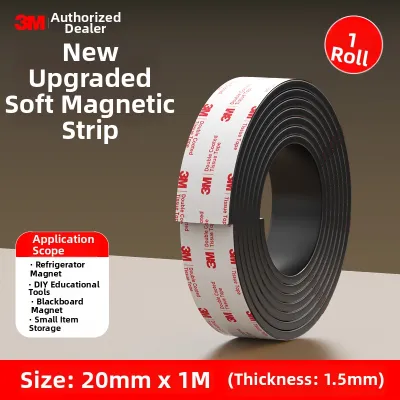
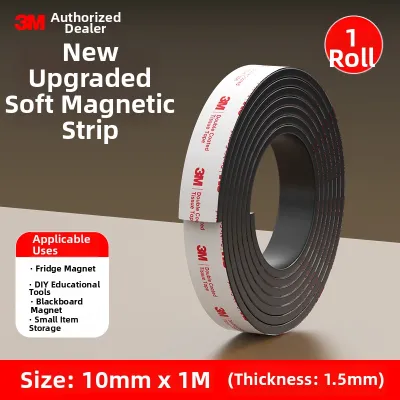
Prices are valid at publication and may change. Please refer to the product page for the latest price.
Next, categorize the items you want to organize by weight and material. Lightweight items such as paperclips, tweezers, scissors, and small metal-backed rulers are ideal for direct magnetic mounting. Heavier items, such as staplers, large trays, or heavy-duty tools, require careful consideration. You must verify the weight of each item against the load capacity printed on your specific 3M magnetic strip packaging.
Keep in mind that magnetic strength is distinct from adhesive strength. While the adhesive must hold the strip to the desk, the magnetic face must also be strong enough to hold the object. If you plan to mount non-magnetic items, you will need to attach small metal plates or magnetic receptive tape to those objects first. Planning these pairings beforehand prevents mid-project interruptions and ensures a cohesive layout.
Tools and Materials You Will Need
Gathering the correct tools before you begin ensures a smooth installation process and prevents alignment mistakes. First, select the appropriate 3M magnetic strips. These are available in various widths, thicknesses, and roll lengths, so choose a size that matches the footprint of the items you intend to mount.

For surface preparation, you will need a clean microfiber cloth and isopropyl alcohol (typically a 70% solution). Avoid using household glass cleaners or soapy water, as these can leave behind a thin residue that compromises the adhesive bond.
To ensure precise placement, keep a measuring tape, a pencil, and a pair of heavy-duty scissors or a utility knife nearby. Cutting magnetic strips requires a sharp edge to prevent crushing the magnetic profile or fraying the adhesive backing.
Finally, if you plan to mount plastic, wooden, or glass accessories, you will need compatible magnetic accessories or small adhesive metal plates. These plates act as an anchor, allowing non-magnetic items to cling securely to your newly installed magnetic strips.
Step-by-Step Guide to Applying 3M Magnetic Strips
Achieving a professional-grade bond requires patience and attention to detail during the application process. Begin by thoroughly cleaning the target area on your desk. Dampen your microfiber cloth with isopropyl alcohol and wipe the surface to remove dust, fingerprint oils, and any lingering polish. Allow the surface to dry completely; even a tiny amount of moisture can interfere with the adhesive’s chemical bonding process.
Once the surface is dry, use your measuring tape and pencil to mark the exact boundaries of where the strip will go. It is highly recommended to mark the corners lightly, as repositioning the strip after it touches the surface significantly reduces its ultimate holding power. Cut the magnetic strip to the desired length using your scissors or utility knife, ensuring the cut is clean and straight.
Carefully peel away the protective liner from the adhesive backing, taking care not to touch the exposed adhesive with your fingers. Align the strip with your pencil marks and place one end down first. Gradually lower the rest of the strip onto the surface, applying firm, even pressure along the entire length. Use your thumb or a small roller to press down hard for at least thirty seconds, ensuring maximum contact between the adhesive and the desk.
Do not hang any items on the strip immediately. The adhesive requires time to cure and reach its full bonding strength. Refer to the product label for the recommended curing time, which is typically 24 hours. In humid environments, such as Singapore’s tropical climate, allowing the full curing period is especially important to prevent premature peeling. If you notice a misalignment during the initial light touch, gently peel it off immediately and adjust, but avoid doing this more than once as it degrades the adhesive.
Mounting Lightweight Desk Accessories
Once the curing period is complete, you can begin organizing your stationery and small tools. Metal items containing iron, nickel, or steel—such as standard office scissors, metal rulers, utility blades, and steel tweezers—will cling directly to the magnetic strip. Position these items so that a flat, broad surface area makes contact with the magnet, maximizing the holding force.
For non-magnetic accessories like plastic pen cups, wooden trays, or acrylic organizers, you can easily adapt them using adhesive metal plates. Apply a small, self-adhesive metal disc or strip to the back of the accessory, press firmly, and let it cure. Once set, these adapted items can be placed onto and removed from your magnetic strip just like solid metal tools.
Always monitor the combined weight of the accessory and its contents. For example, a pen holder might be lightweight when empty, but filling it with heavy metal pens can exceed the strip’s holding capacity. If an item slides down or tilts, it indicates that either the magnetic contact area is too small or the weight exceeds the safe limit. In such cases, add an extra strip or reduce the contents of the holder.
Managing Cables and Power Cords
Cable clutter is one of the most common disruptors of a clean desk setup. 3M magnetic strips offer an elegant, hidden solution for routing power cords, USB cables, and charging leads. By mounting a strip along the back edge of your desk, under the desk lip, or along the inside of a desk leg, you can create an invisible pathway for your wiring.
To make your cables compatible with the magnetic strip, you can use small magnetic cable collars or wrap a short piece of magnetic receptive tape around the cable near the connector. When not in use, simply snap the cable collar onto the magnetic strip. This keeps the cable ends organized, prevents them from falling behind the desk, and keeps them ready for immediate use.
When routing cables, ensure there is sufficient slack to prevent tension on the power cords. A tight cable can pull against the magnetic strip, gradually peeling the adhesive away over time. Additionally, ensure that cables are routed in a way that prevents them from being pinched by moving parts, such as drawer slides or adjustable standing desk mechanisms.
Maintenance, Removal, and Safety Tips
To keep your magnetic desk setup looking pristine and functioning safely, perform routine checks every few months. Inspect the edges of the magnetic strips for any signs of lifting, peeling, or dust accumulation. If dust gets trapped under the adhesive edge, it can slowly compromise the bond. Wipe the magnetic face with a dry microfiber cloth occasionally to remove any metal filings or debris that may have clung to the surface.
If you decide to reconfigure your workspace or move to a new desk, removing the strips safely is crucial to protect your furniture. Do not pull the strip straight off, as this can tear paint, laminate, or wood fibers. Instead, apply gentle heat to the strip using a hairdryer on a low setting. The heat softens the adhesive, making it much easier to release.
While the adhesive is warm, slide a piece of dental floss, strong sewing thread, or a thin plastic scraper beneath one end of the strip. Gently saw back and forth to separate the adhesive from the desk surface. Once the strip is removed, clean any remaining sticky residue using a mild adhesive remover or isopropyl alcohol, first testing it on an inconspicuous area of your desk to ensure it does not dull or damage the finish. If your desk features a delicate veneer, antique finish, or custom lacquer, consult the furniture manufacturer before applying or removing any strong adhesives.
Frequently Asked Questions (FAQ)
Can 3M magnetic strips damage my desk surface?
The risk of damage depends heavily on the material and finish of your desk. On durable, non-porous surfaces like metal, glass, or high-quality laminates, the adhesive can usually be removed cleanly without leaving permanent marks. However, on painted surfaces, raw wood, or delicate paper veneers, the strong adhesive bond may pull away the top layer during removal. To minimize risk, always test a small piece of the adhesive in a hidden area first, and follow proper heat-assisted removal techniques.
How much weight can a standard magnetic strip hold?
There is no single weight limit for all magnetic strips, as holding capacity depends on several variables. The width and thickness of the strip, the surface texture of the desk, and the iron content of the mounted object all affect performance. Always consult the specific product packaging or manufacturer specifications for the rated weight capacity per inch or centimeter. For heavier items, using a wider strip or applying multiple parallel strips can help distribute the load more securely.
Community discussion
Share your experience or ask a question. Comments are reviewed before publication.