
Using 3M adhesive magnets is an exceptionally efficient way to clear clutter and create a modular, highly functional desk setup. By pairing a strong adhesive backing with a reliable magnetic face, these small tools allow you to mount non-magnetic accessories—such as cable organizers, pen cups, USB hubs, and remote controls—directly onto any ferromagnetic metal surface in your workspace. This approach keeps your essential tools within arm’s reach while completely freeing up valuable desktop real estate.
To achieve a clean, professional look, you must understand how to balance the physical limits of both the adhesive bond and the magnetic pull. A successful setup relies on proper surface preparation, choosing the right magnet size for each accessory, and understanding where and how to apply these components. Whether you are routing thick power cables along a steel desk frame or mounting storage bins to a metal pegboard, this guide provides the practical steps and creative ideas needed to optimize your workspace.
Understanding 3M Adhesive Magnets and Desk Applications
Before starting your desk organization project, it is essential to understand the dual-nature design of an adhesive magnet. One side of the disc or strip features a high-performance adhesive layer, typically protected by a peel-off paper or plastic liner. This adhesive side is engineered to bond permanently or semi-permanently to non-metal items, such as plastic, finished wood, acrylic, or glass. The opposite side consists of the exposed magnet, which is designed to cling to compatible metal surfaces.
Products mentioned in this guide
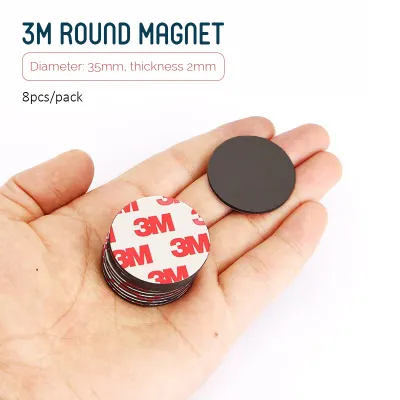
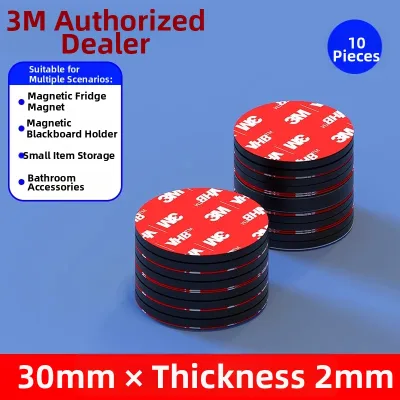
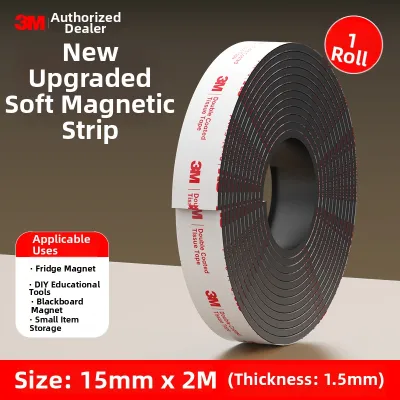
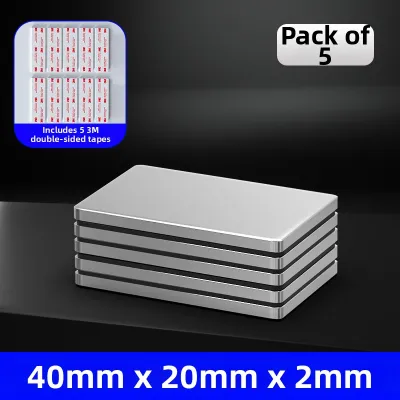
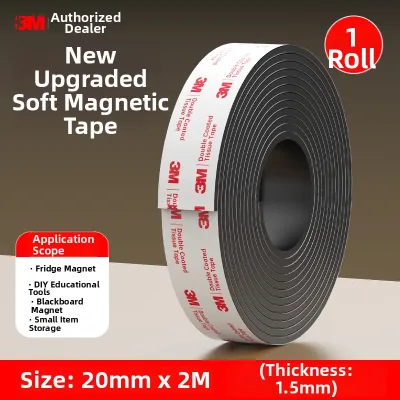
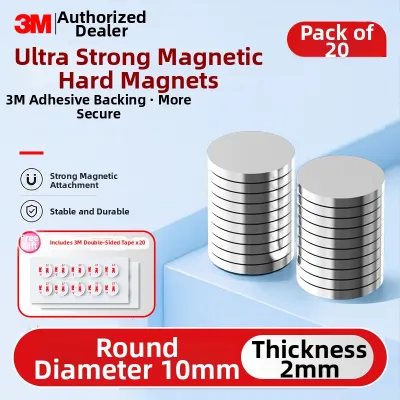
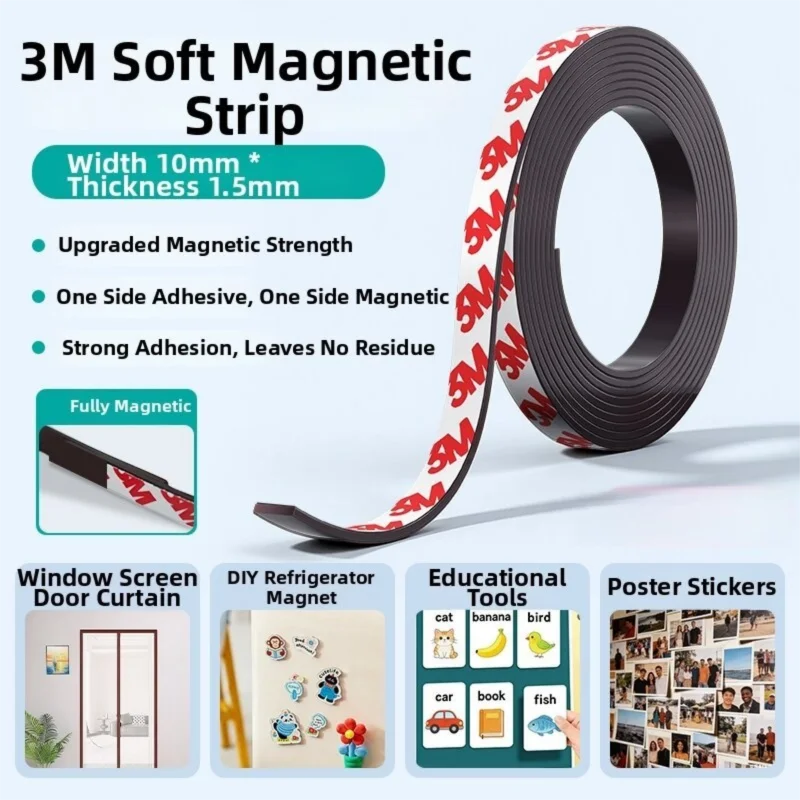
Prices are valid at publication and may change. Please refer to the product page for the latest price.
For this system to work, your desk setup must feature ferromagnetic metals. Steel desk frames, iron support beams, metal pegboards, and steel filing cabinets are ideal mounting surfaces because they contain iron, which strongly attracts magnets. However, you should note that many modern desk accessories and frames are made of aluminum or anodized alloys. Aluminum is non-magnetic, meaning the magnetic side of your adhesive magnet will not stick to it. Always test your intended mounting surfaces with a simple kitchen magnet before purchasing your materials.
Weight capacity is another critical factor to consider when planning your layout. The holding power of an adhesive magnet is determined by both the strength of the magnetic field and the shear strength of the adhesive backing. Heavy items, or items that you interact with frequently (like a tape dispenser or a headphone hook), require larger magnets or multiple mounting points to prevent them from sliding down or falling off. Always check the manufacturer’s specifications on the packaging to understand the rated weight limits under both vertical (shear) and horizontal (pull) tension.
Tools and Materials Needed
Executing a clean and durable desk organization project requires a few basic tools and materials. Having these items ready beforehand ensures that the adhesive bonds correctly and the installation looks neat.

First, select high-quality 3M adhesive magnets that match the scale of the items you plan to mount. For lightweight items like USB cables or plastic pens, thin magnetic tape or small magnetic dots are sufficient. For heavier accessories, such as power strips, external hard drives, or metal trays, you will need thicker neodymium magnetic discs or heavy-duty magnetic strips with a stronger pull force.
Second, gather your surface preparation supplies. You will need isopropyl alcohol (preferably a 70% or higher concentration) and a clean, lint-free microfiber cloth. Cleaning the surfaces is a non-negotiable step, as even invisible oils from your fingers or microscopic dust particles can severely compromise the adhesive’s ability to form a permanent bond.
Finally, collect the non-metal desk accessories, cable clips, and tools you wish to organize. Grouping these items beforehand allows you to plan their placement systematically and cut your magnetic tape or select your magnetic discs to the exact dimensions of each accessory’s base.
Step-by-Step Guide to Mounting Accessories
Achieving a long-lasting bond between your desk accessories and the adhesive magnets requires a systematic application process. Skipping steps or rushing the curing phase often leads to peeling adhesive or falling items.
To prepare the surface, begin by thoroughly cleaning the back of the accessory where the magnet will be attached, as well as the metal surface where the item will hang. Pour a small amount of isopropyl alcohol onto your lint-free cloth and wipe both areas vigorously. This removes manufacturing residues, dust, and skin oils. Allow both surfaces to air-dry completely for several minutes; applying adhesive to a damp surface will trap moisture and ruin the bond.
For the application, carefully peel the protective liner away from the adhesive side of the magnet, taking care not to touch the exposed adhesive with your bare fingers. Align the magnet precisely over the desired spot on your accessory. Once aligned, press the magnet firmly against the accessory’s surface. Apply steady, heavy pressure across the entire surface of the magnet for at least thirty seconds. This pressure-sensitive adhesive requires physical force to activate the microscopic wet-out process, allowing the adhesive to flow into the tiny pores of the material.
Curing time is a critical phase that is often overlooked. The adhesive requires time to cure and reach its maximum bonding strength. While it may feel sticky right away, the polymer chains in the adhesive take time to cross-link and lock onto the surface. Refer to the product label on your packaging for the manufacturer’s recommended curing period, which is typically twenty-four to seventy-two hours. Keep the accessory on a flat surface and do not subject it to any magnetic pull or weight during this time.
For attachment and testing, once the curing period is complete, your accessory is ready to be mounted. Gently bring the magnetic side of the accessory toward the metal desk frame or pegboard. Avoid letting the magnet snap violently onto the metal surface, as the sudden impact can shock the adhesive layer and cause it to shear off. Once attached, perform a gentle pull and slide test to verify that the magnetic hold is strong enough to support the item’s weight during daily use.
Practical Desk Organization Ideas
With your magnets properly installed, you can implement several creative configurations to streamline your workspace and eliminate clutter.
For cable management, cables are often the primary source of desk clutter. You can manage them by attaching small adhesive magnets to plastic cable clips or directly onto thick cable sleeves. Once mounted, route these cables along the back of your steel desk legs or underneath the metal frame. This keeps power cords, monitor cables, and charger lines completely hidden from view while keeping them organized and preventing them from tangling on the floor.
For tool and stationery storage, keep your writing instruments and daily tools within reach without letting them crowd your desktop. Apply adhesive magnets to the backs of lightweight plastic bins, acrylic pen cups, or tape dispensers. You can then mount these containers directly onto the side of a steel filing cabinet, a metal desk drawer, or a steel pegboard mounted on the wall. This setup keeps your scissors, rulers, and pens organized vertically, leaving your main desk surface entirely clear for typing and writing.
For under-desk storage, the underside of a steel desk frame is an underutilized storage zone. You can mount lightweight, frequently used items here to keep them out of sight but easily accessible. For example, apply adhesive magnets to a USB hub, an external hard drive, or a small remote control. You can also mount a shallow magnetic tray to hold paperclips, keys, or loose change. This keeps your desktop looking minimalist and clean while ensuring your essential tech accessories remain fully functional.
Safe Removal and Surface Protection
Over time, you may want to reconfigure your desk layout, upgrade your accessories, or move to a new workspace. Removing adhesive magnets requires care to avoid damaging your expensive desk accessories or stripping the paint off your metal furniture.
Never attempt to pull or pry an adhesive magnet straight off an accessory or a desk surface. Pulling directly outward exerts immense localized force, which can easily crack plastic accessories, bend metal panels, or tear away wood veneers and paint finishes. Instead, you must break the adhesive bond gradually.
To remove a magnet safely, use a sliding cutting tool such as a piece of dental floss, high-test fishing line, or a thin plastic putty knife. Gently slide the line or tool behind the magnet, keeping it flat against the surface of the accessory. Use a sawing motion to slice through the foam or acrylic adhesive layer. This separates the magnet from the accessory without putting bending stress on either item.
Once the magnet is removed, a sticky residue will likely remain on the surface. To clean this up, apply a small amount of mild, citrus-based adhesive remover or isopropyl alcohol to a cloth and let it sit on the residue for a minute to soften it. Gently rub the residue away with your cloth or roll it off with your fingers. Wipe the area clean with a damp cloth and dry it thoroughly to restore the surface to its original condition.
Frequently Asked Questions (FAQ)
Can I use 3M adhesive magnets on a wooden or glass desk?
The magnetic side of an adhesive magnet requires a ferromagnetic metal surface, such as steel or iron, to stick. It will not cling directly to wood, glass, laminate, or aluminum. If you want to use magnetic accessories on a wooden or glass desk, you must first install a magnetic receiver. You can do this by sticking a self-adhesive steel strip or a metal plate to your wood or glass surface. Once the metal plate is secured via its adhesive backing, your magnetic accessories will easily cling to it. Alternatively, you can use non-magnetic adhesive hooks or dual-lock fasteners designed specifically for non-metal surfaces.
How much weight can a single adhesive magnet hold?
The weight capacity of an adhesive magnet depends on several variables, including the magnet’s grade, its surface area, the thickness of the receiving metal, and whether the load is applied vertically or horizontally. A magnet sliding down a vertical steel leg (shear force) can typically hold much less weight than a magnet hanging directly underneath a horizontal steel beam (pull force). Always check the specific product packaging for the manufacturer’s rated pull force and weight limits. To ensure safety, start by mounting lightweight, non-fragile items first. If you need to mount heavier accessories, use multiple magnets spaced evenly across the back of the item to distribute the load safely.
Community discussion
Share your experience or ask a question. Comments are reviewed before publication.