
Elevating a plain paper bag into premium gift packaging relies on structural preparation, high-quality tactile materials, and clean execution. By reinforcing the bag’s shape, using heavy-weight paper bases, and applying curated accents like wax seals, satin ribbons, or dried botanicals, you can create a presentation that rivals luxury boutique packaging. This guide outlines the exact steps to convert a simple, cost-effective bag into an elegant, memorable gift presentation.
Gathering Materials for a Premium Finish
The foundation of an elevated presentation is the base bag. Opt for a heavy-weight paper bag with a high GSM (grams per square meter)—ideally between 120 GSM and 180 GSM. Bags in this weight range offer a sturdy structure that does not sag, pucker, or crease easily under the weight of a gift. Consider the texture and finish: classic brown kraft paper provides a rustic, artisan canvas; matte white offers a clean, modern aesthetic; and deep matte black creates a high-contrast, luxurious backdrop. Avoid glossy finishes, as they resist adhesives and ink, and tend to show fingerprints easily.
To execute these techniques cleanly, gather a set of essential stationery tools. A pair of sharp, long-blade scissors is crucial for clean, unfrayed ribbon cuts and straight paper edges. Double-sided tape with a strong, acid-free adhesive backing ensures seamless joins without the messy wrinkling caused by liquid glue. Glue dots are excellent for attaching three-dimensional objects like dried flowers or securing ribbon folds. Finally, a bone folder or a thick plastic ruler is indispensable for scoring and creating crisp, professional creases along the bag’s edges.
Products mentioned in this guide
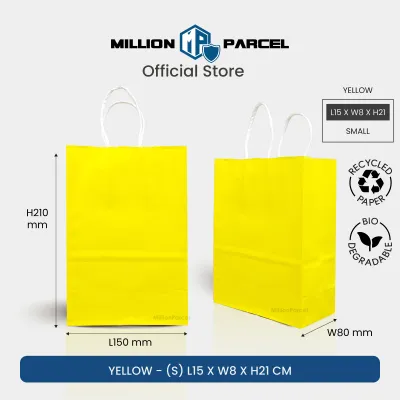

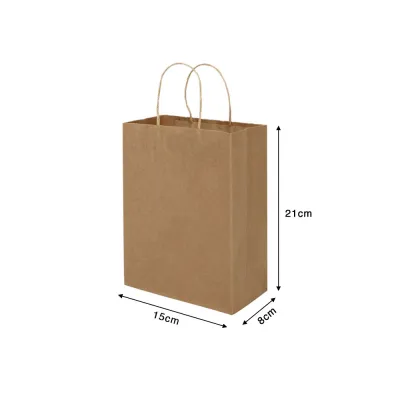


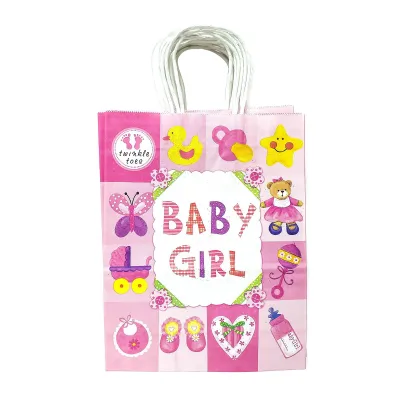
Prices are valid at publication and may change. Please refer to the product page for the latest price.
For the decorative elements, select materials that offer rich tactile contrast. Instead of cheap synthetic curling ribbons, invest in double-sided polyester satin, silk, or heavy cotton herringbone ribbons in widths of 15mm to 25mm. High-quality cotton twine or polished jute cord adds an organic touch. For closures and accents, prepare a wax sealing kit (sealing wax beads, a melting spoon, and a metal stamp), a selection of dried botanicals such as compressed eucalyptus leaves or lavender sprigs, and thick cardstock (300 GSM or higher) to cut custom gift tags.
Prepping and Structuring the Paper Bag
Before applying any decorative elements, you must prepare the bag’s structure to ensure it looks intentional rather than discarded. Begin by emptying the bag and laying it flat on a clean, hard surface. Use your fingers or a clean bone folder to gently smooth out any accidental creases, starting from the center and working outward. Be careful not to press too hard on the side gussets, as you want to preserve the bag’s natural side folds while removing unsightly wrinkles.

Creating a reinforced, folded collar at the top of the bag instantly elevates its design. Fold the top opening downward into the interior of the bag by about 2 to 3 centimeters, using a ruler to ensure a perfectly straight line. Press the fold firmly with your bone folder to set a crisp edge. If the paper is exceptionally stiff, score the fold line lightly with the bone folder first. This double-thickness collar hides raw paper edges, prevents tearing at the handle insertion points, and gives the bag a structured, box-like silhouette.
If the bag has cheap, twisted-paper handles, you can modify its structure for a more sophisticated, handle-less pouch presentation. Carefully cut away the existing handles from the inside, as close to the paper surface as possible. If the handles are glued under a patch, leave the patch intact to avoid tearing the bag, and simply trim the exposed loops. You can then fold the top of the bag down twice to create a sleek clutch envelope, which can be sealed later with ribbon or wax.
A sagging bottom instantly cheapens the look of a gift bag. To prevent this, measure the interior base of the bag. Cut a piece of thick, rigid cardboard or 300 GSM cardstock to these exact dimensions. Slide this insert flat into the bottom of the bag. This simple addition distributes the weight of the gift evenly, keeping the base perfectly flat and maintaining the bag’s crisp vertical lines when lifted.
Core Decoration Techniques by Style
Minimalist Elegance with Ribbons and Twine
Achieving a minimalist look relies on precise geometry and high-quality textiles. Select a ribbon color that contrasts subtly with your bag; for instance, an olive green or deep navy satin ribbon looks exceptionally elegant against brown kraft paper. Measure the ribbon by wrapping it around the bag with an extra 20 centimeters on each side to allow for tying. To prevent the cut ends of synthetic ribbons from fraying, use a lighter to melt the edges very briefly, or cut them at a sharp 45-degree angle with ultra-sharp scissors.
Position the ribbon horizontally around the upper third of the bag, or run it vertically down the center. To keep the ribbon perfectly straight and prevent it from sliding down during transport, apply a small strip of double-sided tape to the back of the ribbon where it meets the rear and sides of the bag. Pull the ribbon taut but not so tight that it puckers the paper.
For a modern finish, skip the traditional floppy bow. Instead, tie a clean, flat square knot or a simple loop-and-tail knot. If you prefer a classic bow, ensure the loops are symmetrical and the tails are trimmed to equal lengths. Secure the center of the knot to the paper bag with a single glue dot to keep the bow perfectly centered and upright.
Artisan Charm with Stamping and Wax Seals
Stamping and wax sealing add a bespoke, handcrafted quality to plain paper. When selecting ink, choose highly pigmented, opaque inks that stand out against your paper base. Metallic gold, copper, or opaque white pigment inks work beautifully on kraft and black paper. Because paper bags vary in smoothness and absorbency, always perform a trial stamp on a scrap piece of the same bag material. This allows you to verify the ink’s drying speed, check for bleeding or feathering, and determine how much pressure is needed for a clean transfer.
To stamp the bag, place a flat, hard object like a book inside the bag to act as a firm stamping platform. Apply ink evenly to your stamp, press down firmly without rocking the stamp, and lift straight up. Allow the ink to dry completely—pigment inks on non-porous or semi-porous paper can take up to ten minutes to dry fully in humid climates. Space your designs evenly if creating a pattern, or place a single, bold motif in the lower right corner for a modern, asymmetrical layout.
Wax seals are highly elegant but require careful handling to avoid damaging the paper. Melting wax directly onto a paper bag can leave grease rings or cause the paper to warp from the heat. Instead, cast your wax seals on a non-stick silicone baking mat or a piece of parchment paper. Once cooled, peel the wax seal off and apply a double-sided adhesive circle to the back. You can then stick this pre-made seal securely onto a ribbon tail, a paper band, or a gift tag, achieving a flawless look with zero risk of oil stains on the bag.
Organic Texture with Dried Botanicals
Incorporating natural elements introduces a beautiful, tactile contrast to smooth paper. Choose sturdy, flat dried botanicals that can withstand handling without crumbling. Excellent options include dried eucalyptus leaves, pressed ferns, lavender stems, or small bunny tail grass. Avoid fragile, brittle dried flowers like baby’s breath unless they are deeply recessed or protected.
To attach the botanicals, use small, high-tack glue dots applied to the thickest part of the stem or leaf. Alternatively, tuck the stems securely under the ribbon or twine wrap before tying the final knot. This keeps the botanical flat against the bag’s surface.
Position the foliage vertically along the center line or tucked diagonally into the ribbon knot. Ensure that no delicate leaves extend beyond the edges of the bag, as they will easily catch and snap during transport. The placement should enhance the visual design without obstructing the recipient’s ability to hold the bag handles or open the top seal.
Adding the Final Premium Details
The final details are what truly separate a premium presentation from a standard wrap. Design a custom gift tag using thick 300 GSM to 400 GSM cardstock. Use a paper trimmer to cut clean, straight edges, or use a corner rounder punch for a polished finish. Keep the typography minimal: use neat, spaced-out print handwriting or elegant calligraphy in black or metallic ink. Punch a single, clean hole at the top of the tag using a metal hole punch.
Attach the tag to the bag using a thin, color-coordinated string, such as waxed cotton cord or metallic thread. Thread it through the tag and tie it directly into the main ribbon knot. Let the tag drape naturally over the front of the bag, ensuring it sits flat and does not cover any stamped designs or botanicals.
To seal the top of the bag elegantly, fold the top hem down and secure it. Instead of standard clear adhesive tape, which looks cheap and reflective, use a custom matte sticker, a strip of matching washi tape, or a wax seal mounted on a decorative paper band wrapped around the bag’s width. This creates a secure closure that feels like an opening ritual for the recipient.
For an unexpected sensory touch, apply a very light spritz of a clean, woody, or floral fragrance to the gift tag. Always spray the tag from a distance of at least 30 centimeters and allow it to dry completely before attaching it to the bag. Never spray the paper bag directly, as perfume oils will leave permanent, unsightly translucent grease spots on kraft and matte papers.
Final Inspection and Handoff
Before presenting your gift, perform a quick structural and visual audit. Gently lift the bag by its handles or base to ensure the reinforced bottom cardstock is supporting the weight without buckling. If you modified the bag by removing the handles, verify that the folded top closure is secure and will not pop open under pressure.
Inspect the surfaces for any stray glue residue, smudged ink, or loose paper fibers. Use a clean, dry microfiber cloth to gently wipe away any dust or fingerprints, especially on dark matte black paper. If you spot any frayed ribbon ends, trim them cleanly at a fresh 45-degree angle.
When transporting your decorated bag, keep it upright in a spacious, flat-bottomed carrier bag. Avoid packing multiple decorated bags tightly together, as the friction can crush dried botanicals, scratch wax seals, or crease the crisp paper edges. If traveling by car or public transport, place the bag on a flat surface where it cannot slide or tip over.
Frequently Asked Questions (FAQ)
Can I use a decorated paper bag for heavy gifts?
Standard paper bags can typically support light to moderate items, but heavy gifts like bottles, heavy books, or ceramic mugs require extra reinforcement. You can safely use a decorated paper bag for gifts up to approximately 1.5 kilograms if you reinforce the base with thick, rigid cardboard and secure the handle joints with strong double-sided tape from the inside. However, if the gift exceeds this weight, or if its shape causes the paper to bulge awkwardly, it is highly recommended to switch to a rigid, heavy-duty gift box to prevent the bag from tearing or dropping the item during transit.
How do I prevent the paper bag from getting crushed during transit?
To keep your decorated paper bag pristine during transit, fill any empty space inside the bag with clean, crumpled tissue paper. This internal stuffing acts as a structural skeleton, preventing the sides of the bag from collapsing inward if lightly pressed. Additionally, place the finished gift bag upright inside a sturdy, flat-bottomed reusable shopping bag or a clean cardboard box during transport. Keep it away from heavy items, and ensure that delicate elements like dried botanicals or wax seals do not rub against the sides of the transit container.
Community discussion
Share your experience or ask a question. Comments are reviewed before publication.