
Transforming a plain gift wrapping bag into a bespoke, eye-catching presentation is an excellent way to elevate any gift. By combining basic paper bags with carefully selected ribbons, personalized tags, and thoughtful embellishments, you can create a high-end look without the premium price tag. This guide walks you through the entire process, from selecting the right materials to executing flawless ribbon techniques and avoiding common structural mistakes.
Gather Your Materials and Tools
Start with the foundation: the gift wrapping bag itself. A sturdy kraft paper bag (around 120 to 150 GSM) offers a matte, textured surface that accepts adhesives and stamps beautifully. Glossy or laminated bags look modern but require specialized adhesives, as standard water-based glues will slide off the non-porous surface.
Next, select your ribbons. The width of the ribbon should match the scale of the bag. For a small bag, a narrow 6mm or 9mm ribbon works best, while a large bag can easily accommodate a dramatic 25mm or 38mm ribbon. Grosgrain ribbon provides a ribbed texture that holds knots securely, whereas satin ribbon offers a smooth, lustrous finish that drapes elegantly but can slip if not tied tightly. Organza ribbon adds a sheer, delicate layer that works well for layering.
Products mentioned in this guide
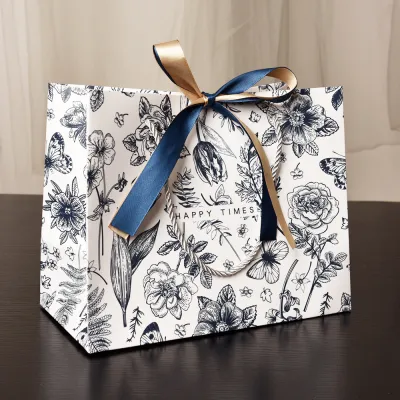

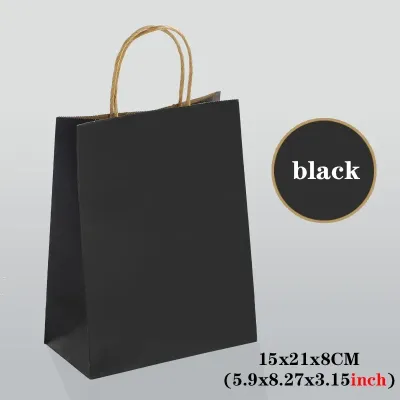

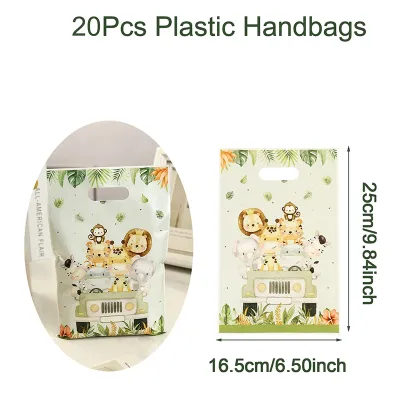
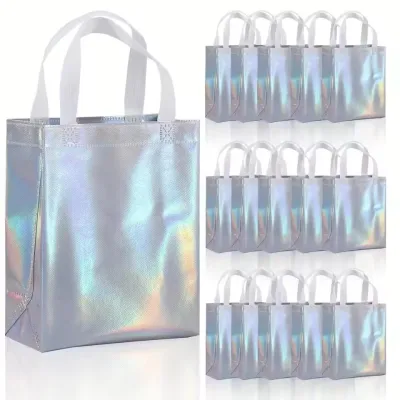
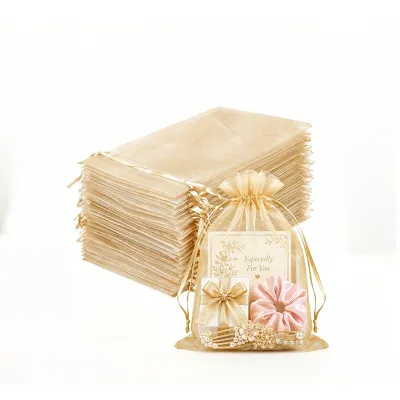
Prices are valid at publication and may change. Please refer to the product page for the latest price.
Adhesives and cutting tools are critical for a clean finish. Double-sided tape, glue dots, and foam mounting tape are excellent paper-safe options that do not warp the fibers. Avoid standard liquid school glues, which introduce too much moisture. For cutting, use sharp fabric shears dedicated solely to ribbons to prevent fraying, and precision paper scissors or a craft knife for intricate tag designs. Keep sharp tools out of reach of children during the crafting process.
Finally, collect your embellishments. These can include customized cardstock gift tags, wooden mini pegs, natural twine, metallic eyelets, or lightweight charms. If you plan to add patterns, select high-quality pigment ink pads and silicone stamps that complement your color scheme.
Prepare the Gift Wrapping Bag for Decoration
Before applying any decorative elements, inspect the plain bag thoroughly. Look for pre-existing creases, bent corners, or weak seams along the bottom and sides. If the bag has been stored flat, gently open it and push down the bottom insert to ensure it sits flat and stable on your work surface.

Assess the strength of the handles and the top rim. If you plan to hang heavy tags or thick ribbons from the handles, you may need to reinforce them. You can do this by gluing a small strip of heavy cardstock inside the top fold of the bag, directly behind where the handles are attached. This simple step distributes the weight and prevents the paper from tearing under tension.
Always perform a dry-fit of your entire design before peeling the backing off any tape or opening your ink pads. Lay the bag flat on your table and arrange the ribbons, tags, and embellishments on top of it. Step back to evaluate the visual balance, spacing, and overall composition. Take a quick photo with your phone to use as a reference guide once you begin the permanent assembly.
Step-by-Step Ribbon Application Techniques
One of the simplest yet most elegant ways to decorate a bag is by tying a classic bow at the base of the handle. Thread a length of ribbon through the handle attachment point, or wrap it around the handle itself. Tie a secure double knot first to create a stable anchor, ensuring you do not pull so tightly that you crush or crease the surrounding paper. Form two neat loops, cross them, and pull them through to create a symmetrical bow, adjusting the loops and tails until they are proportionate to the bag.
For a more structured look, you can wrap a ribbon horizontally or vertically around the entire body of the bag. Measure the circumference of the bag and cut a piece of ribbon that is slightly longer, allowing for a small overlap. Apply a thin strip of double-sided tape directly to the back of the ribbon, then press it firmly onto the paper surface, starting from the back seam of the bag to keep the joint hidden. You can create geometric borders or intersecting grid patterns using this method.
To ensure your design looks professional, you must finish the ribbon ends cleanly to prevent fraying over time. Cut the tails of your ribbons at a sharp 45-degree angle, or fold the ribbon vertically and cut outward at an angle to create a classic swallowtail shape. If you are using synthetic ribbons like polyester satin or nylon grosgrain, you can carefully seal the raw edges. Hold the cut edge near a small flame for a fraction of a second to melt the fibers slightly, taking extreme care to avoid burning the ribbon or injuring yourself.
Adding Embellishments and Personalized Tags
Gift tags serve as both a functional label and a key design element. Instead of simply taping a flat tag to the front of the bag, create depth by layering your attachments. Use a piece of natural jute twine or metallic thread to hang the tag from the handle base, allowing it to drape naturally over the front of the bag. Alternatively, use a tiny wooden peg to clip the tag directly to the top rim of the bag, which adds a charming, rustic touch.
When incorporating three-dimensional embellishments, such as dried flower sprigs, lightweight wooden shapes, or small bells, placement is key. Position these heavier items near the bottom third of the bag or close to the handle anchor points where the paper is naturally stronger. Use high-tack glue dots or small pieces of foam mounting tape to secure them. The foam tape raises the embellishment slightly off the paper surface, creating a beautiful shadow effect that enhances the 3D look.
Stamps and stencils offer an easy way to add subtle, customized background patterns to plain kraft paper. Before stamping the actual bag, always test your ink on a scrap piece of the same paper to check the drying speed and bleed resistance. Matte paper absorbs ink quickly, while coated paper may require several minutes to dry completely or may smudge easily. Press the stamp firmly and evenly onto the bag, ensuring you do not rock it, which can cause blurry edges.
Common Mistakes and How to Avoid Them
The most common mistake when decorating paper bags is using wet craft glues or hot glue guns excessively. Wet glues contain water, which quickly saturates paper fibers, causing them to swell, warp, and wrinkle as they dry. Hot glue can be too thick, leaving unsightly lumps under thin ribbons, and the high temperature can scorch delicate synthetic fabrics or thin paper. Stick to dry adhesives like double-sided tape, glue dots, or dry adhesive rollers for a smooth, flat finish.
Another frequent error is overcrowding the design, which can lead to structural failure. Adding too many heavy embellishments, thick layers of cardstock, and oversized ribbons can make the bag front-heavy, causing it to tip over or tear when lifted. Keep the decorations balanced and proportionate to the bag’s size. If you are using a lightweight paper bag, limit your embellishments to flat stamps, thin ribbons, and single-layer tags.
Always match the weight of your decorations to the thickness of the bag paper. A thin, lightweight paper bag will sag and tear if you attempt to attach heavy wooden ornaments or thick metal charms. Save those substantial embellishments for heavy-duty kraft bags or rigid gift boxes. For delicate bags, rely on visual texture—such as metallic inks, fine ribbons, and delicate paper cutouts—rather than physical weight to make an impact.
Final Inspection and Gifting Tips
Once you have finished decorating, set the bag aside for a few minutes to allow any adhesive bonds to cure fully. Perform a gentle physical inspection by lightly tapping the embellishments and tugging on the ribbon knots to ensure everything is securely attached. Check the inside of the bag to make sure no adhesive has seeped through, which could accidentally glue the bag shut or stick to the gift inside.
Test the bag’s weight capacity before placing your final gift inside. Gently lift the bag by its handles with a similar weight inside to ensure the paper around the handle holes does not stretch, tear, or deform. If you notice any strain, consider placing a rigid piece of cardboard at the bottom of the bag to distribute the weight of the gift more evenly across the base.
When transporting your beautifully decorated bag to your recipient, take extra precautions to protect your hard work. Place the decorated bag upright inside a larger, clean shopping bag to shield the delicate ribbons and 3D embellishments from snagging, dust, or sudden rain. If you are traveling in a humid climate, such as Singapore’s tropical weather, keep the bag in an air-conditioned environment as much as possible to prevent the paper from absorbing moisture and losing its crisp structure.
Frequently Asked Questions (FAQ)
Can I reuse a decorated gift wrapping bag?
Yes, you can easily reuse a decorated gift wrapping bag if you plan your design with reversibility in mind. To make your decorations removable, use low-tack adhesives, removable glue dots, or double-sided tape designed for temporary bonds. Avoid applying strong permanent glues directly to the paper surface.
When detaching ribbons and tags, work slowly and pull the adhesive parallel to the paper surface rather than lifting straight up, which can tear the top layer of paper fibers. Alternatively, focus your decorations on the handles rather than the bag body. By tying ribbons, tags, and charms directly to the handles, the recipient can easily untie them and reuse the clean, undamaged bag for another occasion.
What is the best adhesive for heavy embellishments on paper bags?
For securing heavier embellishments like wooden shapes, thick cardstock layers, or metal charms, high-tack glue dots or double-sided foam mounting tape are highly effective options. Glue dots provide a strong, instant bond without the moisture of liquid glue, preventing the paper from warping. Foam tape not only offers a secure hold but also adds a three-dimensional depth to your design.
Before committing to any adhesive, always perform a test on a hidden area of the bag, such as the inside fold or the bottom flap. Apply a small piece of the adhesive, let it sit for a few minutes, and check for any oil staining, paper warping, or structural weakening. This simple test ensures your chosen adhesive is fully compatible with the specific paper finish of your gift bag.
Community discussion
Share your experience or ask a question. Comments are reviewed before publication.