
Tying a flawless, professional-looking bow with satin ribbon elevates any gift from simple to extraordinary. The secret to achieving that boutique-grade finish lies in mastering tension, maintaining the fabric’s orientation so the lustrous side always faces outward, and executing clean, precise cuts. Satin is notoriously slippery and fluid, which makes it incredibly elegant but challenging to control. By understanding how to manipulate the loops and secure the knot, you can transform a standard gift box into a stunning presentation.
Whether you are wrapping a delicate wedding gift, a festive holiday hamper, or a corporate token of appreciation, a beautifully styled bow shows a high level of care and attention to detail. With a few professional techniques, you can easily overcome the slippery nature of satin and create a symmetrical, picture-perfect bow every single time.
Preparing Your Satin Ribbon and Workspace
Before cutting your ribbon, select the correct width for your specific gift. For standard jewelry boxes or small book-sized packages, a narrow ribbon measuring 1.5 cm to 2.5 cm wide offers a delicate, balanced proportion. Larger gift boxes, gourmet hampers, or deep presentation boxes demand a wider ribbon, typically between 3.8 cm and 5 cm, to ensure the bow does not look swallowed by the packaging. Matching the scale of the ribbon to the volume of the box is the first step toward a professional aesthetic.
Products mentioned in this guide
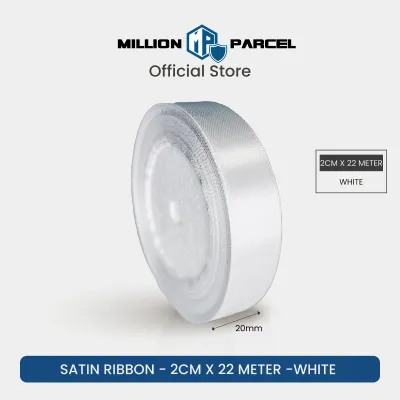
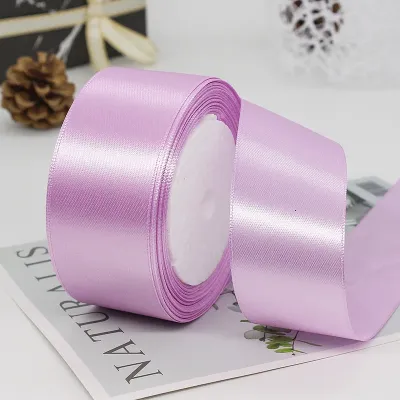
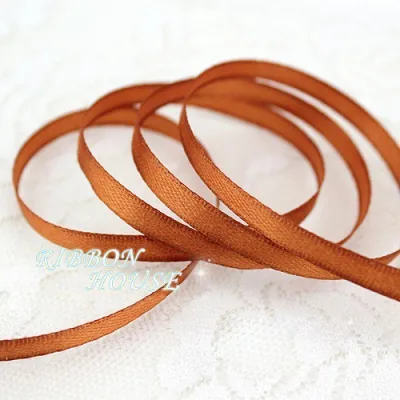
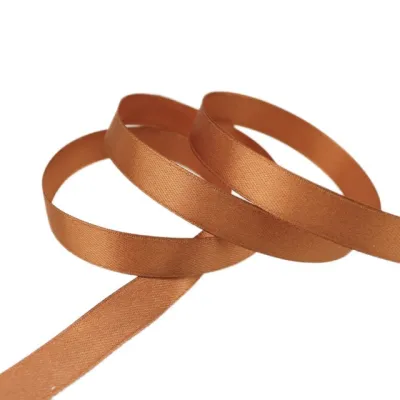
![[SG Seller] 25mm Satin Edged Organza Gift Box Wrapping Ribbon Cake Box Ribbon Flower wrapping Ribbon 5m](https://img.lazcdn.com/g/p/4886b9f7b04316723066e64a0b1ed7c7.png_400x400q80.png_.webp)
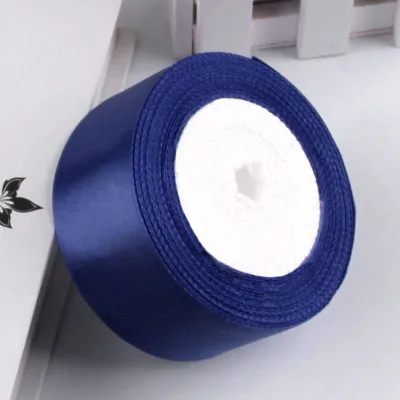
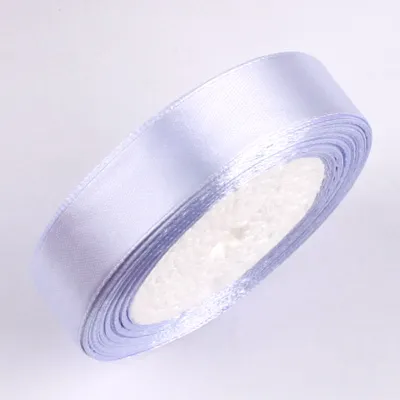
Prices are valid at publication and may change. Please refer to the product page for the latest price.
Your workspace must be clean, dry, and completely flat. Satin snagging is a common issue, so ensure your hands are smooth and your work surface is free of rough edges. You will need a pair of dedicated, ultra-sharp fabric scissors; dull household scissors will chew through the delicate threads of satin, leaving unsightly, frayed edges. Keep a roll of high-quality double-sided tape or clear glue dots nearby to help anchor the ribbon during the wrapping process.
To calculate the exact length of ribbon required without wasting material, use a simple formula based on your box dimensions. Wrap the ribbon around the length of the box once, then around the width once. Add the height of the box multiplied by four to account for the vertical rises. Finally, add an extra 60 cm to 80 cm to accommodate the loops, center knot, and elegant hanging tails. For example, a box measuring 20 cm long, 15 cm wide, and 5 cm high would require approximately 150 cm of ribbon. Investing S$5 to S$10 in a roll of premium double-sided satin ribbon ensures you have plenty of material to work with.
Tying the Foundation: Step-by-Step Symmetrical Bow
Begin by placing your wrapped gift box face down on your clean workspace. Lay the center of your calculated ribbon length across the top of the box. Bring both ends of the ribbon down the sides, cross them underneath the box, and turn them 90 degrees. Bring the ends back up over the remaining sides to the top of the box. This classic cross-over method creates a secure, flat base underneath the package, ensuring the box sits perfectly level on any flat surface.

Once the ribbon ends meet on the top of the box, thread one end under the central intersection point. Pull both ends firmly to create a secure anchor knot. It is vital to apply just enough tension to keep the ribbon taut against the box without crushing the corners of your wrapping paper. If you are wrapping a soft box or delicate cardboard, place a finger on the center intersection to hold the tension while you prepare to tie the first loop.
To form the primary loops, you must adapt your technique for single-sided satin, which features one highly reflective, shiny side and one dull, matte underside. Fold the left-hand ribbon end into a loop, ensuring the shiny side faces outward. Take the right-hand ribbon end and wrap it over the front of the loop you just created. As you wrap it around, twist the ribbon slightly at the back so that the shiny side remains visible as it forms the second loop.
Push the middle of the right-hand ribbon through the loop gap created at the base of the knot. This action forms the second loop of your bow. As you pull both loops outward to tighten the knot, pay close attention to the orientation of the fabric. If the dull underside begins to twist forward, gently untwist the loop before pulling the knot completely tight.
Adjust the tension gradually. Do not yank the loops, as this can distort the center knot and cause the satin to bunch unevenly. Instead, pull the loops and the tails alternately. Hold the base of the loops near the knot and pull the tails to shrink the loops to your desired size, then pull the loops themselves to tighten the central knot. This incremental adjustment keeps the bow symmetrical and prevents the slippery satin from sliding out of alignment.
Shaping, Trimming, and Securing the Final Bow
Once your bow is tied, spend a few moments shaping and fluffing the loops. Insert your fingers inside each loop and gently pull outward to expand the volume of the fabric. Satin ribbon has a natural drape, but you want the loops to sit flat against the box, facing outward rather than drooping sideways. Adjust the loops until they are identical in size and the tails drape gracefully downward in a balanced, symmetrical V-shape.
To finish the tails professionally, never cut them straight across. Instead, fold each tail in half vertically and cut upward at a 45-degree angle from the open edges toward the fold. This creates a classic, clean V-notch (also known as a swallowtail cut). Alternatively, you can cut the ribbon at a sharp, single 45-degree angle across its width. Both methods significantly reduce the risk of the woven edges fraying while adding a tailored, high-end look to your gift.
Because satin has a very smooth surface, the center knot can shift during transport. To secure your hard work, slide a tiny piece of double-sided tape or a small glue dot directly underneath the center knot, pressing it firmly against the wrapping paper. You can also place a microscopic dot of fabric glue inside the folds of the knot itself to lock the loops in place. Ensure the adhesive is completely hidden to maintain a clean, seamless appearance.
For an extra touch of luxury, consider layering your ribbons. You can tie a secondary, much thinner satin ribbon—perhaps in a contrasting metallic shade like gold or silver—directly over the center knot of your primary bow. This secondary ribbon can be tied into a smaller, delicate bow, which elegantly conceals the structural knot underneath while adding depth, texture, and a festive flair to your presentation.
Troubleshooting Slipping, Twisting, and Creasing
Working with satin ribbon can occasionally be frustrating due to its delicate, low-friction nature. If you find your loops are constantly twisting and showing the dull underside, do not untie the entire bow. Instead, hold the center knot firmly with one hand to preserve its tension. With your other hand, gently grasp the twisted loop and rotate the ribbon along its length right at the entry point of the knot. This minor adjustment re-aligns the shiny side without loosening the structural foundation.
Slipping knots are another common issue, especially with heavy, high-density satin ribbons. If your anchor knot refuses to stay tight while you form the loops, try using a temporary holding tool, such as a clean wooden clothes peg or a paperclip, to clamp the intersection. Alternatively, applying a single glue dot directly to the box surface where the ribbons cross will lock the foundation in place, allowing you to tie the loops with both hands free and without losing tension.
In Singapore’s humid climate, stored satin ribbons can easily absorb moisture, causing them to lose their crispness and develop stubborn creases. If your ribbon looks limp or wrinkled, never use a high-heat iron directly on the fabric, as this can melt the synthetic fibers and ruin the glossy finish. Instead, set a household iron to its lowest synthetic setting and place a clean cotton pressing cloth over the ribbon before gently gliding the iron across. Alternatively, you can pull the ribbon slowly across the warm barrel of a hair curling iron or use a handheld garment steamer from a safe distance to restore its smooth, luxurious sheen.
Frequently Asked Questions (FAQ)
Can I reuse a satin ribbon bow after untying it?
Yes, high-quality satin ribbon can easily be salvaged and reused for future gift-wrapping projects, provided it is handled with care. Before storing a used ribbon, inspect it thoroughly for permanent creases, deep snags, fraying edges, or sticky adhesive residue from tape or glue dots. If the ends are frayed, simply trim them back slightly at a fresh 45-degree angle to restore a clean edge.
To maintain the ribbon’s shape, luster, and structural integrity between uses, avoid folding it, as folding creates sharp, permanent creases that are difficult to remove. Instead, roll the ribbon loosely around a cardboard tube or a dedicated ribbon spool. Store the spools in an airtight plastic container with a few silica gel packets to protect the fabric from humidity, dust, and color fading.
Is wired satin ribbon easier to tie than unwired satin?
For beginners, wired satin ribbon is often much easier to shape and manipulate than traditional unwired satin. The thin, flexible wire embedded along the outer edges provides excellent structural support, allowing you to mold the loops into voluminous, dramatic shapes that will not droop or flatten over time. This makes wired ribbon highly suitable for large, elaborate bows on festive hampers or heavy gift boxes.
However, wired ribbon does come with trade-offs. The wire edges make the ribbon significantly stiffer, which can make tying tight, compact center knots more difficult. There is also a minor risk of the wire poking through the fabric ends if the ribbon is cut carelessly. For a soft, classic drape that flows naturally over the sides of a gift box, traditional unwired satin remains the preferred choice for a truly elegant, classic finish.

Community discussion
Share your experience or ask a question. Comments are reviewed before publication.