
Setting up your new liontots led board is a straightforward process that can instantly elevate your tracing, sketching, and calligraphy projects. Whether you are helping a child develop fine motor skills or working on detailed line art as a hobbyist, this illuminated light pad provides a consistent, adjustable backlight that makes tracing highly accurate. To get the most out of your device, you need to understand how to prepare your workspace, select the right paper and drawing tools, and care for the acrylic surface. This guide walks you through the entire setup process, basic tracing techniques, and essential maintenance steps to ensure a seamless creative experience.
What You Need Before You Start
To ensure a smooth and uninterrupted creative session, it is best to gather all your materials before powering on your liontots led board. Having the right tools on hand prevents interruptions and helps protect both your artwork and the device itself.
- The Core Equipment: You will need your liontots led board, its designated power cable (typically a USB cable supplied in the box), and a compatible power source. Depending on where you set up, this power source can be a standard USB wall adapter, a laptop port, or a portable power bank for on-the-go drawing.
- Paper Selection and Opacity: The success of your tracing depends heavily on the paper you choose. Standard tracing paper (usually around 40 to 50 GSM) offers the highest transparency, allowing even the finest details of your reference image to show through clearly. Lightweight sketching paper or standard 80 GSM printer paper also works exceptionally well with the board's backlight. If you wish to use heavier papers, such as 120 GSM drawing paper, you must check its opacity first. Thicker, highly textured, or heavily sized papers will block the backlight, making it difficult to see the underlying lines. Conduct a quick test by placing your reference and the paper on the board to verify if the illumination penetrates sufficiently.
- Securing Tools: Keeping your papers perfectly still is crucial for accurate tracing. Low-tack masking tape, draftsperson's tape, or washi tape are ideal because they hold the sheets firmly without leaving a sticky residue or tearing the paper fibers when removed. Alternatively, you can use small, low-profile binder clips or paper clamps along the edges of the board, provided they do not apply excessive pressure to the acrylic surface.
- Drawing Instruments: Choose your drawing tools based on the stage of your artwork and the paper type. For initial outlines, a hard graphite pencil (such as a 2H or H) is recommended because it leaves light, clean lines that are easy to erase or cover. Avoid soft, dark pencils (like 4B or 6B) for tracing, as the soft lead smudges easily under your hand and can transfer grime onto the board's surface. For final inking, select fine-liner pens with quick-drying, waterproof ink. When using ink, always test the combination of your pen and paper beforehand to evaluate drying speed and bleed resistance, ensuring the ink does not seep through the paper and stain the light pad.
Step-by-Step Setup for Your Liontots LED Board
Setting up your liontots led board correctly ensures physical safety for the device and a comfortable, ergonomic working environment for yourself. Follow these steps to prepare your light pad for its first use.
Products mentioned in this guide
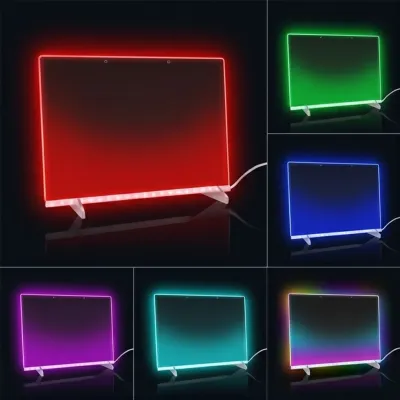
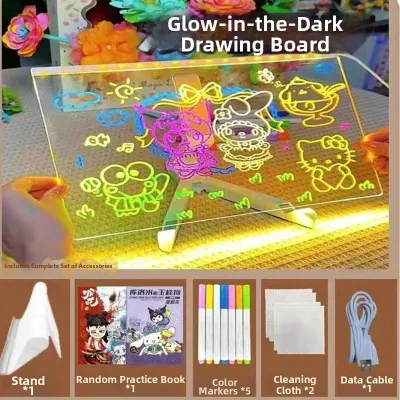
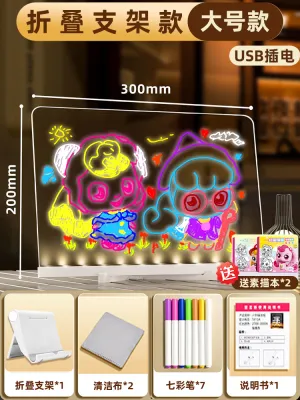
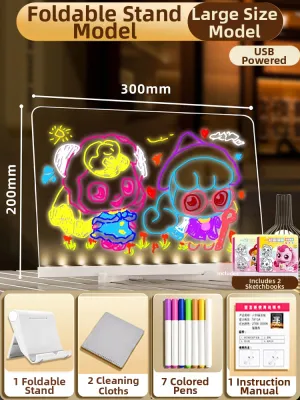
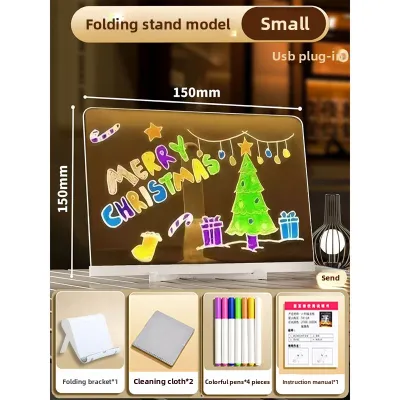
Prices are valid at publication and may change. Please refer to the product page for the latest price.

- Selecting the Right Placement: Always place your light board on a flat, stable, and completely dry surface, such as a sturdy desk or dining table. Ensure the area is free of clutter, loose liquids, or grit that could scratch the bottom of the board. Working on an even surface prevents the board from flexing under the pressure of your hand, which protects the internal LED arrays and maintains a uniform light distribution across the panel.
- Power Connection and Safety: Connect the provided power cable to the input port on the side of the board. Before plugging the other end into a power source, check the product label or the manufacturer's user manual for the exact electrical input requirements. Most portable light pads operate on a standard USB 5V input, making them compatible with common phone chargers and power banks. If you are plugging the adapter into a standard Singapore power outlet, ensure you are using a certified, high-quality USB wall plug that matches the voltage and amperage specifications listed by the manufacturer. Never use damaged cables or adapters that show signs of fraying.
- Adjusting the Brightness Levels: Once the board is connected to power, locate the power control. Depending on your specific model, this may be a touch-sensitive button, a physical toggle switch, or a continuous dial dimmer. Turn the board on and experiment with the brightness settings. If your board features step-less dimming, hold down the touch button to gradually increase or decrease the light intensity. Adjust the brightness so that the lines of your reference image are sharply visible through your top sheet of paper. Avoid setting the light to maximum brightness in a dark room, as the high contrast can cause eye strain and fatigue during long drawing sessions; instead, aim for a balanced level that complements your room's ambient lighting.
How to Trace and Draw: Basic Techniques for Beginners
Once your board is illuminated and positioned comfortably, you can begin the tracing process. Following a structured approach will help you maintain alignment and achieve clean, professional results.
- Positioning Your Reference Image: Place your original artwork, printed template, or reference sketch flat against the center of the illuminated acrylic surface. Ensure there are no folds or wrinkles in the reference sheet, as these can cast shadows and distort your tracing lines.
- Securing the Layers: To prevent any accidental shifting while you draw, use a two-step securing method. First, align your reference image on the board and secure its corners with small pieces of low-tack masking tape. Next, place your blank drawing paper directly over the reference. Once you have aligned it perfectly, tape down the top sheet independently. Securing both layers separately ensures that even if you accidentally bump the top paper with your hand, the underlying reference remains locked in place.
- Tracing the Outlines: Switch on the backlight and adjust it until the reference lines are clearly visible. Begin tracing using light, loose pencil strokes. Focus on capturing the primary shapes, proportions, and major guidelines first. Do not press down hard with your pencil; light pressure makes it easier to correct mistakes and prevents you from embossing permanent grooves into your drawing paper or scratching the acrylic surface underneath.
- Dynamic Light Adjustment: Do not hesitate to adjust the brightness as you transition between different areas of your drawing. If you are working on a section of the reference with very fine, faint lines, increase the brightness slightly to bring out the details. If you are working on high-contrast areas or feel your eyes starting to tire, dim the light to a softer level. Keeping the contrast comfortable is key to maintaining focus and precision.
- Inking and Tape Removal: If you plan to finish your artwork with ink, go over your pencil outlines carefully using your fine-liner pens. Keep your hand steady and let the ink dry completely before erasing any underlying pencil marks to prevent smudging. Once your drawing is complete, turn off the light board to inspect the final piece under normal room light. To remove the masking tape safely, peel it away slowly at a shallow, 45-degree angle flat against the paper surface. This technique minimizes tension on the paper fibers and prevents the tape from tearing your finished artwork.
Caring for Your LED Board and Troubleshooting Common Issues
Proper maintenance and careful handling will extend the lifespan of your liontots led board and keep its tracing surface pristine. Acrylic is a durable material, but it requires specific care to prevent physical and cosmetic damage.
- Surface Protection Guidelines: The clear acrylic surface of your light pad is susceptible to scratches from sharp objects. Never use sharp drafting compasses, metal rulers with rough edges, or craft knives directly on the board. If your creative project involves cutting, stenciling, or using sharp blades, always place a dedicated self-healing cutting mat over the board to protect the acrylic, or perform the cutting steps on a separate work surface. Always check the manufacturer's care instructions for any specific material limitations.
- Cleaning Routine: Over time, dust, fingerprints, and graphite residue from your hands will accumulate on the screen. To clean the board, unplug it from the power source first. Wipe the surface gently with a dry, clean, soft microfiber cloth. If there are stubborn smudges, you may slightly dampen the microfiber cloth with clean water. Never spray water or liquid cleaners directly onto the board, as moisture can seep into the edges and damage the internal LED circuitry. Avoid using harsh chemical solvents, glass cleaners, alcohol, or abrasive scrubbing sponges, as these can permanently cloud, yellow, or scratch the acrylic surface.
- Basic Troubleshooting Steps: If your light board fails to turn on, starts flickering, or has unresponsive touch controls, perform a few basic checks before seeking professional support. First, ensure that the power cable is pushed firmly into both the board's input port and the power adapter. Try plugging the USB cable into a different power source, such as another wall adapter or a computer port, to rule out a faulty power supply. If the light flickers, it often indicates insufficient power delivery; ensure your USB adapter meets the minimum amperage requirement specified in your user manual. If the touch sensor seems unresponsive, wipe the area around the button with a dry cloth to remove any static buildup or moisture, and try pressing it with a clean, dry finger.
Frequently Asked Questions (FAQ)
Can I use watercolor paper or thick cardstock on the LED board?
Standard LED tracing boards are optimized for thin to medium-weight papers, such as sketching paper, tracing paper, and standard copy paper up to 100 GSM. Heavy watercolor papers (typically 300 GSM) or thick cardstock are generally too dense for the backlight to penetrate effectively, making the reference image invisible. If you want to use heavier mediums, try testing a small scrap of the paper over a brightly lit section of the board first. Alternatively, you can transfer your design onto a thinner sheet first, or look for lightweight watercolor papers specifically designed with lower opacity.
Is it safe to leave the LED board turned on for long drawing sessions?
Yes, high-quality LED boards are highly energy-efficient and generate very little heat, making them safe for extended use. However, leaving the board illuminated when not in use can gradually shorten the lifespan of the internal LEDs. To conserve energy and preserve your device, it is best practice to turn off the board whenever you step away for a break. Additionally, giving your eyes regular breaks from the direct backlight helps prevent eye strain and fatigue during long creative sessions.
Community discussion
Share your experience or ask a question. Comments are reviewed before publication.