
Replacing a broken zipper on a favorite garment, cushion, or bag is a highly satisfying repair that extends the life of your items and saves money. To achieve a professional finish, you must use a sewing machine zipper foot. This specialized attachment allows your machine’s needle to stitch incredibly close to the zipper teeth by riding along either the left or right side of the zipper coil. By aligning the foot correctly, you avoid catching the teeth or breaking your needle, resulting in a clean, secure seam that looks factory-made.
Successfully executing a zipper replacement requires patience, precise alignment, and an understanding of how your specific sewing machine interacts with the zipper foot. Whether you are repairing a lightweight linen dress suited for Singapore’s humid climate or a heavy-duty canvas backpack, the fundamental mechanics of the zipper foot remain the same. Mastering this attachment will unlock your ability to tackle a wide variety of garment repairs and home decor projects with confidence.
Preparing for Zipper Replacement
Before removing any stitches, you must assess the exact nature of the damage to determine if a full zipper replacement is necessary. Sometimes, a zipper fails simply because the slider has stretched open or slipped off the tracks. If the zipper teeth are missing, melted, or severely bent, a complete replacement is the only viable solution. Inspect the surrounding fabric for wear and tear, as weakened fabric may require reinforcement with a lightweight fusible interfacing before you sew in the new zipper.
Products mentioned in this guide
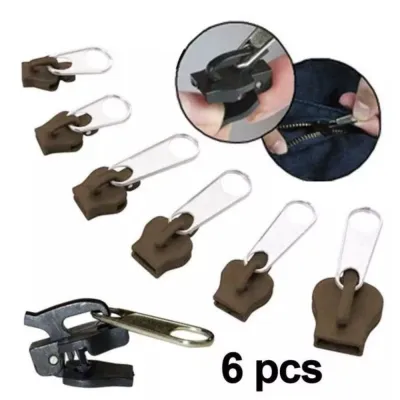
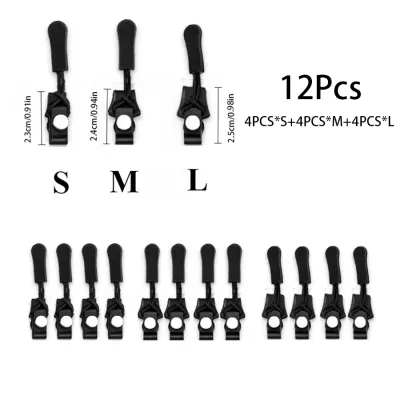
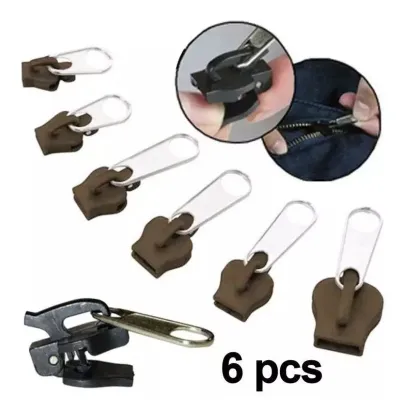
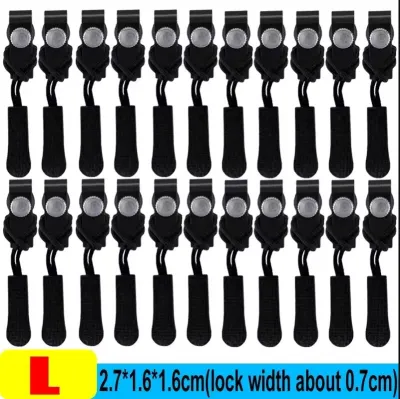
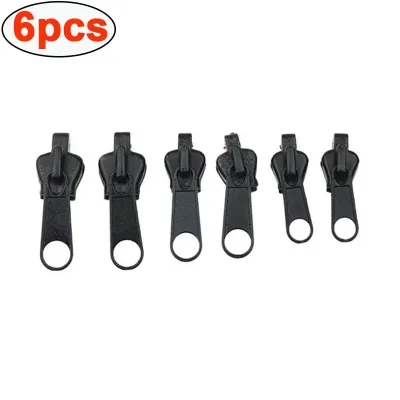
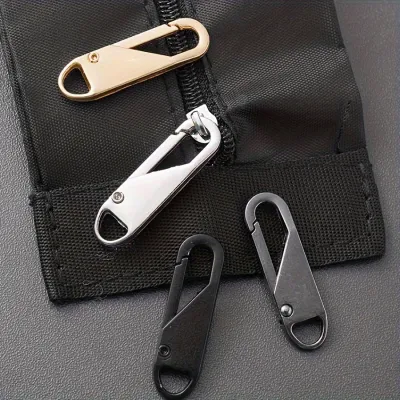
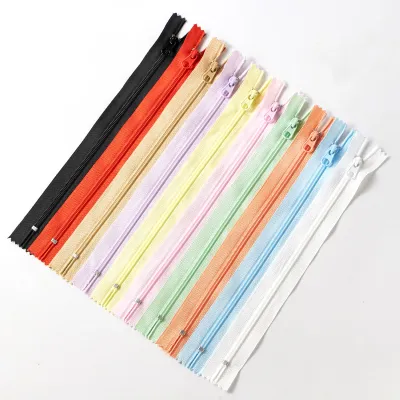
Prices are valid at publication and may change. Please refer to the product page for the latest price.
Gathering the correct tools before you begin will make the process much smoother. You will need a high-quality seam ripper, a replacement zipper that matches the length and weight of the original, a sewing machine, a compatible zipper foot, fabric pins or clips, matching polyester thread, and an iron. For most garments in Singapore, a standard nylon coil zipper is ideal, while heavy-duty items like jackets or bags may require a molded plastic or metal zipper. Replacement zippers are highly affordable, typically costing between S$1.00 and S$5.00 at local haberdashery shops or online craft retailers.
Always consult your sewing machine’s official instruction manual before starting. Different machine models have specific requirements for threading, needle positions, and tension adjustments. Ensure your needle size matches the weight of your fabric; a universal size 80/12 needle works well for medium-weight cottons, while a size 90/14 or denim needle is necessary for heavier materials. Taking a few minutes to verify these settings prevents skipped stitches and thread jams later on.
Understanding and Attaching the Zipper Foot
A standard presser foot is wide and flat, designed to press down on both sides of the feed dogs to feed fabric evenly. A zipper foot is much narrower and features notches on both its left and right sides. This design allows the needle to pass directly alongside the edge of the foot, sewing immediately adjacent to the raised zipper teeth without riding up over them. Understanding how to adjust this foot is the key to a successful installation.

Sewing machine zipper feet generally fall into two categories: snap-on and screw-on. Snap-on feet are the most common on modern machines and attach simply by lowering the presser foot ankle onto the foot’s horizontal bar. Older or specialized machines may require a screw-on foot, which attaches directly to the presser bar using a small screwdriver. Always ensure the machine is completely turned off before swapping presser feet or changing the needle to prevent accidental injury.
Adjustability is a crucial feature of the zipper foot. Most zipper feet allow you to adjust which side of the foot the needle passes. On snap-on models, this is often done by snapping the ankle onto either the left or right bar of the foot. On other machines, you may need to manually adjust the needle position setting (moving it left or right) to align it with the foot’s notch. The goal is to position the needle on the side of the foot closest to the fabric seam, away from the zipper teeth.
Before you begin sewing your project, perform a manual test stitch on a scrap piece of fabric. With the machine still turned off, slowly lower the needle by turning the handwheel toward you. Verify that the needle clears the metal edge of the zipper foot completely. If the needle strikes the foot, adjust your needle position or the foot alignment immediately to avoid breaking the needle or damaging the machine’s internal timing.
Removing the Broken Zipper
To prepare the garment for a new zipper, you must carefully extract the old, broken zipper without damaging the surrounding fabric. Work in a well-lit area and use a sharp seam ripper. Locate the stitching that secures the zipper tape to the fabric seam allowance. Gently slide the point of the seam ripper under the stitches, cutting them every few centimeters along the length of the zipper on both sides.
Take extra care when working with delicate, knit, or worn fabrics. Rushing this step can easily lead to accidental punctures or tears in the garment fabric, which will make installing the new zipper much more difficult. If the original zipper was secured with multiple rows of stitching or a topstitch, make sure to identify and remove all layers of thread. Gently pull the old zipper tape away from the fabric as the stitches are freed.
Once the old zipper is completely removed, you will be left with a collection of loose thread tails. Pluck these threads away from the fabric using tweezers or a lint roller to ensure a clean work surface. Next, take the garment to your ironing board and press the seam allowances flat. Removing the creases from the old zipper installation provides a clean, precise edge to align your new zipper, ensuring a professional and warp-free result.
Step-by-Step Guide to Installing the New Zipper
Pinning and Basting the Zipper
Accurate alignment is the foundation of a perfectly installed zipper. Open the replacement zipper and place it face down on the right side of the fabric seam allowance, aligning the edge of the zipper tape with the raw edge of the fabric. The zipper teeth should sit just inside the seam line. If you are working with a closed-end zipper, ensure the metal or plastic stop at the bottom aligns precisely with the bottom of the zipper opening.
Secure the zipper tape to the fabric using sewing pins or fabric clips. Insert the pins perpendicular to the zipper tape so they are easy to remove as you sew. Alternatively, you can use a narrow strip of double-sided wash-away basting tape. This tape holds the zipper perfectly flat against the fabric, preventing any shifting or puckering, and dissolves completely during the first wash.
For beginners, hand-basting is a highly recommended step that guarantees success. Thread a hand-sewing needle with a contrasting thread and sew long, loose running stitches along the center of the zipper tape, securing it to the seam allowance. Hand-basting allows you to remove the pins before machine sewing, eliminating the risk of sewing over a pin and breaking your machine needle. It also keeps the fabric perfectly aligned as it passes under the presser foot.
Sewing the First Side
Attach your zipper foot to the machine and adjust the needle position so that it is aligned with the side of the foot closest to the zipper teeth. Place your fabric under the presser foot, ensuring the bulk of the garment sits to the left of the needle to prevent bunching. Lower the presser foot so that the side of the foot rides snugly against the edge of the zipper teeth.
Begin sewing slowly, keeping your eye on the alignment of the foot against the teeth rather than watching the needle. As you sew, the zipper foot will guide the needle in a straight line parallel to the zipper coil. When you start, sew two or three stitches forward, then use the reverse lever to backstitch to secure the thread. Continue sewing down the length of the zipper tape at a steady, moderate speed.
When you approach the zipper slider, stop sewing with the needle down in the fabric. Lift the presser foot, carefully slide the zipper pull past the foot to the area you have already sewn, and then lower the presser foot. This technique prevents the bulky slider from pushing the presser foot sideways, which would otherwise cause a noticeable curve or wobble in your stitch line. Continue sewing to the end of the tape and backstitch to finish.
Sewing the Second Side and Topstitching
To sew the opposite side of the zipper, you must adjust your zipper foot. Snap the foot onto the opposite side or adjust your needle position so that the needle is now on the other side of the foot. This adjustment ensures that the flat side of the foot will once again ride directly against the zipper teeth, keeping your stitches perfectly aligned on the second tape.
Before you begin sewing, zip up the zipper to verify that the fabric edges align perfectly at both the top and bottom. If one side is higher than the other, the garment will pucker or sit unevenly when worn. Once you have verified the alignment, unzip the zipper, pin or baste the second side in place, and sew down the tape using the same technique as the first side, remembering to slide the zipper pull out of the way when necessary.
Once both sides are securely sewn, you can add topstitching for a clean, commercial look. Close the zipper and press the fabric gently away from the teeth with an iron. Adjust your zipper foot or use a standard foot to sew a neat line of stitching on the right side of the garment, approximately 6 millimeters away from the seam. This topstitching keeps the fabric from catching in the zipper teeth during daily use.
Testing and Finishing Your Zipper Replacement
With the sewing complete, it is time to verify the quality of your work. Gently slide the zipper pull up and down along the entire length of the track. The slider should move smoothly without catching on the fabric edges, loose threads, or the zipper tape itself. If the slider catches, check to see if the fabric is sitting too close to the teeth; you may need to press the fabric back or add a row of topstitching to hold it in place.
Inspect the stitch lines on both the inside and outside of the garment. Look closely for any skipped stitches, uneven tension, or areas where the needle may have wandered too far from the zipper teeth. If you spot an uneven section, use your seam ripper to remove only those specific stitches, realign the fabric, and sew over the section again, making sure to backstitch at both ends of the repair.
Finally, clean up the garment by trimming all loose thread tails close to the fabric. Take the item back to the ironing board for a final press. Place a pressing cloth over the zipper—especially if it is a nylon or plastic coil zipper—to protect it from direct heat. Pressing sets the stitches into the fabric fibers, flattens any minor puckering, and gives your completed zipper replacement a crisp, professional appearance.
Troubleshooting Common Zipper Sewing Issues
- Fabric Puckering: If the fabric along the zipper line looks gathered or puckered, your thread tension may be too tight, or your needle may be dull. Try loosening the upper thread tension slightly and always use a fresh needle appropriate for your fabric weight. For lightweight or stretchy fabrics, applying a strip of fusible stabilizer to the seam allowance before sewing will prevent the fabric from stretching out of shape under the foot.
- Zipper Waviness: A wavy zipper occurs when the fabric is stretched or pulled while being fed through the sewing machine. To prevent this, avoid pulling or pushing the fabric from behind or in front of the needle. Let the machine's feed dogs pull the fabric naturally. Using fabric clips or basting tape also helps keep the fabric and zipper tape feeding at the exact same rate.
- Needle Hitting the Zipper Teeth: If your needle strikes the zipper teeth or the metal foot, stop immediately. This issue is caused by incorrect needle alignment or a zipper foot that has shifted. Turn off the machine, loosen the foot attachment, and realign it. Always turn the handwheel manually for the first few stitches of any zipper project to verify that the needle clears all metal parts safely.
Frequently Asked Questions (FAQ)
Can I sew a zipper without a zipper foot?
While it is technically possible to sew a zipper using a standard presser foot by moving your needle to the far left or right position, it is highly discouraged. A standard presser foot is too wide to ride close to the zipper teeth, which forces you to sew too far from the zipper coil, resulting in an exposed, untidy zipper tape. Additionally, the wide foot can easily ride up onto the teeth, causing uneven feeding, skipped stitches, or a broken needle. Utilizing the proper zipper foot ensures both safety and a professional-grade finish.
How do I choose the correct zipper length and type?
To choose the correct replacement zipper, measure the length of the old zipper from the top stop to the bottom stop; do not include the extra fabric tape at the ends. If you cannot find an exact match, purchase a zipper that is slightly longer, as nylon zippers can easily be shortened by sewing a new thread stop at the desired length and cutting off the excess. Match the zipper type to your project: use lightweight nylon coil zippers for skirts and dresses, invisible zippers for elegant garments, and heavy-duty metal or molded plastic zippers for jackets, denim, and bags.
Community discussion
Share your experience or ask a question. Comments are reviewed before publication.