
Packaging cookies for gifting is an art that balances visual appeal with food preservation. To ensure your homemade treats arrive looking beautiful and tasting fresh, you must select the right food-safe bags, prepare the cookies correctly, and apply a secure seal. This guide walks you through the entire process, from choosing materials to adding the final decorative touches, helping you create professional-looking gifts for any occasion.
Materials and Tools You Need
The foundation of successful cookie gifting lies in selecting an appropriate cookie packaging bag. Cellophane bags offer high clarity and a classic, crinkly texture, making them ideal for showing off colorful decorations or intricate icing. Polypropylene bags provide a strong moisture barrier, which helps prevent crispy cookies from absorbing humidity and becoming soft. For a more rustic or artisanal presentation, kraft paper bags with clear plastic windows combine a textured, natural aesthetic with a sneak peek of the treats inside. Always verify that any bag you select is explicitly labeled as food-grade or safe for direct food contact.
When selecting your bags, verify that the dimensions match the size and quantity of your cookies, leaving at least five to seven centimeters of clearance at the top for sealing. The grease resistance and moisture barrier performance of your packaging depend on the exact material combination of the bag and any inner liners. Because these properties vary, perform a simple trial by placing a single test cookie in a sample bag overnight; check the next day for any grease bleed-through on the paper or loss of crispness in the cookie before packaging the entire batch.
Products mentioned in this guide
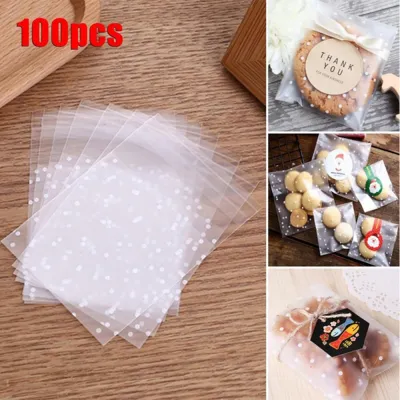
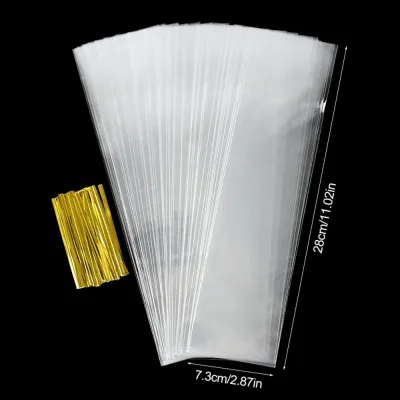
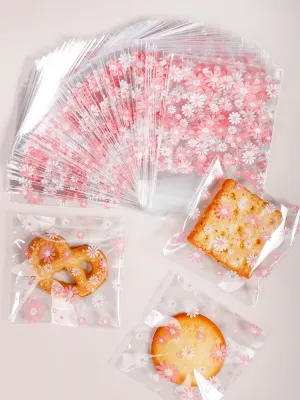
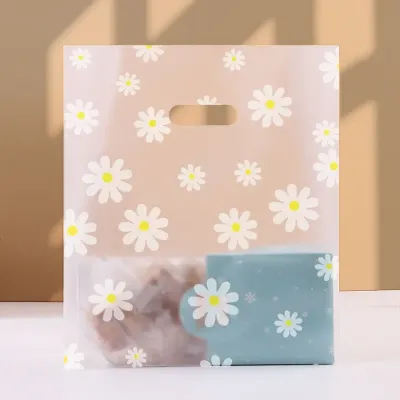
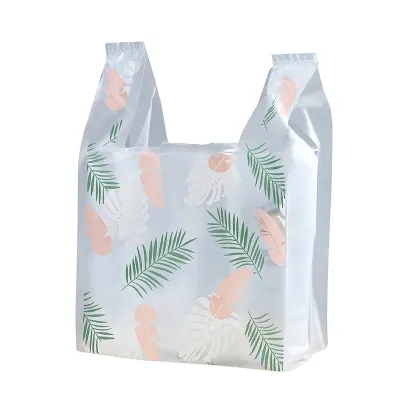
Prices are valid at publication and may change. Please refer to the product page for the latest price.
Your choice of sealing method directly impacts both the shelf life of the cookies and the overall style of the presentation. Handheld impulse heat sealers melt the plastic edges together to create a tight barrier, which is often recommended for long-distance shipping or extended storage. A basic impulse heat sealer, often available for under S$30 on online marketplaces, is a practical investment if you plan to package treats regularly. If you prefer a reusable or more decorative option, twist ties, self-adhesive strips, or fabric ribbons allow recipients to open and reclose the bag easily. Ensure that the thickness of your chosen bag is compatible with your sealing method; thicker gusseted bags may require a higher heat setting on an impulse sealer than thin flat bags.
Protective inner layers play a vital role in maintaining both the structural integrity of the cookies and the cleanliness of the packaging. Placing a small sheet of grease-resistant parchment paper or wax paper at the bottom of the bag prevents butter stains from seeping through paper elements. Cupcake liners can also serve as individual cups for delicate or round cookies, keeping them upright and cushioned against sudden movements.
Preparing the Cookies for Packaging
Before placing a single cookie into a bag, you must allow the baked goods to cool completely to room temperature. Packaging cookies while they are still warm is a common mistake that leads to condensation forming on the inside of the bag. This trapped moisture quickly ruins the texture of the cookies, making crispy varieties soggy and creating an environment where mold can develop. To verify that your cookies are fully cooled, touch the underside of a sample cookie; it should feel completely neutral, with no lingering warmth.

Sorting and grouping your cookies by size, shape, and texture is another essential preparation step. Avoid mixing soft, chewy cookies with crisp, dry ones in the same bag, as moisture will naturally migrate from the soft cookies to the crisp ones, leaving both with an undesirable texture. Group similar cookies together, and plan to place heavier, sturdier cookies at the bottom of the stack to prevent them from crushing lighter, more delicate treats underneath.
For cookies decorated with royal icing, buttercream, or sticky glazes, extra precautions are necessary to preserve their appearance. Ensure that all icing is completely set and dry to the touch before handling. Use small squares of parchment paper as dividers between stacked cookies to prevent them from sticking together or transferring color. If you are packaging highly fragile cookies, consider wrapping them individually in thin plastic wrap before placing them into the main gift bag.
Step-by-Step Guide to Bagging and Sealing
To begin the bagging process, gently open the mouth of the cookie packaging bag, ensuring your hands are clean and dry. Tilt the bag at a slight angle and slide each cookie in slowly, rather than dropping them from the top. This controlled movement prevents the cookies from chipping their edges or scraping against the sides of the bag, which can leave unsightly grease streaks or icing residue on the clear plastic.
Arrange the cookies in a way that maximizes stability and visual appeal. For uniform, sturdy cookies like shortbread or chocolate chip, stacking them vertically in a gusseted bag creates a neat, column-like presentation. For decorated sugar cookies, laying them flat against the back of a flat bag allows the design to face forward, making an immediate impression on the recipient. If you are stacking cookies, place a small piece of parchment paper between each layer to act as a protective buffer.
Once the cookies are positioned, gently press out the excess air from the bottom of the bag upward. Removing excess air is crucial because oxygen accelerates the staling process, while leaving too much air can cause the bag to puff up and pop during transport. Be careful not to press too hard, as excessive force can crush delicate edges or crack fragile cookies.
Apply your chosen sealing method to secure the package. If you are using an impulse heat sealer, align the top edges of the bag flat, press the sealing bar down firmly for one to two seconds, and allow it to cool briefly before releasing. For a folded seal, fold the top edge of the bag down twice to create a neat hem, then secure it with a strip of double-sided tape or a decorative sticker. If you are using ribbon or twine, gather the neck of the bag tightly, twist it slightly to compress the plastic, and tie a secure double knot before finishing with a bow.
Adding Decorative Finishing Touches
Once the bag is securely sealed, you can elevate its presentation with thoughtful decorative elements. Tying a length of fabric ribbon, rustic jute twine, or colorful raffia around the neck of the bag adds texture and visual interest. Choose colors that complement the theme of your cookies or the occasion, ensuring the knot is tied tightly enough to stay in place without tearing the bag material.
Attaching custom tags or labels is a practical way to personalize your gift while providing helpful information. Use high-quality cardstock for hang tags, and write or print the details clearly using smudge-proof ink to prevent transfer. Your labels should include the name of the cookie, the date it was baked, and any essential allergen information, such as the presence of nuts, dairy, or gluten. This is particularly important for school events, workplace gifts, or large gatherings where recipients may have dietary restrictions.
When adding decorations, ensure that they do not compromise the integrity of the packaging. Never use safety pins, staples, or sharp wire ties that could puncture the bag and expose the cookies to air. Any adhesives, stickers, or decorative elements must be applied strictly to the exterior of the sealed barrier, keeping them completely isolated from direct contact with the food.
Storing and Transporting Packaged Cookies
To keep your packaged cookies fresh until they are ready for gifting, store them in a cool, dry place away from direct sunlight. Exposure to heat or sunlight can cause chocolate chips to melt, icing to soften, and condensation to form inside the bag, even if it is sealed. Avoid storing the bags in humid areas of the kitchen, such as near the stove, dishwasher, or sink, as external moisture can weaken paper elements and compromise adhesive seals.
During transport, individual bags of cookies are vulnerable to shifting, crushing, and impact. To protect them, arrange the bags snugly inside a rigid secondary container, such as a sturdy cardboard box, a metal tin, or a shallow plastic tray. If there is empty space in the container, fill it with crumpled tissue paper or clean packing material to prevent the bags from sliding around and colliding with one another.
Before handing the gift over to your recipient, perform a quick final inspection of each package. Check that the heat seal or tape remains fully intact, and verify that no grease spots have bled through the paper elements. Wipe away any dust or fingerprints from the outside of clear bags with a clean, dry microfiber cloth to ensure your gift looks polished and professional.
Frequently Asked Questions (FAQ)
How long do cookies stay fresh in a sealed bag?
The shelf life of packaged cookies depends heavily on their moisture content, the ingredients used, and the airtightness of the seal. Crisp cookies, such as gingerbread or shortbread, can remain fresh for up to two weeks when stored in a heat-sealed polypropylene bag. Softer cookies, like chewy chocolate chip or oatmeal raisin, tend to lose their ideal texture within three to five days as their moisture slowly evaporates. To check for freshness, observe the cookies for signs of staleness, such as a loss of crunch, a dry or crumbly texture, or a dull aroma, which indicate they are past their prime.
Can I reuse cookie packaging bags?
Reusing cookie packaging bags is generally not recommended due to food safety and hygiene standards. Plastic and paper bags easily absorb oils and fats from baked goods, creating a residue that is difficult to clean thoroughly and can harbor bacteria over time. Additionally, the physical process of opening a sealed bag often stretches or tears the material, compromising its ability to form an airtight seal in the future. To ensure the health and safety of your gift recipients, always use fresh, single-use, food-grade bags for packaging edible treats.
Community discussion
Share your experience or ask a question. Comments are reviewed before publication.