
Mounting a magnetic strip on your desk is an excellent way to clear clutter, keep frequently used stationery within arm’s reach, and elevate your overall desk setup. To achieve this without leaving permanent scars, cracks, or sticky residue on your workspace, you must match the mounting method to your specific desk material and follow a systematic installation process. By selecting the right non-damaging adhesive or mechanical fastener, preparing the surface meticulously, and arranging your tools ergonomically, you can enjoy a highly functional magnetic organizer that preserves the value and appearance of your furniture.
Evaluating Desk Surfaces and Choosing a Mounting Method
Before purchasing or installing a strip magnet, you must evaluate the material of your desk. Workspaces are typically constructed from solid wood, wood veneer, laminate, glass, or metal. Each of these materials reacts differently to adhesives and mechanical fasteners, meaning a mounting method that works perfectly on one surface could permanently ruin another.
Solid wood desks are durable but have natural grain patterns and finishes that can be stripped by aggressive adhesives. Wood veneers are even more delicate, consisting of a very thin layer of real wood glued to an underlying board; strong adhesives can easily tear this veneer away during removal. Laminate surfaces are generally more resilient to mild adhesives but can chip or swell if exposed to moisture or harsh solvents. Glass desks are completely non-porous, making them highly compatible with certain adhesives, but they are highly vulnerable to cracking under mechanical stress or uneven pressure. Metal desks are the easiest to work with, as they often allow magnetic strips to cling directly to the surface without any adhesive or hardware at all, provided the desk itself is made of a ferrous metal like steel.
Products mentioned in this guide
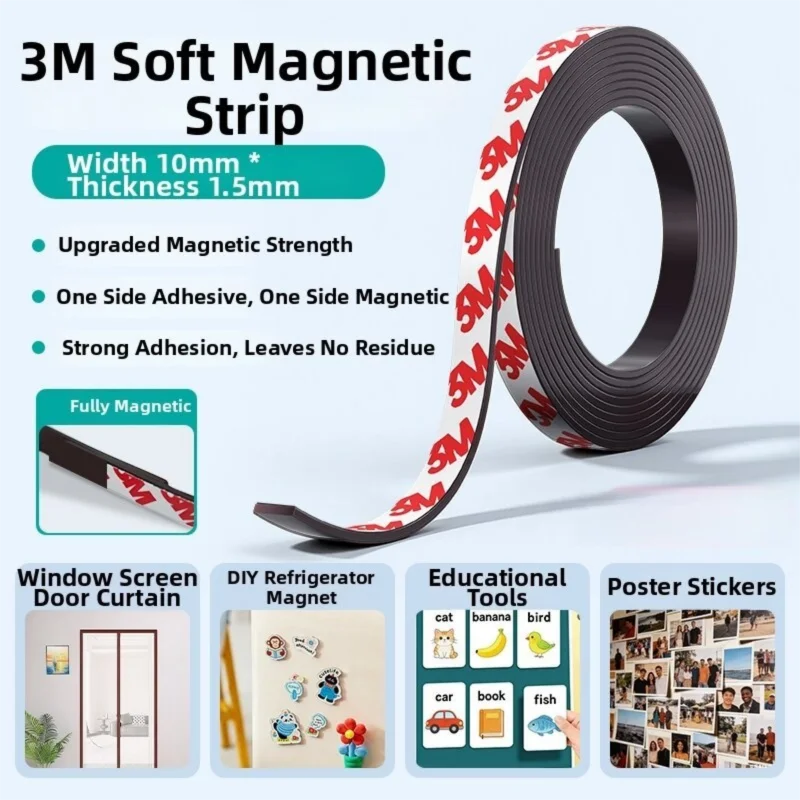
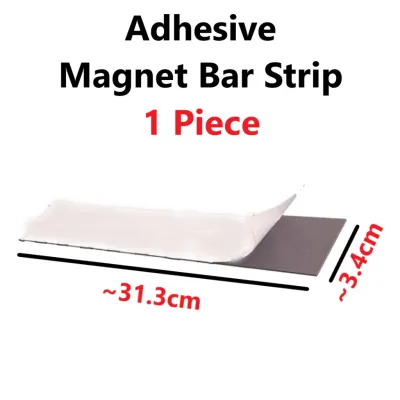
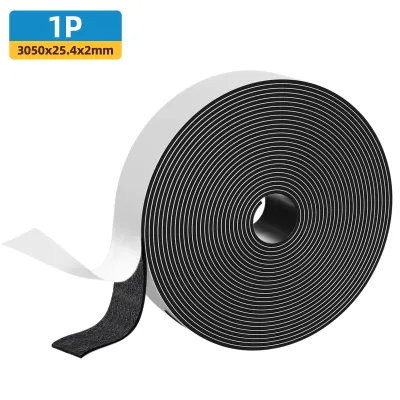
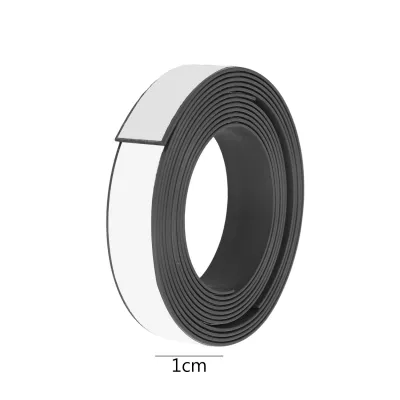
Prices are valid at publication and may change. Please refer to the product page for the latest price.
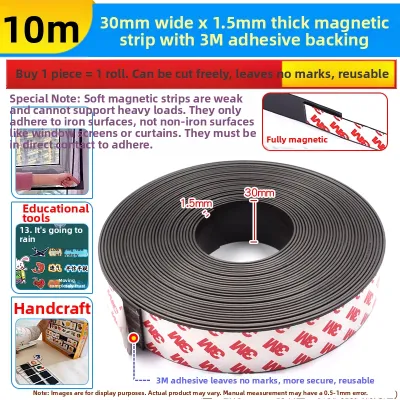
To choose the right mounting method, compare removable adhesive strips, heavy-duty mounting tape, and mechanical screws against your desk type and load requirements. Removable adhesive strips with pull-tabs are ideal for lightweight stationery items and are designed to release cleanly from sealed wood, laminate, and glass. Heavy-duty double-sided mounting tape offers a much stronger hold for heavier tools but carries a higher risk of leaving stubborn residue or pulling up delicate finishes like paint or veneer upon removal. Screws and mechanical fasteners provide the most secure hold for heavy loads but should only be used on solid wood desks where permanent modification is acceptable.
Always check the weight specifications of your magnetic strip and cross-reference them with the load capacity of your chosen adhesive. Review the adhesive manufacturer’s instructions to confirm compatibility with your desk’s specific finish, and check your furniture warranty conditions before proceeding. If you are using rented furniture, or if your desk features delicate veneers or glass, avoid permanent adhesives, epoxy, or drilling entirely unless you have explicit manufacturer approval.
Step-by-Step Guide to Mounting the Magnetic Strip
A secure, damage-free installation relies entirely on proper preparation and application. Even the highest-quality adhesive will fail if it is applied to a dusty, oily, or damp surface. Follow this step-by-step process to ensure a lasting bond that can be removed safely in the future.

Begin by preparing the target area on your desk. Clean the surface thoroughly using a mild solvent like isopropyl alcohol to remove skin oils, dust, and manufacturing residues. If your desk has a delicate finish, such as a hand-rubbed oil or a sensitive lacquer, test a tiny, inconspicuous spot with the alcohol first to ensure it does not dull or dissolve the coating. Once clean, wipe the area dry with a clean microfiber cloth and allow it to air-dry completely for several minutes.
Next, prepare the adhesive application. If you are using double-sided tape or removable strips, apply them to the back of the magnetic strip first. Press down firmly along the entire length of the adhesive to ensure complete contact with the strip. Position the magnetic strip carefully against your desk, using a small spirit level or a pencil mark to ensure it is perfectly straight. Once aligned, press the strip firmly against the desk surface, applying even pressure with your hands for at least thirty seconds to activate the pressure-sensitive adhesive.
Crucially, you must observe the adhesive manufacturer’s required curing time before hanging any items on the strip. Most high-performance mounting tapes require at least 24 hours to reach their full bonding strength. Loading the strip magnet too early is the primary cause of adhesive failure and can result in your tools falling and damaging your desk or floor.
If you are opting for mechanical mounting on a solid wood desk where drilling is safe and approved, start by marking the screw hole alignments precisely with a pencil. Drill small pilot holes using a drill bit slightly smaller than your screws to prevent the wood from splitting. Place protective rubber or plastic washers between the magnetic strip and the wooden desk surface; these washers act as a buffer, preventing the hard edges of the strip from scratching or compressing the wood finish when you tighten the screws.
Once the curing time has elapsed or the screws are secured, perform a safety verification. Test the hold by placing a few lightweight items, such as paperclips or small metal rulers, onto the strip. Gradually increase the weight over a few hours to ensure the bond or fasteners are completely secure before fully loading the strip with heavier stationery or tools.
Arranging Items for Ergonomic Access and Desk Organization
An organized magnetic strip does more than just clear physical clutter; it streamlines your workflow and reduces physical strain. To maximize the benefits of your new setup, arrange your stationery and tools using sound ergonomic principles.
Start by categorizing your items by their frequency of use. Place your daily essentials—such as your primary pen, scissors, or utility knife—within your primary ergonomic reach zone. This zone is the area you can easily access with your elbows bent, without stretching your arms or bending your torso. Less frequently used items, like specialty rulers or backup charging cables, can be placed further toward the ends of the strip or in secondary reach zones.
To protect the integrity of your mounting method, balance the load evenly across the entire length of the strip magnet. Concentrating all your heavy metal tools on one end creates localized stress, which can cause adhesives to peel prematurely or put uneven tension on mounting screws. Distribute weight symmetrically, placing heavier items toward the center or balancing them with lighter items on either side.
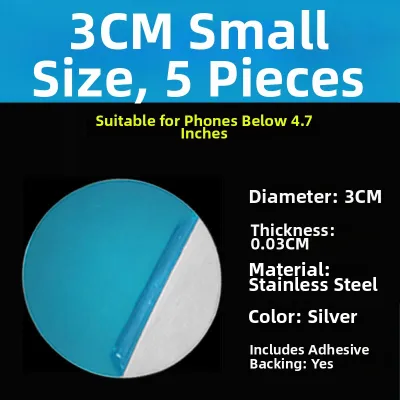
If you have essential stationery items that are not naturally magnetic, such as plastic pens, wooden rulers, or sticky note pads, you can still integrate them into your setup. Use compatible magnetic accessories like small magnetic clips, magnetic trays, or adhesive-backed metal discs. Attaching a small metal disc to the back of a plastic item allows it to cling securely to your magnetic strip without modifying the strip itself.
Finally, maintain adequate clearances between the items on your strip. Crowding too many tools together makes it difficult to grab a single item without accidentally knocking adjacent tools off the magnet. Leave a small gap of at least one to two centimeters between items to ensure a clean, unobstructed grip every time you reach for a tool.
Safe Removal and Surface Restoration
When it is time to rearrange your workspace, move houses, or return rented furniture, removing the magnetic strip safely is just as important as the initial installation. With the right techniques, you can detach the strip and restore your desk surface to its original condition without leaving a trace.
To remove adhesive-backed strips, start by softening the adhesive bond. Applying gentle heat from a hair dryer set to a low or medium temperature can make the adhesive pliable and easier to release. Direct the warm air at the edges of the strip for a minute or two, taking care not to overheat the desk surface, especially if it is made of laminate or veneer, as excessive heat can cause these materials to warp or delaminate.
Once the adhesive is warm, use a safe prying method to separate the bond. Avoid metal putty knives or screwdrivers, which will easily gouge wood and scratch glass. Instead, use non-marring tools such as a plastic spudger, a nylon scraper, or even a piece of strong dental floss or fishing line. If using dental floss, slide it behind the magnetic strip and use a sawing motion to gently slice through the softened adhesive layer.
After the strip is removed, you may find residual glue left on the desk. Clean this residue using a mild adhesive remover or a small amount of isopropyl alcohol on a microfiber cloth. Rub gently in circular motions, allowing the solvent to dissolve the glue rather than scrubbing forcefully, which can strip the desk’s protective coating, paint, or veneer.
Always observe a strict stop condition during this process: if you notice the desk’s paint, veneer, or protective lacquer lifting, cracking, or discoloring at any point, halt the removal process immediately. Let the surface cool, stop using solvents, and consult the furniture manufacturer or a professional refinisher to prevent further damage.
Frequently Asked Questions (FAQ)
Can I use a magnetic strip on a glass desk?
Yes, you can use a magnetic strip on a glass desk, but you must take extra precautions to avoid damaging the surface. Glass is highly fragile and susceptible to stress fractures caused by concentrated pressure or uneven tension. Never attempt to drill into a glass desk or use mechanical clamps that exert high localized force. Instead, opt for high-quality, glass-safe removable adhesive mounts or suction-based alternatives. When arranging your items, avoid placing heavy loads on the strip, especially near the edges of the glass desk where the material is most vulnerable to structural failure.
Will the magnets damage my electronic devices or cards?
Modern electronic devices like smartphones, solid-state drives (SSDs), and laptops are generally highly resistant to everyday magnetic fields. However, standard magnetic stripe cards (such as older credit cards or transit passes), mechanical watches, and traditional spinning hard drives (HDDs) can still be sensitive to magnetic interference. The risk depends largely on whether your strip uses strong neodymium magnets or standard, weaker ferrite magnets. To ensure safety, check the rated pull force of your magnetic strip and keep sensitive items at a safe distance according to your device manufacturer’s guidelines.
Community discussion
Share your experience or ask a question. Comments are reviewed before publication.