
Selecting the right adhesive for a school project requires balancing the physical demands of the materials with the age and skill level of the student. While high-strength adhesives offer durable bonds for complex science models, heavy dioramas, and mixed-medium displays, they also introduce safety considerations that vary by grade level. Matching the glue to both the project’s structural needs and the student’s developmental stage ensures a successful build without compromising safety. To make an informed choice, you must evaluate what materials are being joined, how much stress the joint will face, and who will be handling the adhesive.
Assessing Project Materials and Bonding Requirements
Before purchasing any high-strength adhesive, identify the exact materials you need to join. Porous surfaces, such as unfinished wood, unglazed ceramics, and thick cardboard, absorb liquid glues readily, requiring adhesives with enough body to fill small gaps. Non-porous surfaces, like plastics, metals, and glass, do not absorb adhesive, relying instead on chemical bonding or mechanical grip.
Always verify material compatibility by reading the manufacturer’s label. Many specialized strong glues explicitly list compatible materials. For example, certain formulations may melt specific plastics or fail to adhere to silicone. Checking these details beforehand prevents project delays and ruined supplies.
Products mentioned in this guide
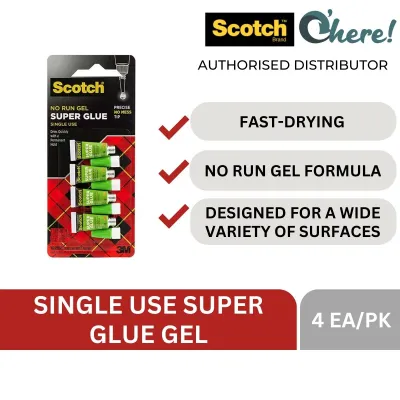
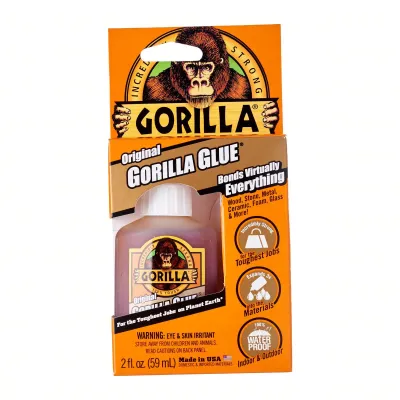
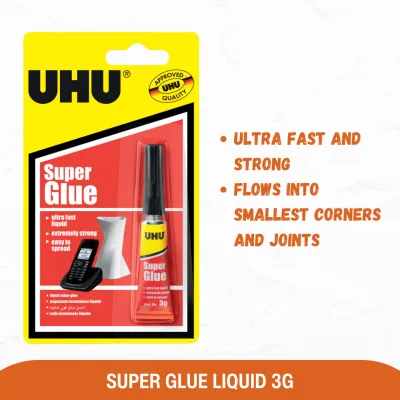
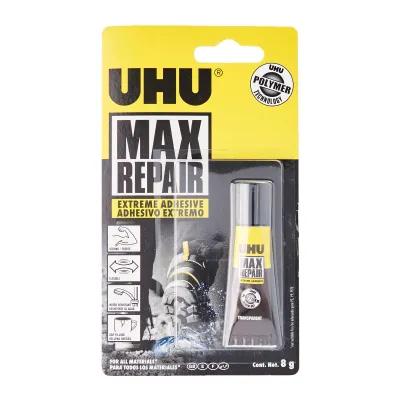
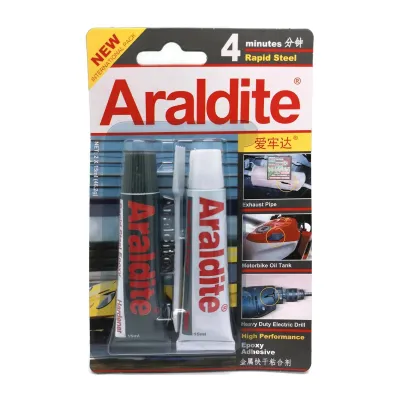
Prices are valid at publication and may change. Please refer to the product page for the latest price.
Next, estimate the structural load or physical stress the bonded joint will endure. A simple display poster requires very little holding power, whereas a functional bridge model or a heavy clay sculpture requires an adhesive that can withstand tension, compression, and shear forces. Consider how the project will be handled, transported, and displayed. If the joint must support weight, a standard school glue will not suffice.
Finally, consider the required open time—the window of time you have to position and adjust parts before the adhesive begins to set. Fast-acting adhesives cure in seconds, which is excellent for quick fixes but highly unforgiving if a student misaligns a critical component. If the project involves complex assembly, look for an adhesive that offers a longer open time, allowing several minutes of flexibility.
Matching Glue Types to Grade Levels and Supervision Needs
Aligning the adhesive’s strength and chemical properties with a student’s age and fine motor skills is critical for maintaining a safe learning environment. For early grades, including preschool and lower primary levels, high-strength solvent-based or cyanoacrylate adhesives should never be handled by children. Instead, restrict student use to non-toxic, water-based school glues or glue sticks. If a project at this level absolutely requires a stronger bond, an adult must perform the application entirely, keeping the adhesive out of the child’s reach.

For upper grades, such as upper primary and secondary school, students may conditionally use stronger adhesives under direct adult supervision. Before allowing a student to handle any strong glue, verify the age-restriction warnings and hazard symbols printed on the packaging. Ensure the student fully understands the risks, including skin bonding and inhalation hazards, and can follow safety instructions precisely.
The physical format of the adhesive applicator also plays a major role in safety. Squeeze bottles require significant hand strength and control; a sudden squeeze can release a large flood of glue, leading to messy spills. Precision pens, brush-on applicators, or gel formulations offer much better control over the flow and placement of the adhesive, making them highly suitable for older students developing their fine motor skills.
In contrast, two-part mixing systems, such as epoxies, require measuring and mixing equal parts of resin and hardener. These systems demand a high level of precision and strict adherence to safety protocols. Because of the complexity of the mixing process and the heat generated during the chemical cure, two-part systems should be reserved for advanced secondary school students working under close supervision.
Setting Up a Safe Workspace for Strong Adhesives
Working with high-strength adhesives requires a dedicated, well-prepared workspace to prevent accidents. Adequate ventilation is a primary requirement when using solvent-based glues or cyanoacrylates, as the fumes can quickly irritate the eyes, nose, and throat. Always work in a well-ventilated area, preferably outdoors, or indoors near an open window with a fan running to draw fumes away from the face.
In addition to ventilation, prepare the necessary protective barriers before opening the adhesive container. Wear disposable nitrile or latex gloves to prevent skin contact, and use protective eyewear to guard against accidental splashes. Ensure these barriers are used strictly as specified by the product label.
Protecting the physical workspace is equally important, as strong glues can cause permanent damage to school desks, home furniture, and clothing. Cover the work surface with a thick, protective barrier such as a silicone baking mat, heavy plastic sheeting, or several layers of thick cardboard. Avoid using thin newspaper alone, as glue can easily bleed through and bond the paper directly to the table underneath.
Despite careful preparation, accidents can still happen, so you must have a clear plan for immediate action. Before starting, read the product’s label-directed steps for skin contact or spills. Avoid relying on unverified home remedies, which can often worsen skin irritation or damage surfaces. Keep the manufacturer’s recommended cleanup materials, such as acetone or warm soapy water, within arm’s reach.
Application Techniques and Clean-Up Strategies
Achieving a durable bond depends heavily on proper surface preparation and precise application techniques. Before applying any adhesive, clean the surfaces thoroughly to remove dust, dirt, grease, and moisture, which can severely weaken the bond. Ensure the materials are completely dry before proceeding. For non-porous materials like smooth plastics, lightly scuffing the bonding area with fine-grit sandpaper can create a textured surface that helps the adhesive grip more effectively.
When applying the glue, remember that more is not always better. With high-strength adhesives, a thin, even layer is typically much stronger and cures faster than a thick pool of glue. Apply the adhesive to one surface as directed by the manufacturer, then press the parts together firmly without shifting them, maintaining pressure for the recommended curing time.
If you make a mistake, address the excess while it is still uncured. Wipe away wet adhesive immediately using a dry cloth or a manufacturer-recommended solvent, taking care not to smear the glue onto visible parts of the project. Always test solvents on a hidden area of the material first, as some chemicals can dissolve or discolor plastics and finishes.
Once a high-strength adhesive has fully cured, removing it becomes significantly more difficult and often impossible without damaging the underlying materials. Solvents that dissolve cured glue can also dissolve plastics, strip paint, or degrade wood fibers. If a cosmetic mistake occurs on a delicate part of the project, evaluate whether attempting to remove the cured glue will destroy the entire build. Often, the safest course of action is to leave the cured excess intact.
Frequently Asked Questions (FAQ)
Can super strong glue be used on school paper or cardboard?
While high-strength glues can bond paper and cardboard, they are generally not recommended for lightweight paper projects. These adhesives can easily bleed through thin sheets, cause severe warping, or degrade the paper fibers. For cardboard models requiring structural strength, check the adhesive label for paper suitability and always test a small drop on a scrap piece of the material first to observe how it reacts.
What should I do if the glue bonds my child's fingers together?
If accidental skin bonding occurs, do not panic and never try to force or pull the skin apart, as this can cause painful tears. Immediately consult the product’s specific first-aid label for safe removal instructions, which often involve soaking the area in warm, soapy water and gently peeling the skin apart. If the bond does not release safely or if the glue contacts sensitive areas like the eyes or mouth, seek professional medical assistance immediately.
Community discussion
Share your experience or ask a question. Comments are reviewed before publication.