
Creating your own gift card tags at home is an excellent way to add a personal, thoughtful touch to any present. By using simple stationery supplies and basic crafting techniques, you can design custom tags that closely match your wrapping paper, the occasion, or the recipient’s personality. This hands-on project allows you to control the size, shape, and style of your tags, turning a simple gift card into a beautifully presented gesture.
Making these tags does not require specialized artistic skills or expensive machinery. With a few sturdy sheets of paper, a reliable cutting tool, and some creative finishing touches, you can produce professional-looking results in a single afternoon. Whether you are preparing for a festive holiday, a birthday, or a simple thank-you gesture, crafting your own tags offers endless opportunities for customization while saving you from last-minute trips to the store.
Materials and Tools You Will Need
Before beginning your crafting session, gathering the correct stationery and tools ensures a smooth workflow and a high-quality final product. The foundation of any durable gift tag is the paper itself. Standard printer paper is generally too flimsy to hold its shape or support embellishments, so opting for cardstock with a weight of at least 200 gsm is highly recommended. You can choose between matte, textured, or metallic finishes, keeping in mind that highly glossy surfaces may require specialized inks to prevent smudging.
Products mentioned in this guide
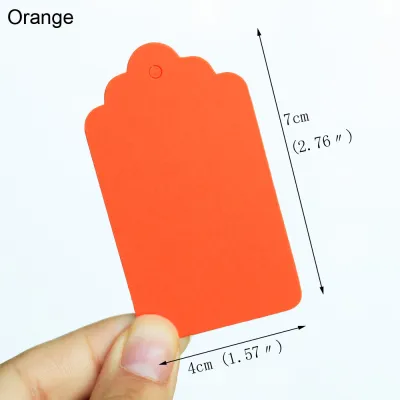
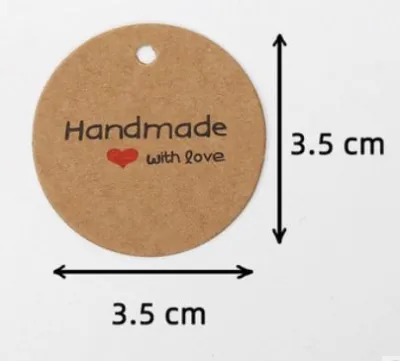
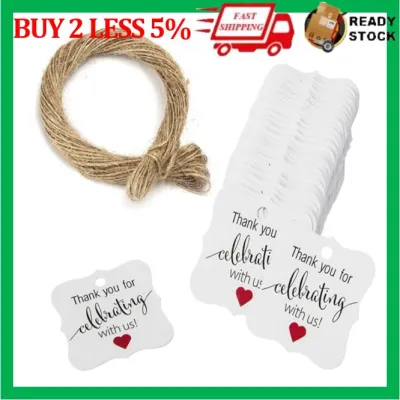
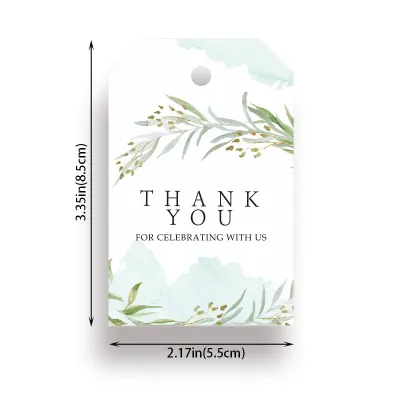
![[SG][FREE🚚] 50Pcs Gift Tags Thank you Tag Mini Card Note Goodie Bag Wedding Favour Door Gift Birthday Party Mothers Day](https://img.lazcdn.com/g/p/18f578491e5768c8f3797ab55a281c40.jpg_400x400q80.jpg_.webp)
![[SG SELLER] [FREE SHIPPING] Gift Tags Thank you Tag Mini Card Note Goodie Bag Wedding Favour Door Gift Birthday Party](https://img.lazcdn.com/g/ff/kf/S9a829ab446e24f62a1d095bbbb86c685w.jpg_400x400q80.jpg_.webp)


Prices are valid at publication and may change. Please refer to the product page for the latest price.
For cutting and shaping, precision is essential to avoid ragged edges that make DIY projects look untidy. A sharp craft knife paired with a metal-edged ruler provides the straightest, cleanest cuts on thick cardstock. If you prefer a faster method, a heavy-duty paper trimmer can handle multiple sheets at once. Additionally, a standard single-hole punch is necessary for creating clean attachment points, though you can also use decorative corner punches to soften the sharp angles of your tags.
Adhesives play a critical role in layered designs, and choosing the wrong type can quickly ruin your work. Liquid craft glues are excellent for small, detailed elements, but they must be applied sparingly to prevent the paper from warping or bubbling. For larger flat surfaces, double-sided tape or dry adhesive rollers offer a clean, instant bond without introducing moisture to the paper fibers. If you plan to add heavier decorations, keep a strong gel adhesive or glue dots on hand to ensure everything stays firmly in place.
Step-by-Step Instructions for Making Gift Card Tags
To begin crafting your gift card tags, start by measuring and marking your guidelines on the back of your chosen cardstock. A standard, versatile size for a gift tag is approximately 5 centimeters wide by 9 centimeters long, which provides ample space for both a decorative front and a written message on the back. Use a light pencil and a metal ruler to draw these dimensions on the paper, ensuring all corners form precise 90-degree angles before you make any cuts.

Once your guidelines are marked, place the cardstock on a self-healing cutting mat to protect your work surface. Hold the metal ruler firmly along your pencil lines and draw your craft knife along the edge in a single, smooth motion. Applying moderate, even pressure is more effective than trying to force the blade through the paper in one heavy pass, which can cause the ruler to slip. If you are making classic luggage-style tags, measure and cut off two small, symmetrical triangles from the top corners to create the traditional angled shape.
Next, you need to create the attachment hole where the string or ribbon will thread through. Measure the exact horizontal center of the tag, approximately 1.5 centimeters down from the top edge, and mark it lightly with a pencil. Align your hole punch with this mark and press firmly to create a clean, circular opening. Positioning the hole too close to the top edge increases the risk of the paper tearing under tension, so maintaining this safe distance is crucial for durability.
If you are creating a layered tag to add depth or a contrasting border, cut a second piece of paper slightly larger than your base tag. Apply a thin, even layer of double-sided tape or adhesive roller to the back of the smaller tag, then carefully align it over the larger base. Press down firmly from the center outward to eliminate any trapped air bubbles and ensure a secure, flat bond. Once assembled, let any liquid adhesives dry completely under a flat weight before moving on to decoration.
Personalization and Decorating Techniques
Personalizing your gift card tags is where you can let your creativity show, but it requires a methodical approach to avoid ruining your freshly cut bases. Before writing or stamping directly onto your finished tags, always perform a test on a scrap piece of the exact same paper. This trial run allows you to check how your pens, markers, or ink pads interact with the paper fibers. Some highly absorbent papers cause ink to feather or bleed, while coated or glossy papers can cause ink to pool and smudge easily.
For hand-lettering, archival pigment-based ink pens and fine-liner markers generally offer excellent control and resistance to smudging. If you are using rubber stamps, press the stamp evenly onto the ink pad without rocking it, then press it firmly onto the paper with straight downward pressure. Lift the stamp straight up to prevent blurring the design. Allow the ink to dry completely—sometimes up to several hours for pigment inks on semi-glossy cardstock—before touching the surface or stacking the tags.
Adding dimensional elements can elevate a simple paper tag into a miniature piece of art. Lightweight embellishments such as small pressed flowers, flat buttons, or delicate ribbon bows can be secured using small glue dots or a tiny drop of strong craft glue. When applying these elements, consider the overall balance of the tag and leave enough clear space for your recipient’s name and a short message. Avoid adding excessively heavy or bulky items that might cause the tag to sag or pull away from the gift.
To give your tags a highly polished, professional appearance, consider finishing the edges. You can run a fine-grit sanding block gently along the cut edges of the cardstock to remove any tiny paper fibers or rough spots left by the blade. For a vintage or rustic aesthetic, lightly dab a small blending sponge loaded with water-based distress ink along the outer borders of the tag. This technique softens the stark white core of cut cardstock and adds a subtle, framed depth to your design.
Attaching the Tag to Your Gift or Greeting Card
Once your gift card tags are fully decorated and dry, selecting the right attachment material is the next step in the presentation. The string, twine, or ribbon you choose should complement both the design of the tag and the style of the gift wrapping. For a rustic or natural look, jute twine or cotton baker’s twine works beautifully, while satin, grosgrain, or organza ribbons offer a more elegant and formal appearance. Ensure the thickness of the material easily threads through your punched hole without forcing or fraying.
To secure the tag, cut a piece of string or ribbon approximately 20 to 25 centimeters in length. Fold the string in half, thread the looped end through the front of the punched hole, and pull the two loose ends through the loop to create a secure lark’s head knot. This method keeps the tag lying flat against the gift. You can then tie the loose ends around a gift box ribbon, a bottle neck, or the handle of a gift bag, securing it with a neat bow that can be easily untied.
In cases where hanging a tag with string is impractical—such as on flat greeting cards, slim envelopes, or minimalist gift boxes—alternative attachment methods are highly useful. You can use high-quality double-sided tape or adhesive glue dots on the back of the tag to mount it directly to the surface of the package. Another creative option is to construct a small, semi-transparent vellum pocket and adhere it to the front of a greeting card, allowing the custom tag to slide in and out easily while remaining visible.
Troubleshooting Common DIY Tag Issues
Even with careful planning, crafting projects can sometimes run into minor setbacks, but most common issues are easy to resolve or prevent. One frequent problem is warped cardstock, which typically happens when too much liquid glue is applied or when working in highly humid environments. If your tags begin to curl as they dry, place them between two clean sheets of plain printer paper and insert them inside a heavy book. Leave them under this even pressure overnight to flatten them out completely.
Ink smudging or bleeding can quickly ruin a beautifully decorated tag, often caused by handling the paper too quickly or using incompatible ink types. If you notice your ink is feathering into the paper fibers, switch to a pigment-based ink or a gel pen designed for porous surfaces. To speed up the drying process of slow-drying inks, you can gently warm the paper with a hand-held embossing heat tool held at least 15 centimeters away, or use a clean piece of blotting paper to absorb any excess wet ink.
Torn or weakened attachment holes can occur if the tag is pulled too hard or if the paper weight is too light. To reinforce a damaged hole, you can apply a small, circular paper reinforcement sticker to both sides of the tag, which can be colored to match your design. For a more durable and industrial finish, use a specialized eyelet setting tool to insert a small metal eyelet into the hole. This not only prevents tearing but also adds a premium, manufactured look to your handmade tags.
Frequently Asked Questions (FAQ)
Can I use regular printer paper instead of cardstock?
Regular printer paper, which typically weighs around 70 to 80 gsm, is generally too thin and flexible to make durable gift tags on its own. It tends to curl when exposed to ink or adhesive, tears easily at the attachment hole, and lacks the structural integrity to hang neatly from a gift. However, if printer paper is your only option, you can reinforce it by gluing three or four sheets together with a dry adhesive roller to build up the thickness before cutting. Alternatively, laminating the printed paper or backing it with repurposed cardboard from clean packaging can provide the necessary stiffness.
How do I prevent ink from bleeding through the tag?
Ink bleeding occurs when highly liquid inks, such as those in permanent markers or dye-based stamp pads, saturate the paper fibers and spread outward or seep through to the back. To prevent this, choose thick, high-density cardstock with a smooth, uncoated finish, or opt for pigment-based inks which sit on top of the paper fibers rather than soaking deep into them. Always perform a quick test on a scrap piece of your tag paper to observe how the ink behaves. If you must use markers that tend to bleed, write your message on a separate, thinner piece of paper first, then glue it flat onto your main cardstock tag.
Community discussion
Share your experience or ask a question. Comments are reviewed before publication.