
Making your own gift tags is a simple, creative, and highly rewarding way to elevate any present. By crafting a personalised gift tag at home, you show the recipient that you have invested extra thought and care into their gift, transforming even the most basic wrapping paper into a bespoke package. You do not need expensive die-cutting machines or professional design software to achieve beautiful results; with just a few basic stationery supplies and some simple techniques, anyone can create stunning, custom tags.
Using accessible materials allows you to tailor your tags to match any occasion, color palette, or recipient personality. Whether you are preparing gifts for a festive holiday, a birthday party, or a formal corporate event, crafting your own tags gives you complete control over the design, size, and message. This guide will walk you through the essential tools, step-by-step assembly, and creative styling techniques to help you produce professional-looking gift tags right at your own desk.
What You Need: Materials and Tools for DIY Gift Tags
Before starting your crafting session, gathering the right materials will ensure a smooth workflow and high-quality results. The base of your tag requires sturdy paper that can handle writing, cutting, and handling without bending. Look for heavy cardstock, thick drawing paper, or watercolor paper. If you prefer a sustainable approach, you can upcycle clean cardboard packaging, old greeting cards, or sturdy paper shopping bags, which offer excellent structural support and a rustic aesthetic.
Products mentioned in this guide
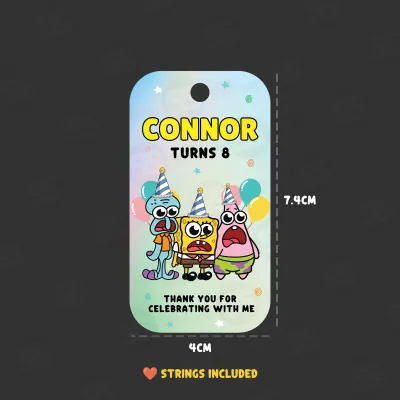
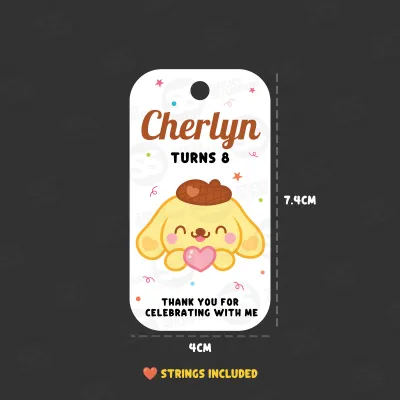
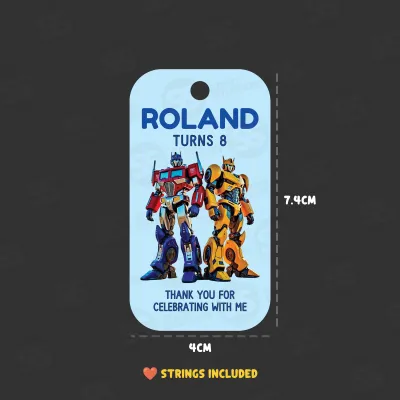
Prices are valid at publication and may change. Please refer to the product page for the latest price.
For cutting, standard household scissors work well for basic shapes, but a utility knife, craft knife, or a desktop paper trimmer will yield much cleaner, straighter edges. If you choose to use a craft knife, always pair it with a self-healing cutting mat or a thick piece of protective cardboard to safeguard your tabletop from deep scratches.
To add your designs and text, you will need reliable writing and decorating tools. Acid-free glue sticks or double-sided tape are ideal for attaching decorative layers without warping the paper, while fine-liner pens, calligraphy markers, or rubber alphabet stamps allow you to apply crisp, legible names. Finally, prepare a standard single-hole punch and a selection of natural jute twine, cotton string, or satin ribbon to secure your completed tags to your gifts. These basic supplies are highly affordable and can be easily found in local stationery shops or online craft marketplaces.
Step-by-Step Guide to Creating Your Personalised Gift Tags
Creating custom gift tags is a systematic process that rewards patience and preparation. By breaking the task down into logical stages—cutting, designing, punching, and protecting—you can easily produce multiple tags in a single session. Before you begin, clear a flat, spacious work surface and ensure you have good lighting to help you cut accurately and write neatly.

Step 1: Prepare and Cut the Base Material
The first step is to establish the physical shape and size of your gift tags. A standard rectangular gift tag typically measures around 5 cm by 8 cm, which provides ample space for writing names without overpowering the gift package. To ensure all your tags are uniform, draw a master template on a piece of scrap cardboard, cut it out, and use it to trace your shapes onto your final cardstock.
Place your cardstock flat on your work surface and use a metal ruler and a light pencil to mark your cutting lines. Keep your pencil marks incredibly faint so they can be easily erased later without leaving dark smudges on the paper. If you are aiming for a classic luggage-tag shape, clip the two top corners at a 45-degree angle; you can ensure symmetry by cutting one corner first, flipping the tiny paper scrap over, and using it as a guide to cut the opposite side.
When cutting your tags, take your time to maintain straight, smooth edges. If you are using a craft knife, hold your metal ruler firmly down along the pencil line with your non-dominant hand, keeping your fingers well away from the edge. Draw the blade lightly along the ruler several times rather than trying to slice through the thick cardstock in a single, heavy pass, as this prevents the blade from slipping and ensures a perfectly clean edge.
Step 2: Design and Add Personalisation
Once your base tags are cut, you can begin the design process. It is crucial to plan your layout before any ink touches your final tag. Leave at least 1.5 cm of clear space at the top of the tag to accommodate the attachment hole, ensuring your text and decorative elements are visually centered in the remaining space below.
For the actual personalisation, write the recipient’s name using your preferred writing tool. If you are confident in your handwriting, elegant hand-lettering or modern calligraphy adds a beautiful personal touch. If you prefer a more uniform look, rubber alphabet stamps with a black ink pad offer a charming, vintage aesthetic, while stencils can help you maintain consistent letter heights. You can also print names using a computer font onto thin paper, cut them out, and adhere them to the tag using double-sided tape.
After adding the name, you can embellish the tag with decorative accents. Strips of patterned washi tape can create instant borders, while small stickers, hand-drawn illustrations, or even tiny pressed flowers can add visual interest. Because different paper types absorb ink differently, always test your pens, markers, and stamps on a scrap piece of the same cardstock first to check the drying speed and verify that the ink does not bleed, smudge, or feather on the surface.
Step 3: Punch Holes and Add Attachments
With your designs complete and dry, you are ready to prepare the tags for hanging. Use a ruler to find the exact horizontal center of your tag, marking a tiny pencil dot about 1 cm down from the top edge. This placement ensures the hole is visually balanced and leaves enough paper above it to prevent the string from tearing through.
Align your single-hole punch with the pencil mark and press down firmly to create a clean, circular opening. If your cardstock is on the lighter side, or if you plan to use a thick, heavy ribbon, it is wise to reinforce the hole. You can apply a small piece of clear adhesive tape over the area before punching, or use a dedicated eyelet setting tool to crimp a metal eyelet into the hole for a highly professional, durable finish.
Cut a piece of twine, ribbon, or string to a length of approximately 20 cm. Fold the string in half, thread the looped end through the punched hole from the front of the tag to the back, and then pull the loose tails through the loop to create a secure lark’s head knot. This method keeps the tag lying flat against the gift and leaves the long tails free to be tied around a ribbon or gift bag handle.
Step 4: Apply Finishing Touches and Protection
The final stage of the process involves protecting your hard work and checking for quality. Because paper is highly susceptible to environmental factors, taking a moment to protect your tags will ensure they look pristine when they reach the recipient. This is especially important in humid climates, where moisture in the air can cause untreated paper to soften, warp, or cause certain inks to run.
To protect your tags, you can apply a thin layer of clear self-adhesive laminating film or carefully place a strip of wide, clear packing tape over the front of the tag. Use the flat edge of a plastic card or ruler to smooth out any air bubbles, working from the center of the tag outward to ensure a smooth, transparent seal. Once the protective layer is secured, use sharp scissors to trim away any excess film flush with the paper edges.
Finally, conduct a quick visual inspection of your finished tags. Ensure that all pencil guidelines have been completely erased, that the ink is fully dry and smudge-free, and that the attachment string is tied tightly. Your personalised gift tags are now complete, durable, and ready to be attached to your gifts.
Creative Ideas for Different Occasions and Recipients
One of the greatest advantages of making your own gift tags is the ability to adapt the design to suit different gifting scenarios. By matching the materials and style to the occasion, you can make the presentation feel incredibly cohesive and thoughtful.
- Minimalist and Corporate: For a sophisticated, professional look, use rustic brown kraft paper as your base. Write the recipient's name in clean, black ink using a fine-liner pen, and pair it with a simple strand of natural jute twine. This understated design feels modern, elegant, and highly polished.
- Playful Children's Birthdays: Opt for bright, colorful cardstock in pastel or neon shades. Decorate the tags with whimsical hand-drawn doodles, colorful stickers, or even cut-out paper shapes like stars, animals, or balloons. Using bold, contrasting colors makes the gift feel exciting and festive before it is even opened.
- Eco-Friendly and Sustainable: Create beautiful tags by upcycling clean cardboard packaging, old calendar pages, or holiday cards from previous years. Pair these recycled bases with natural, undyed cotton string or raffia. This approach reduces waste while showcasing a unique, rustic charm that eco-conscious recipients will appreciate.
- Seasonal and Festive Themes: Tailor your color palettes to match specific holidays throughout the year. Use deep reds and bright golds for Lunar New Year gifts, or rich forest greens and metallic silvers for year-end festivities. You can also glue small, flat natural elements, such as dried flower petals or tiny pressed leaves, onto the cardstock to add organic texture.
Common Mistakes to Avoid When Making Gift Tags
While crafting gift tags is straightforward, avoiding a few common pitfalls will save you time and materials, ensuring your finished projects look neat and professional.
- Using Paper That Is Too Thin: Standard printer paper or lightweight writing paper lacks the structural integrity required for a gift tag. It will easily bend, wrinkle, or tear when the attachment string is pulled or when the gift is transported. Always stick to cardstock or upcycled cardboard with a weight of at least 200 GSM.
- Placing the Hole Too Close to the Edge: Punching your hole less than 5 mm from the top edge creates a major structural weak point. The tension from the tied string can easily rip through the thin strip of paper, causing the tag to fall off and get lost. Always leave a safe margin of about 1 cm from the top edge.
- Using Excessive Wet Glue: Liquid school glues or heavy craft glues contain high water content, which quickly saturates paper fibers, causing them to swell, warp, and wrinkle as they dry. To keep your tags perfectly flat and neat, always use dry adhesives like glue sticks, double-sided tape, or adhesive rollers.
- Smudging Wet Ink: Certain writing tools, such as gel pens, metallic markers, and calligraphy inks, take much longer to dry on smooth cardstock than standard ballpoint pens. Avoid the temptation to touch, stack, or attach your tags immediately after writing; allow them to sit undisturbed for several minutes to prevent messy smudges.
Frequently Asked Questions (FAQ)
What is the best paper weight for making durable gift tags?
For a sturdy, premium feel, look for cardstock or heavy paper with a weight between 200 and 300 GSM (grams per square metre). This thickness provides excellent structural integrity, allowing the tag to withstand hole punching, writing, and handling without bending or tearing. You can easily verify the GSM rating printed on the packaging of paper packs at local stationery stores.
How can I make my handwritten tags look neat if I have bad handwriting?
If you are uncomfortable with your natural handwriting, you can achieve a polished look using simple workarounds. Try using alphabet stamp sets with black or colored ink pads for a charming, typewriter-style aesthetic. Alternatively, print your desired names or messages using elegant computer fonts onto regular paper, cut them out neatly, and secure them to your cardstock tags using double-sided tape. You can also lightly trace printed text using a pencil and a light source (like a window) before finalizing the lines with a fine-tip pen.
Community discussion
Share your experience or ask a question. Comments are reviewed before publication.